How to create live playgrounds in Xcode
Swift version: 5.6
A reader emailed me to say they had enjoyed my books, and were considering applying for a scholarship to WWDC17. The process for this requires creating a live playground, and they were emailing to ask whether I had any tutorials on the process.
Well, I don’t. Or at least didn’t, because I wrote this one just to help you get started if you’re considering applying for the scholarship as well.
First up, a few general pointers:
- You need to be 13 years or older, and registered as an Apple developer.
- You need to be a student of any age, or a member/graduate from a STEM organization.
- You must submit a Swift playground created by you, and only by you, demonstrating something interesting. I’m providing some example code below to help you start, but your finished submission must be your own work.
- Your playground must work entirely offline, and be no larger than 25MB when zipped.
- Apple will pay for your lodging in San Jose, your WWDC ticket, and your breakfast and lunch. You’re responsible for getting there and buying dinner.
- You can optionally write an essay (maximum 500 words) describing “how you've considered sharing your coding knowledge and enthusiasm for computer science with others” – but let’s face it, that’s basically required if you’re serious.
Before we dive into the code, there’s one last thing: I’m not the judge of the WWDC scholarship program, and I don’t even who the judges are, but if I were a judge I’d actively be looking for people from under-represented groups. Previous years have seen Apple specifically call out groups such as App Camp for Girls, Black Girls Code, Girl Develop It, and more.
OK, enough chat: let’s look at how to build a live playground using Xcode 10 and Swift 4.
Start by launching Xcode, then choosing “Get started with a playground”. Choose an iOS blank template then name it whatever you please.
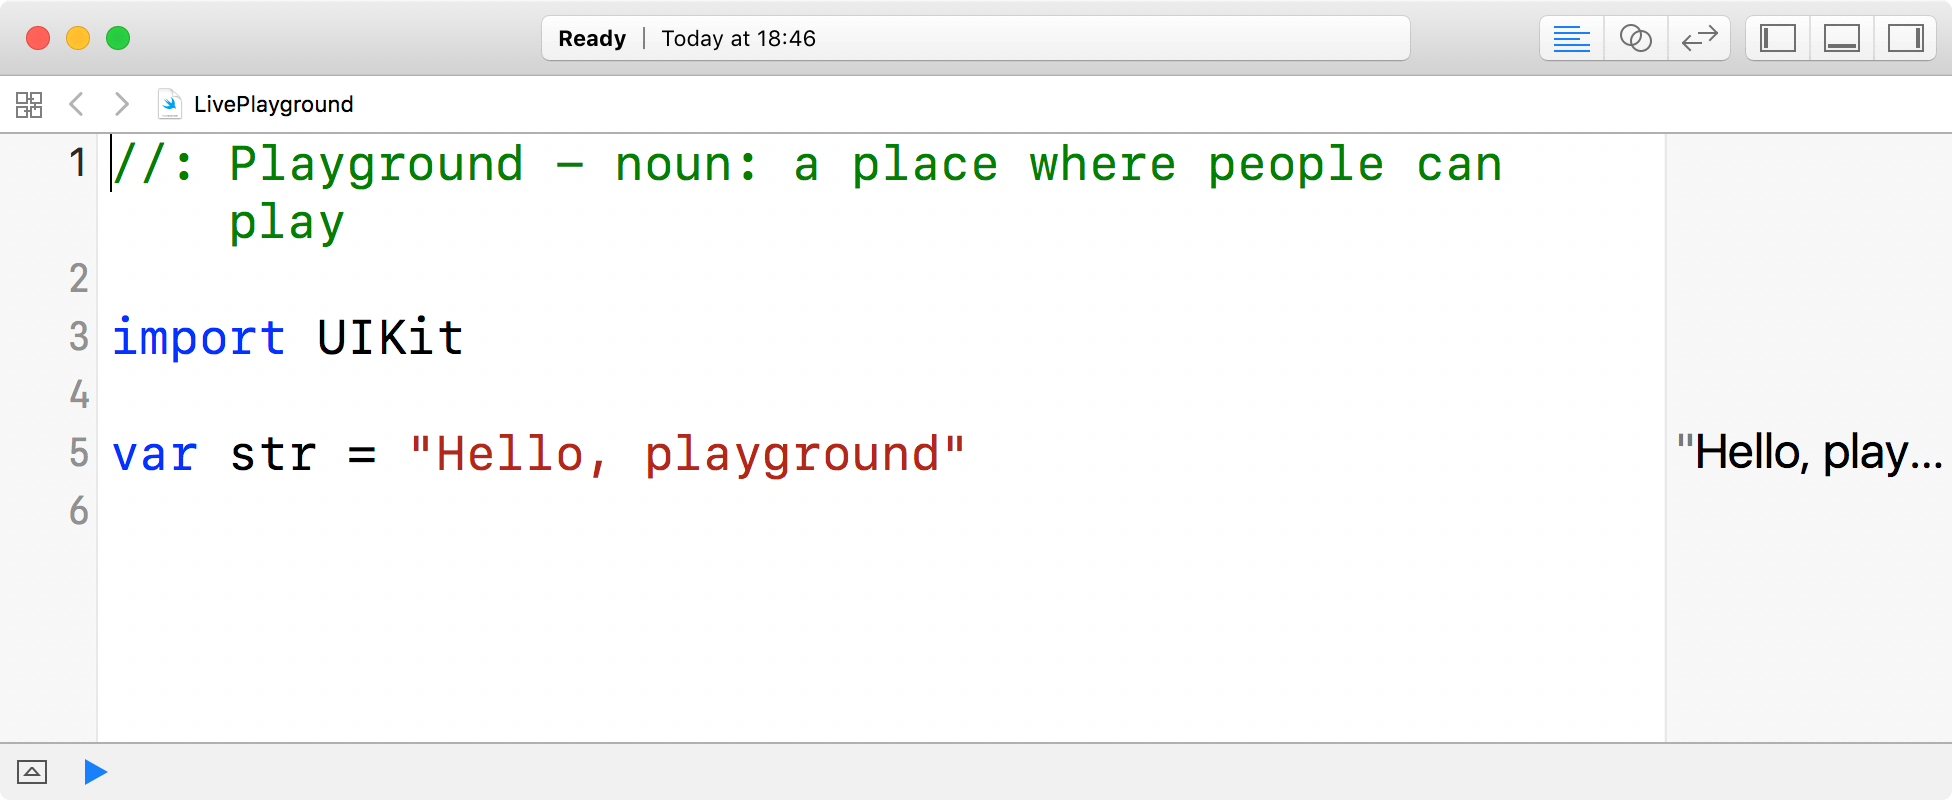
By default, Playgrounds look like you’ll see below – big and empty.
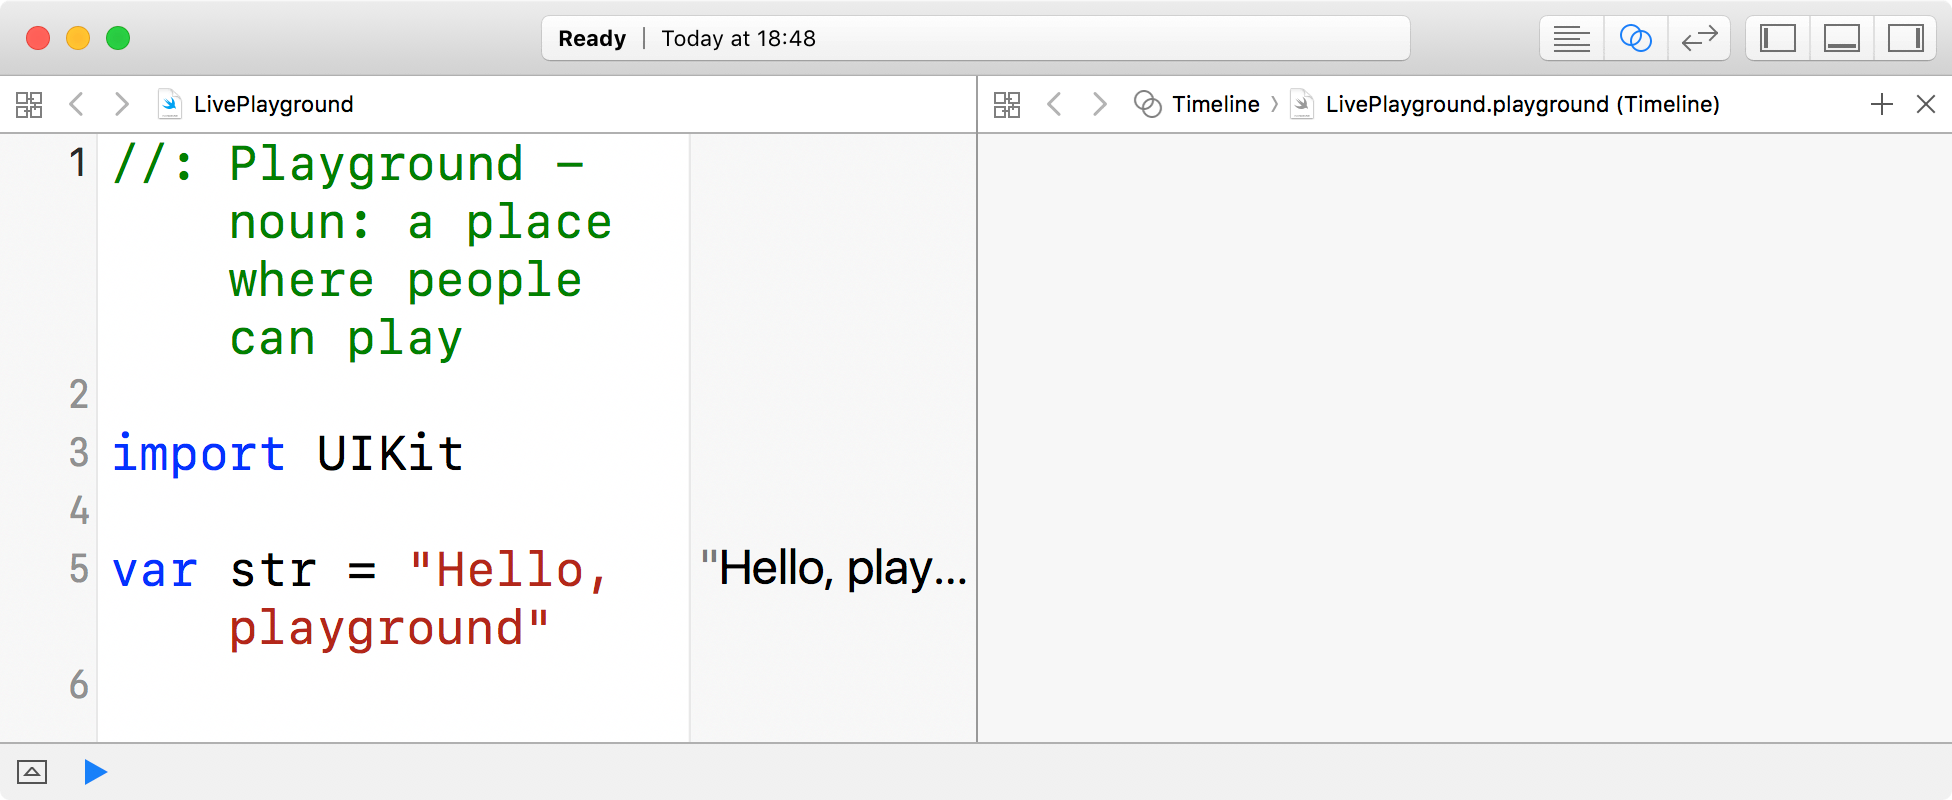
Before we write any code, you need to enable the assistant editor by pressing Alt+Cmd+Return, or clicking the small overlapping circles button near the top-right of your Xcode window. This splits your screen so that you have code on the left, and a live preview of your results on the right.
Right now we don’t have anything to preview, so Xcode should look like the below:
Tip: If your assistant editor is configured to appear below your code, you might find it easier to switch to a vertical layout for previewing reasons. Go to the View menu and choose Assistant Editor > Assistant Editors On Right.
The first thing we’re going to do is set up a simple table view so we can see something useful in the assistant editor.
Delete all the existing code line in the playground, and replace it with this:
import PlaygroundSupport
import UIKit

class WWDCMasterViewController: UITableViewController {
}
The first import is new, and gives us access to live playground previewing. It then creates a new class called WWDCMasterViewController based on UITableViewController. It won’t do much just yet, but that’s OK – we’re just making sure everything works.
After that class, we need to write some simple code to create and present our custom view controller. To make things a little more interesting, we’ll wrap it inside a navigation controller so we can push and pop a detail view later on. Add this code now:
let master = WWDCMasterViewController()
let nav = UINavigationController(rootViewController: master)
The last thing to do is connect that nav constant to the playground’s live view. We already imported the PlaygroundSupport framework, so that’s just one line of code:
PlaygroundPage.current.liveView = navAll being well, Xcode will build and run that playground and show something inside the assistant editor: a large, empty table view.
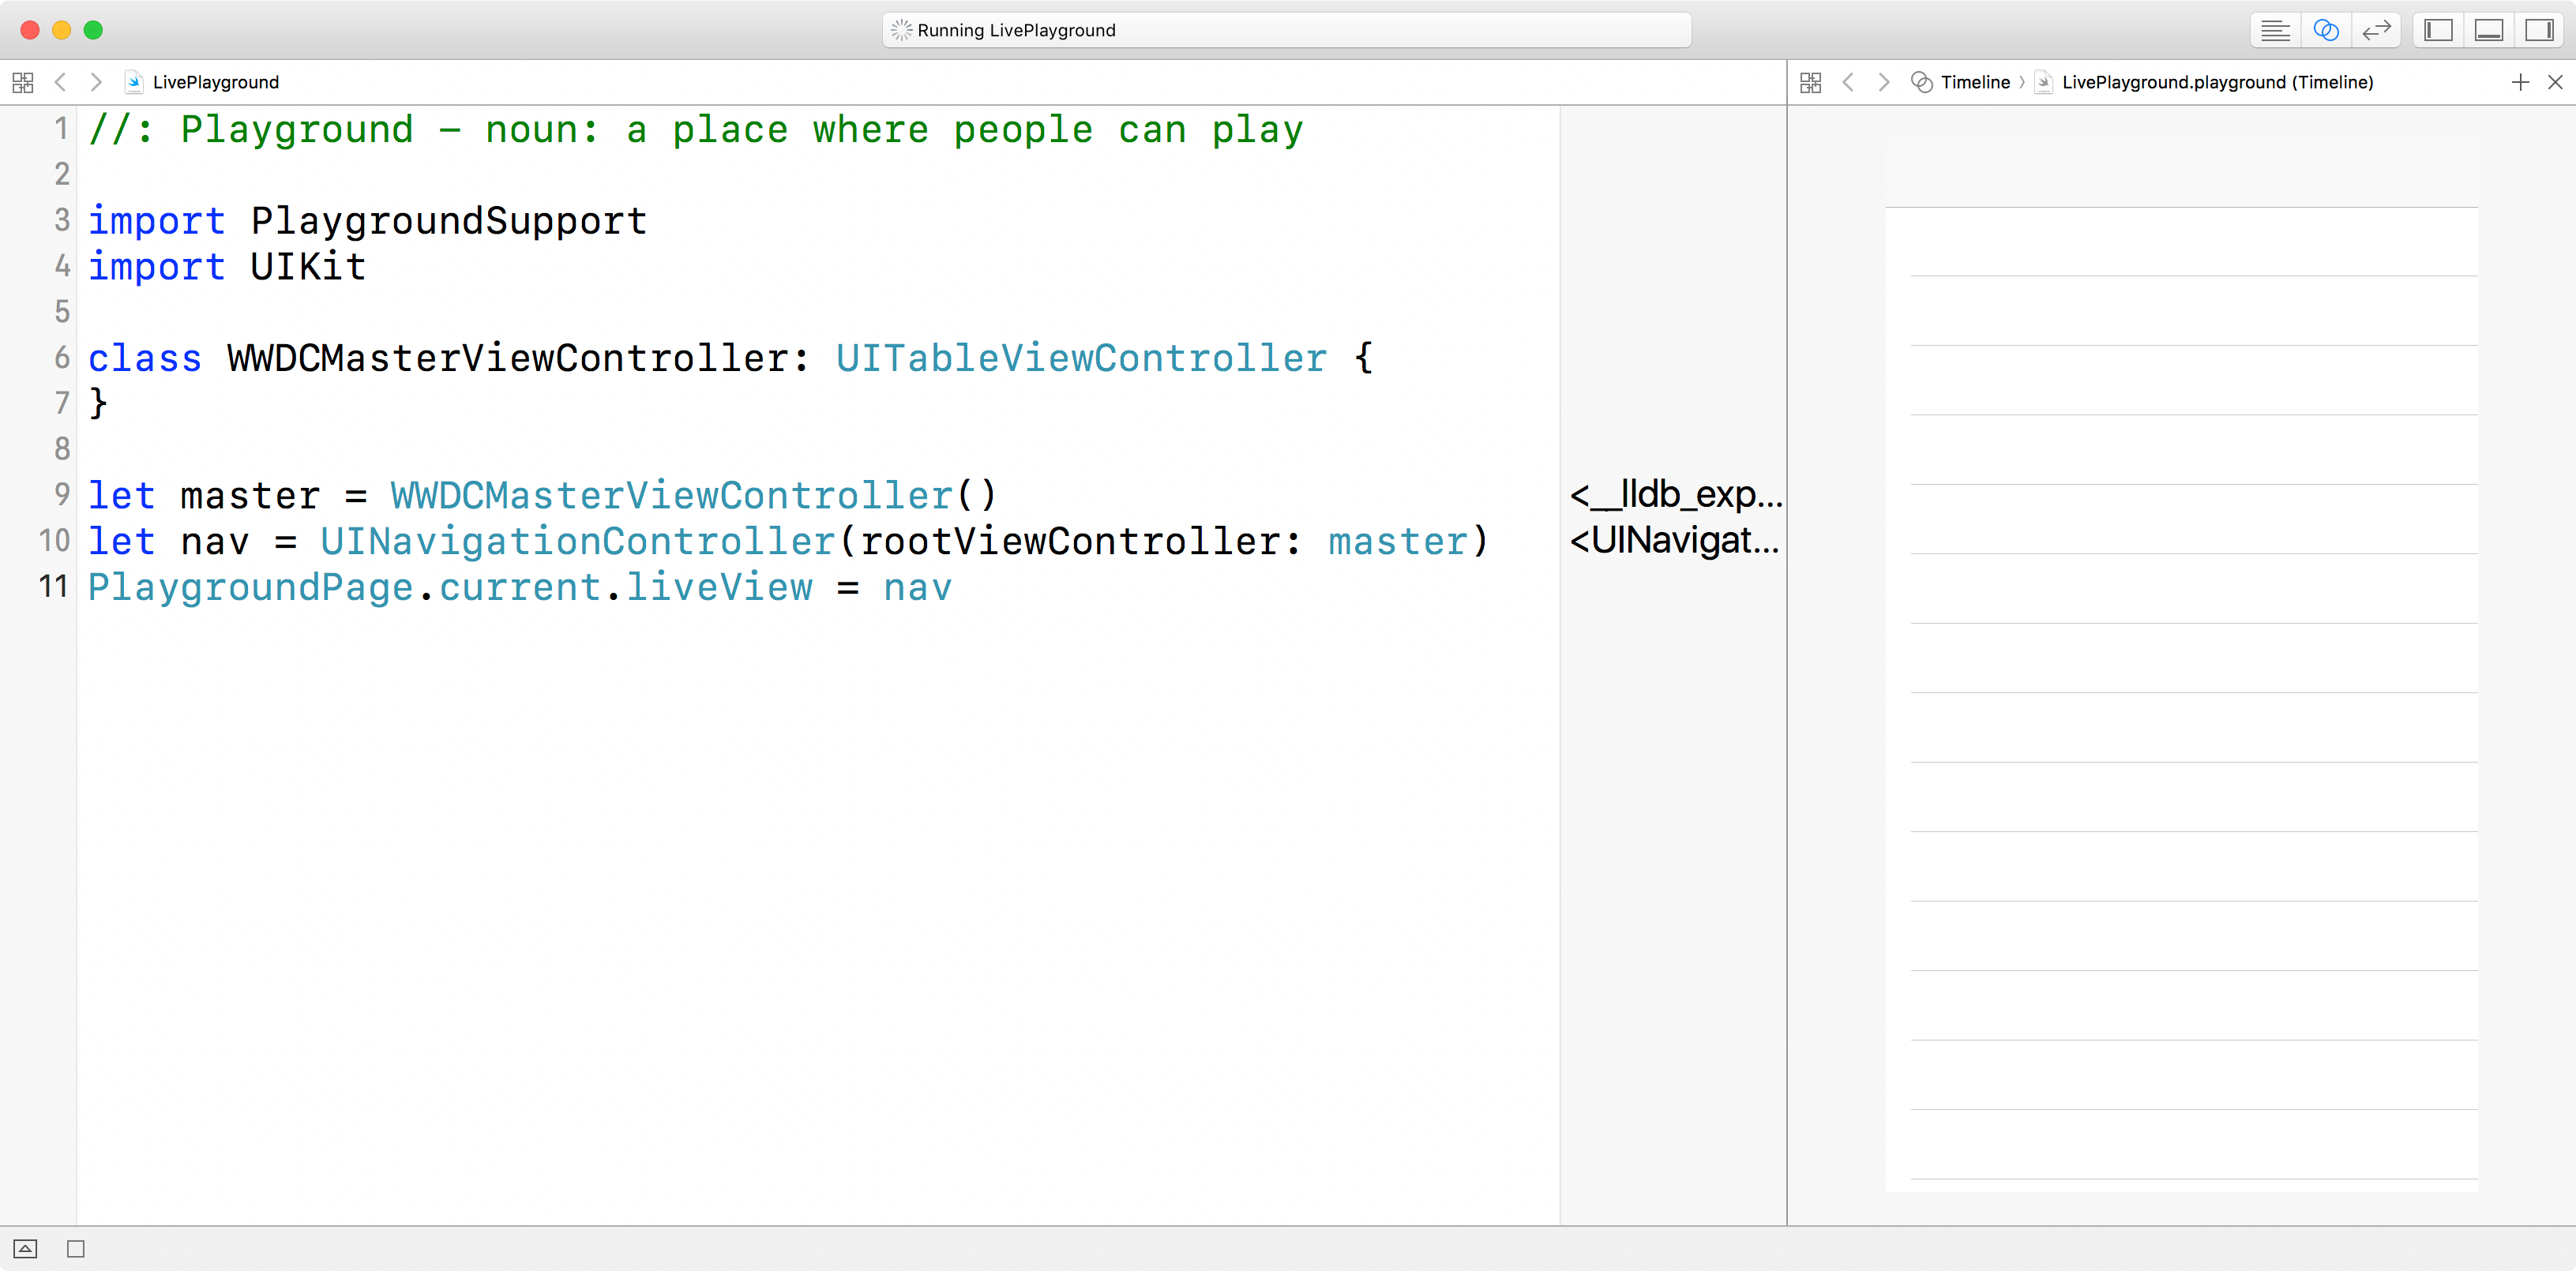
There is a navigation bar at the top of the table view, but you can’t see it because it has the same color as the playground’s background.
So, let’s start by making the navigation bar a little more obvious – add this code to WWDCMasterViewController:
override func viewDidLoad() {
    title = "Reasons I should attend WWDC"
}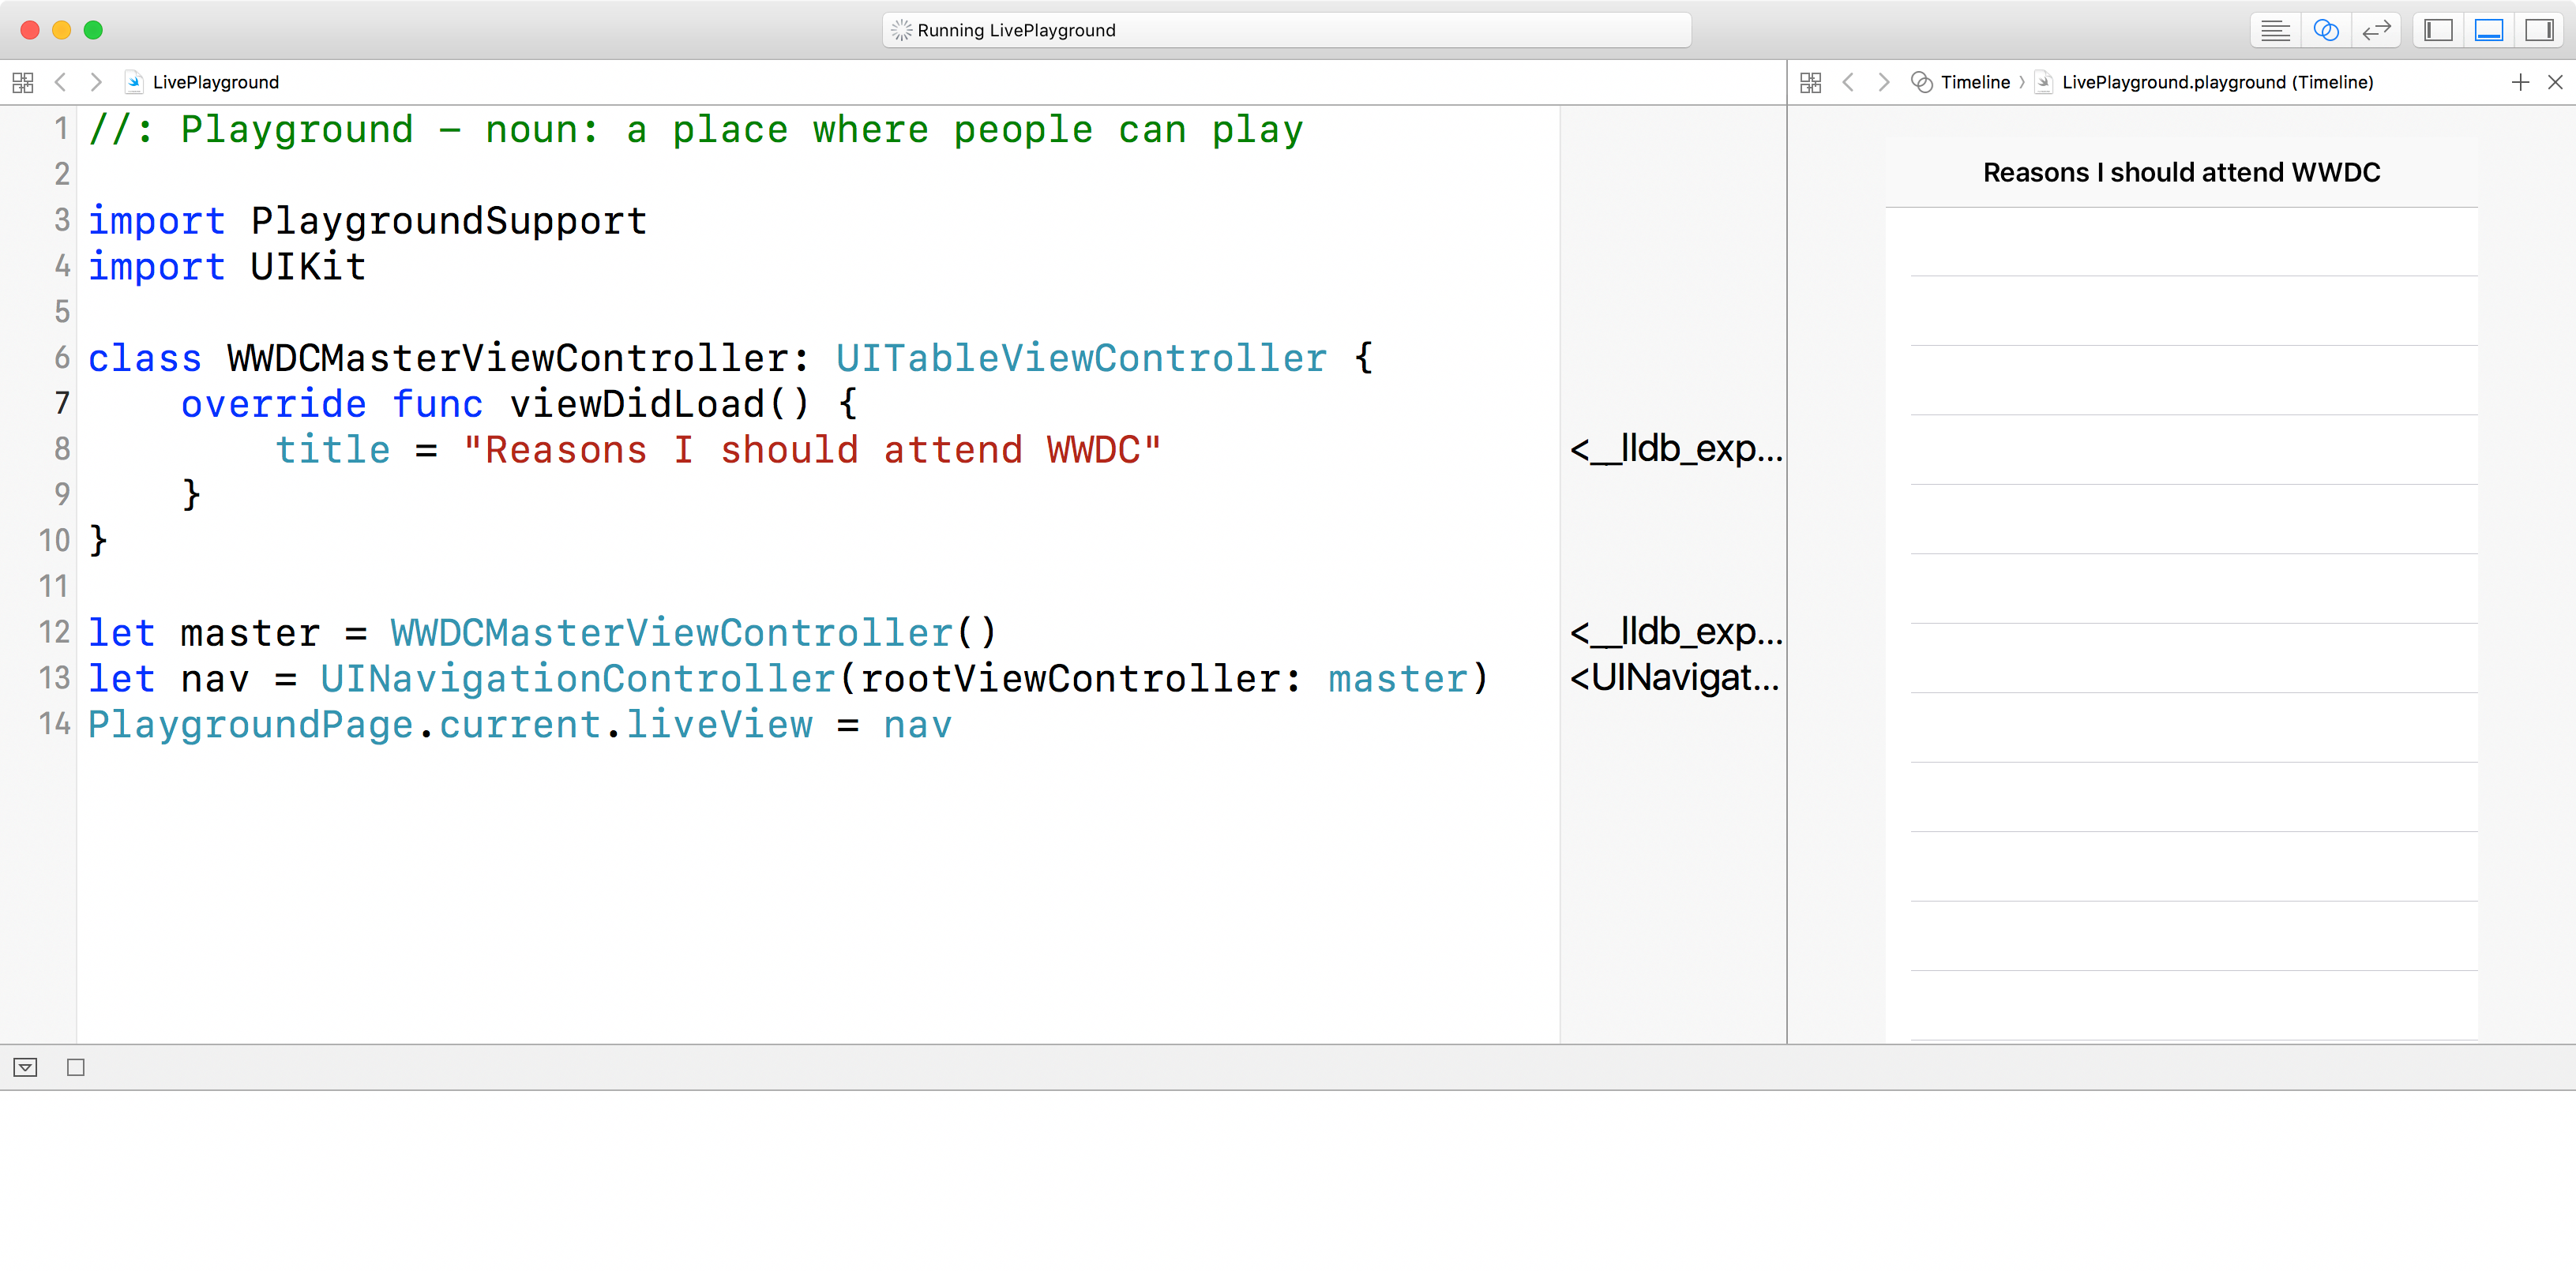
The navigation bar should now be visible, but of course the table view itself is still empty. To fix that, we need to think up some great reasons for you to attend WWDC. I’m sure you can think of a few (and perhaps you’ll even mention a few in your scholarship application!), but I’m going to give you a few to get you started.
We’re going to store all these reasons in a property of WWDCMasterViewController, so we can reference them in the table view. So, add this property to our class now:
var reasons = ["the labs are great", "the sessions teach new things", "the people are awesome", "the keynote rocks", "I must hug Joe Groff"]We want our table view to show one of those reasons in each of its rows, so we can tell it to load as many rows as we have reasons. This is done by implementing the numberOfRowsInSection method, making it return reasons.count, like this:
override func tableView(_ tableView: UITableView, numberOfRowsInSection section: Int) -> Int {
    return reasons.count
}
When that code runs, you’ll probably get a large black screen in the assistant editor, along with lots of errors in the debug area. That’s OK: it’s just because we’ve told iOS we want lots of rows, but haven’t told iOS what’s in those rows.
To fix this problem, we need to implement the cellForRowAt method so that it grabs a reusable table view cell (or creates one if it doesn’t already exist), and configures it to show our Incredibly Awesome Reason for Attending WWDC.
Here’s the first part of the method – add this to the WWDCMasterViewController class:
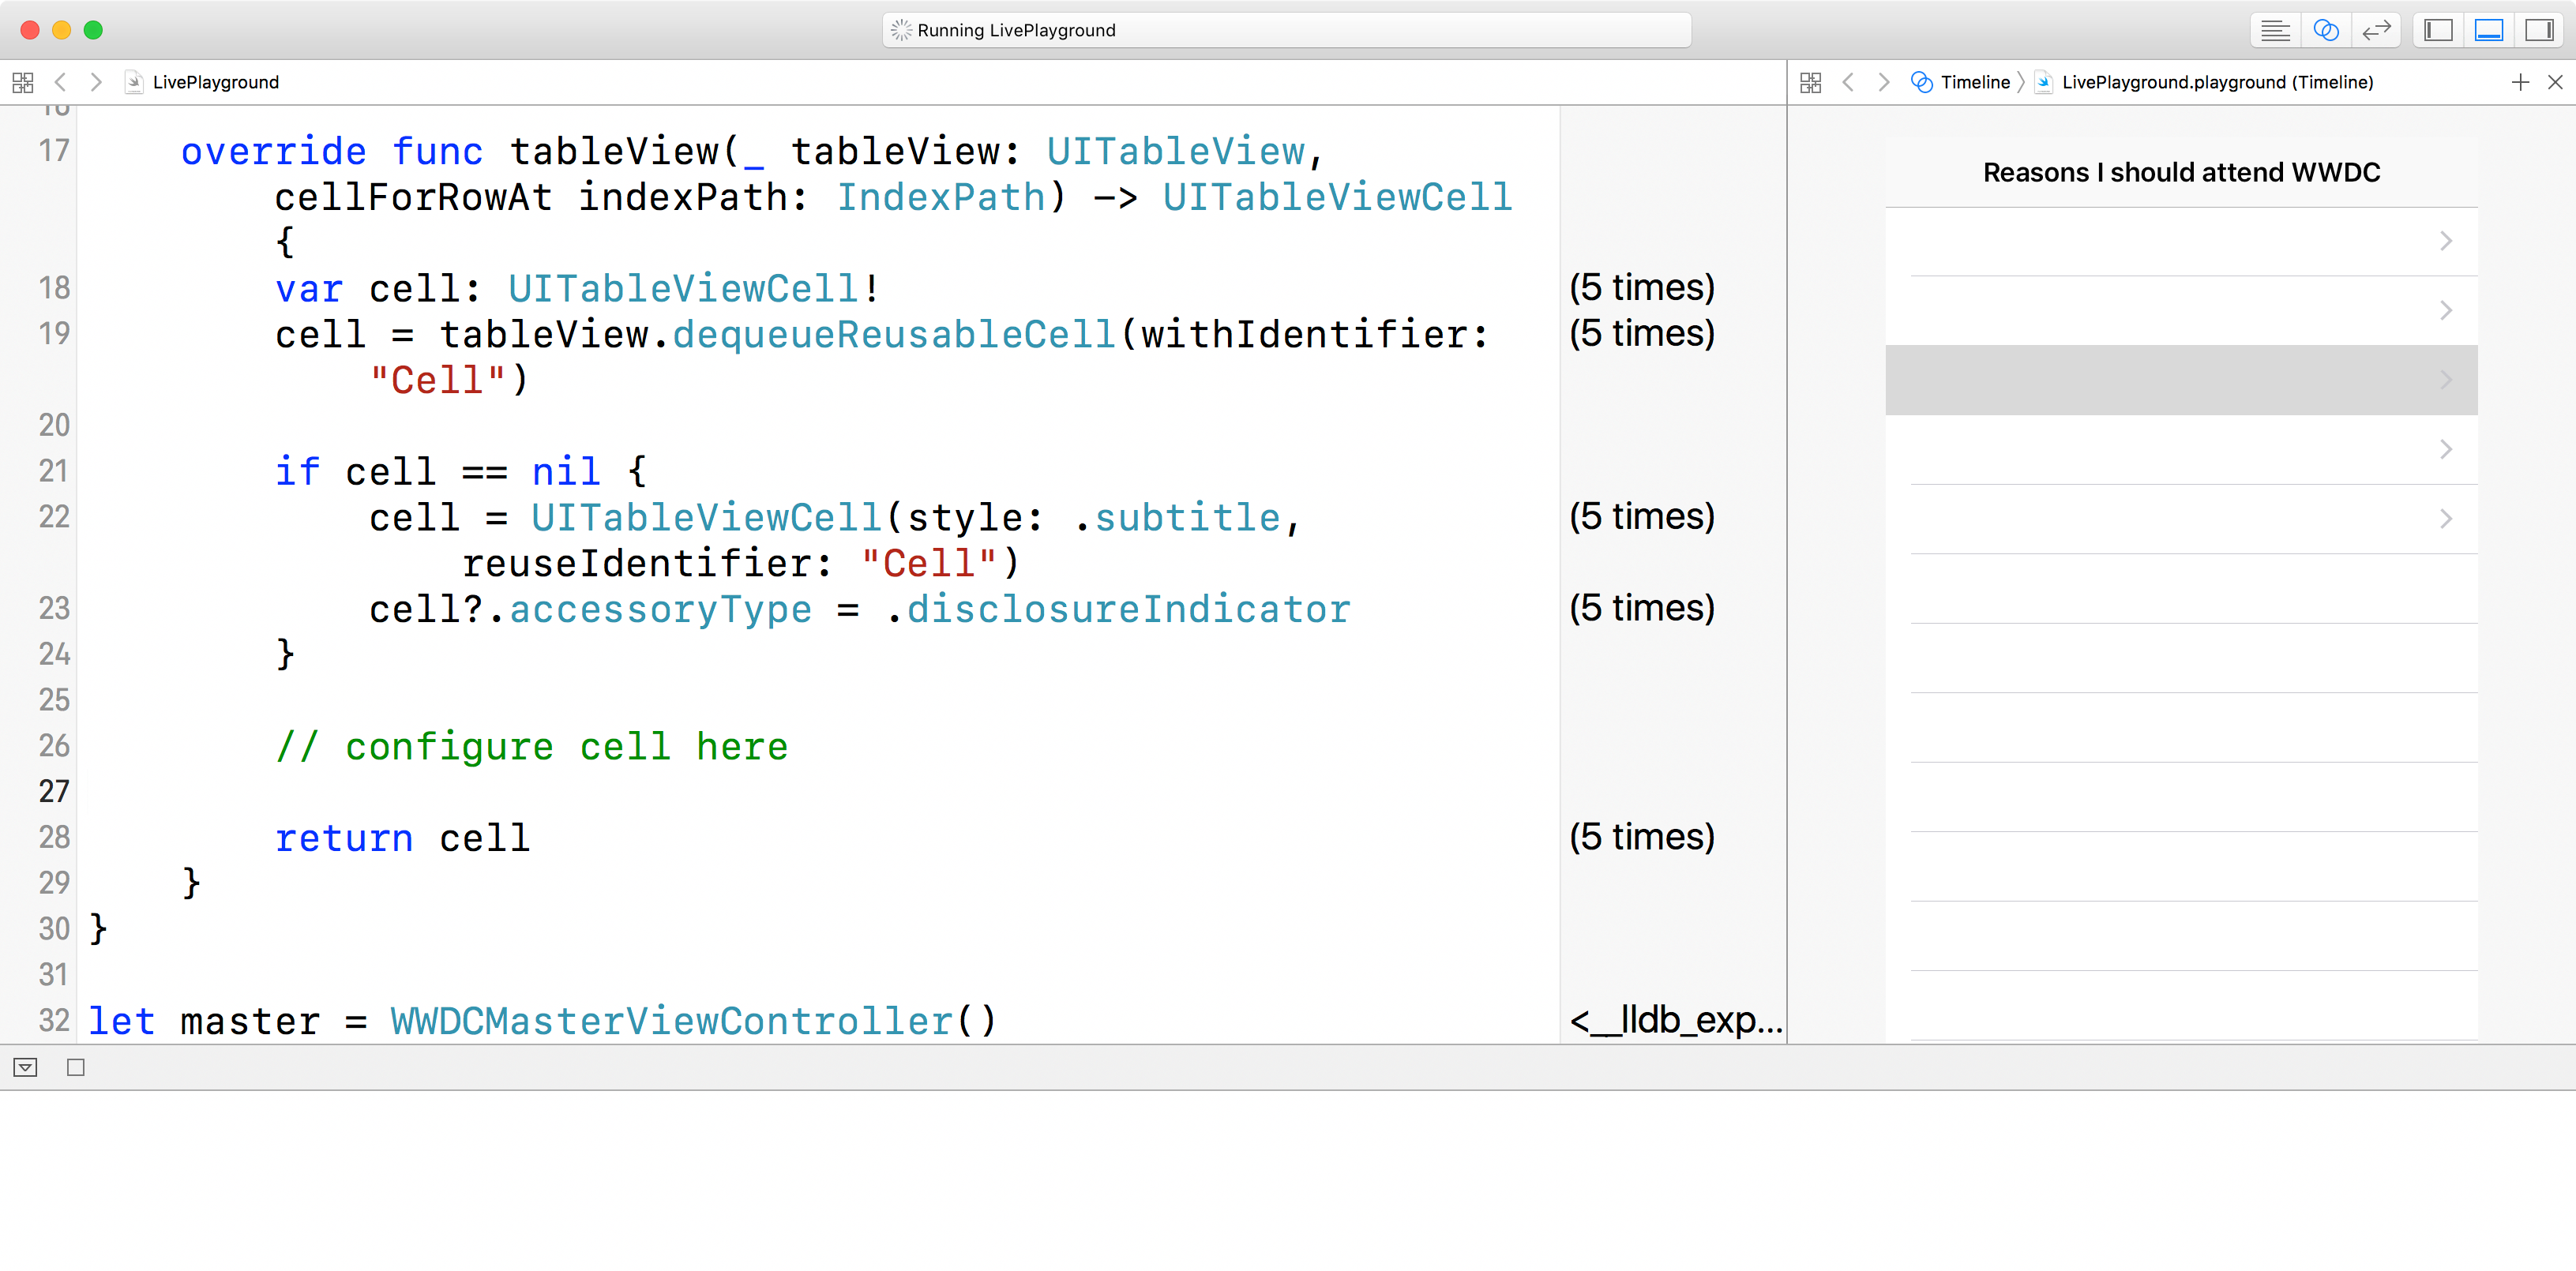
override func tableView(_ tableView: UITableView, cellForRowAt indexPath: IndexPath) -> UITableViewCell {
    // attempt to dequeue a cell
    var cell: UITableViewCell!
    cell = tableView.dequeueReusableCell(withIdentifier: "Cell")

    if cell == nil {
        // none to dequeue – make a new one
        cell = UITableViewCell(style: .subtitle, reuseIdentifier: "Cell")
        cell?.accessoryType = .disclosureIndicator
    }

    // configure cell here

    return cell
}
That creates cells by hand because I’ve made it specifically request the .subtitle cell style to make things look a little more interesting.
That should fix our problem, and when the code runs now you ought to see five small disclosure arrows along the right edge of your table view. There’s no other content in there, but you can try clicking one of those five rows to see it highlight gray.
The next step is to list all our Totally Unbeatable Reasons for Attending WWDC, which is just a matter of pulling one item out of the table and drawing it inside the table view cell. Add this code where the // configure cell here comment is:
let reason = reasons[indexPath.row]
cell.detailTextLabel?.text = "I want to attend because \(reason)"
cell.textLabel?.text = "Reason #\(indexPath.row + 1)"
That’s our first view controller finished, but of course this is a live view so what we want to do is interact with the app at least a little. To demonstrate that, we’re going to create a second view controller that gets pushed on-screen from the first, and will show whichever Absolutely Foolproof Reason for attending WWDC was selected.
Start by adding this class directly after the existing WWDCMasterViewController class:
class WWDCDetailViewController: UIViewController {
    var message = ""
}
With that in place, you can present a second view controller by implementing the didSelectRowAt method in WWDCMasterViewController, like this:
override func tableView(_ tableView: UITableView, didSelectRowAt indexPath: IndexPath) {
    guard let text = tableView.cellForRow(at: indexPath)?.detailTextLabel?.text else { return }

    let detail = WWDCDetailViewController()
    detail.message = text
    navigationController?.pushViewController(detail, animated: true)
}
That pulls out the text from the cell that was tapped, creates a new detailed view controller, sets its message property to the cell text, then pushes it onto the navigation controller stack.
If you give it a try, you’ll see this sort of works, but looks wrong: a black screen is pushed onto the navigation controller, and the previous view controller doesn’t animate away correctly.
To fix this, we need to tell WWDCDetailViewController how to load its view by adding a loadView method. This doesn’t need to do much: we’ll create an empty UIView with a white background color, and set a default title so there’s something in the navigation bar.
To make that work, add this code to the WWDCDetailViewController class now:
override func loadView() {
    title = "Please let me go!"
    view = UIView()
    view.backgroundColor = UIColor.white
}
When you try tapping a table cell now, the animation should look much better.

The final step is to do something interesting with the detail view controller. We already set its message property, so let’s make that text display.
There are a number of ways you could do this, but Apple specifically calls out “technical accomplishment” and “creativity of ideas” in its scholarship details. Clearly I’m not going to do this for you (not least because it would disqualify you from entering!) but at the same time it would be rather dull of me just to show some fixed text in this demonstration.
So, while you’re here let’s learn something new: UIKit dynamics. This lets you attach physical properties to your UIKit views to make them move a little more naturally on the screen.
To finish our detail view controller, we’re going to split the message up into individual words, make each word into a UILabel, then make those labels fall down our view using a gravity effect. Trust me: it’s easier than you think.
First, you need to add a property to WWDCDetailViewController that will store a reference to our UIDynamicAnimator object. This is what tracks our dynamic effects (“fall down with gravity”, “bounce off other things”) over time.
Add this property now:
var animator: UIDynamicAnimator?Now for the fun part. When our view has finished loading fully and sized itself, we’re going to do the following:
- Split our
messageproperty up into words. - Create a new
UILabelarray, starting empty. - Go over every word in our message, and convert it to a
UILabelwith a nice and large font. - Position the word labels one above the other, in the horizontal center of the screen.
- Create a
UIGravityBehaviorobject that’s attached to all our labels, and add that to ouranimatorproperty. - Create a
UICollisionBehaviorobject that’s also attached to all our labels, and add that to ouranimatorproperty as well. - Make the collision behavior use view bounds as boundaries – i.e., make sure our views stay on the screen.
The easiest place to put this code is inside the viewDidLayoutSubviews() method, because at that point our main UIView will have its frame value set correctly.
So, to finish up you need to add one more method to WWDCDetailViewController – I’ve made the comments match my numbers above:
override func viewDidLayoutSubviews() {
    guard animator == nil else { return }

    // 1: split the message up into words
    let words = message.components(separatedBy: " ")

    // 2: create an empty array of labels
    var labels = [UILabel]()

    // 3: convert each word into a label
    for (index, word) in words.enumerated() {
        let label = UILabel()
        label.font = UIFont.preferredFont(forTextStyle: .title1)

        // 4: position the labels one above the other
        label.center = CGPoint(x: view.frame.midX, y: 50 + CGFloat(30 * index))
        label.text = word
        label.sizeToFit()
        view.addSubview(label)

        labels.append(label)
    }

    // 5: create a gravity behaviour for our labels
    let gravity = UIGravityBehavior(items: labels)
    animator = UIDynamicAnimator(referenceView: view)
    animator?.addBehavior(gravity)

    // 6: create a collision behavior for our labels
    let collisions = UICollisionBehavior(items: labels)

    // 7: give some boundaries for the collisions
    collisions.translatesReferenceBoundsIntoBoundary = true
    animator?.addBehavior(collisions)
}
Note: I added a guard statement in there so the method is run only once.
When you run the code now, you should be able to tap a row to see the words fall down and bounce around in the detail view controller – what’s not to like?
So, at this point you have a table view, a navigation controller, a detail view being presented with animation, plus some UIKit dynamics – more than enough, I hope, to at least get you out of first gear when it comes to applying for a WWDC scholarship.
As a reminder, Apple really does want to see some sort of technical accomplishment and creativity – you’ve seen how to create an interactive live view here, but you should aim significantly higher. Don’t be afraid to use SpriteKit. Add your own images and audio (within the 25MB limit!). Try to make something delightful, no matter how small.
Good luck!
BUILD THE ULTIMATE PORTFOLIO APP Most Swift tutorials help you solve one specific problem, but in my Ultimate Portfolio App series I show you how to get all the best practices into a single app: architecture, testing, performance, accessibility, localization, project organization, and so much more, all while building a SwiftUI app that works on iOS, macOS and watchOS.
Sponsor Hacking with Swift and reach the world's largest Swift community!
Available from iOS 7
Similar solutions…
- How to create a SpriteKit texture atlas in Xcode
- How to create exception breakpoints in Xcode
- How to load assets from Xcode asset catalogs
- How to debug view layouts in Xcode
- How to make Xcode play sounds while debugging
About the Swift Knowledge Base
This is part of the Swift Knowledge Base, a free, searchable collection of solutions for common iOS questions.


