Ultimate Portfolio App
Learn to build one complete app using SwiftUI, Core Data, StoreKit, Widgets, Spotlight, and more.
Part 1: Building the core app
The first step of our project will be to build the core of the app itself, providing all the fundamental features. Everyone needs to follow these steps.
Introduction

11:03
1. Ultimate Portfolio App: Introduction
UPDATED: While I’m sure you’re keen to get started programming immediately, please give me a few minutes to outline the goals of this course and explain why it’s different from other courses I’ve written.
Setting up the basics
34:35
UPDATED: Almost always, the key to getting a great app is getting a great data model – deciding as early as you can what data you want to store, and how each piece relates to other pieces. So, we’re going to dive straight into Core Data!
19:43
UPDATED: Now that we have our basic data model configured and coded, we can put it to use by building a simple user interface to help make sure our data is in place and working correctly.
14:54
4. Storing your code somewhere safe
UPDATED: At this point we have something very simple working, so now is a great time to stash your code away somewhere safe using source control. If you already know how to use Git then you’re welcome to skip this part, but please do make sure and store your work somewhere.
22:30
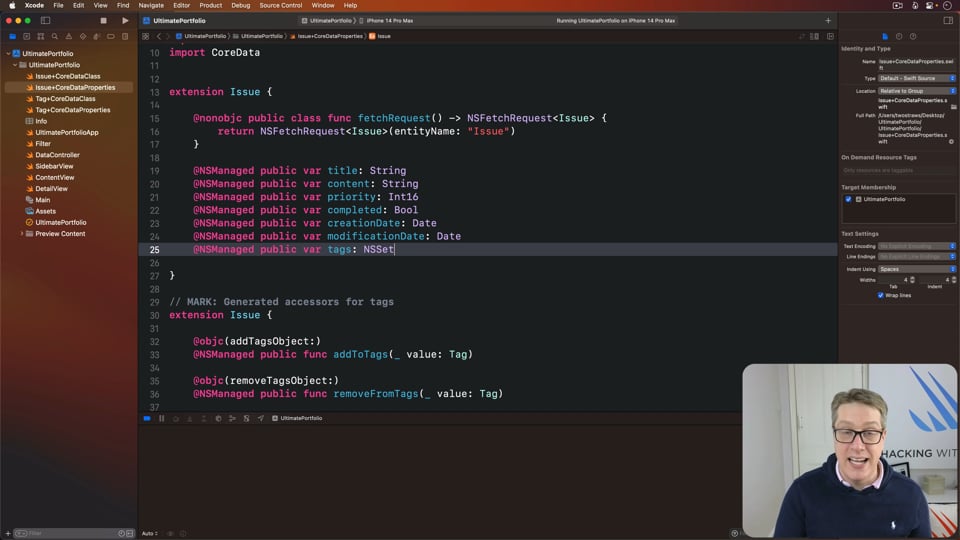
UPDATED: Core Data’s optionals are quite different from Swift’s optionals, which makes them a little uncomfortable to work with. In this article I’m going to show you two ways of fixing this, which will help clear up our code nicely.
25:58
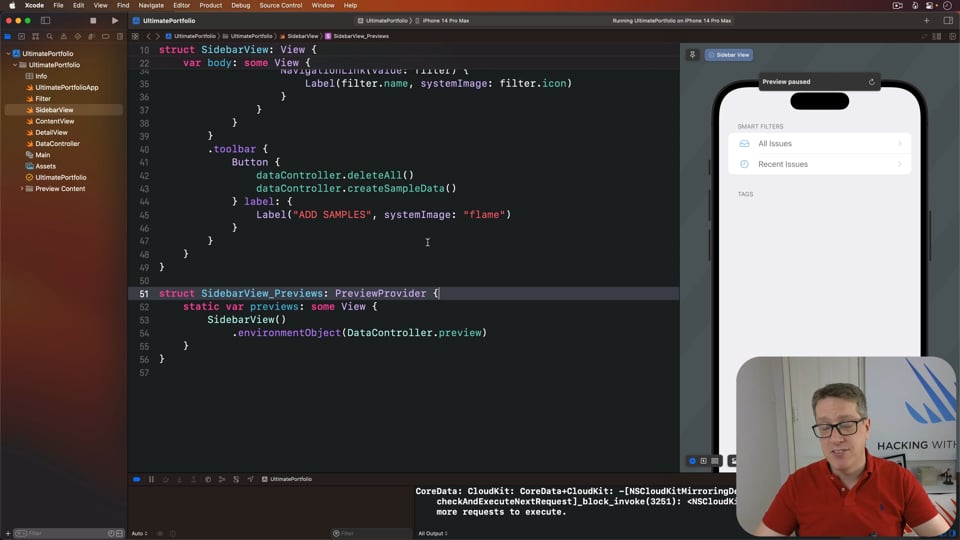
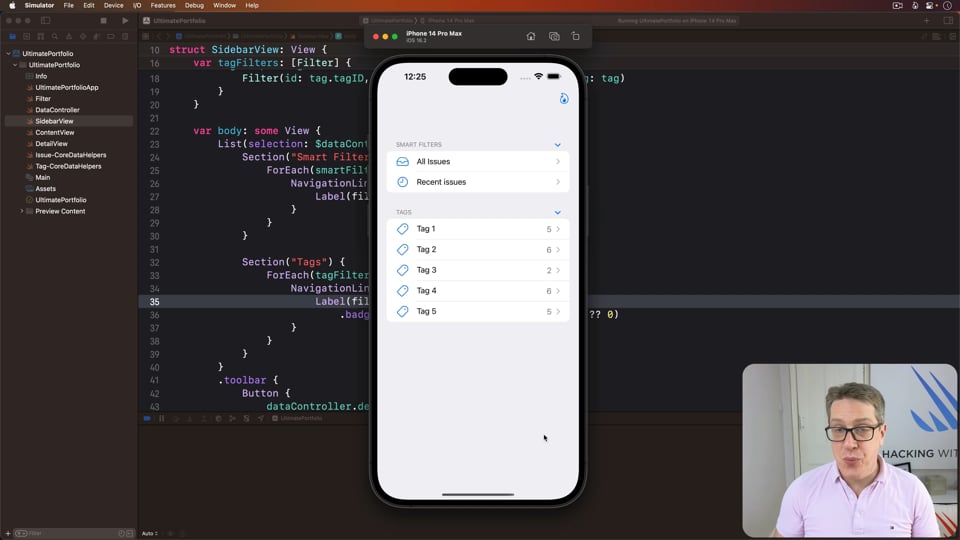
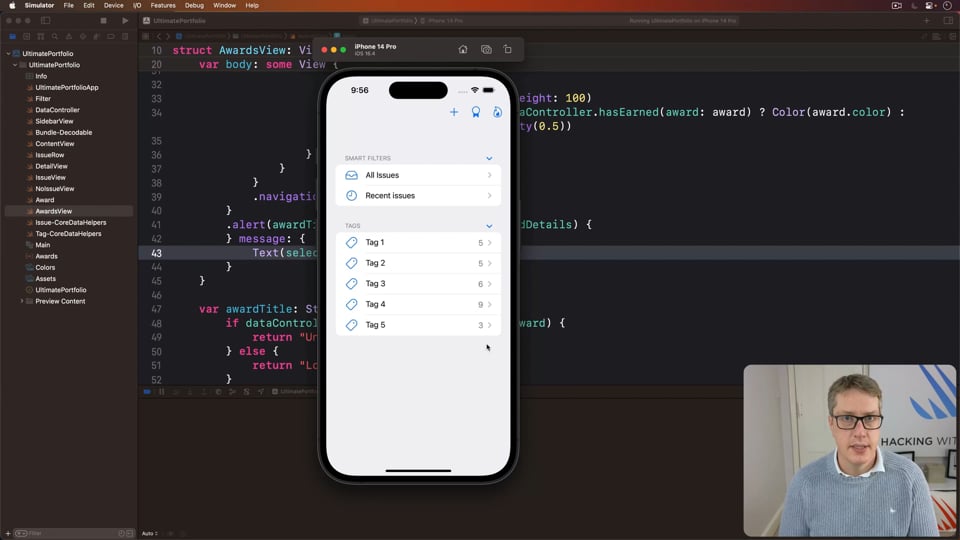
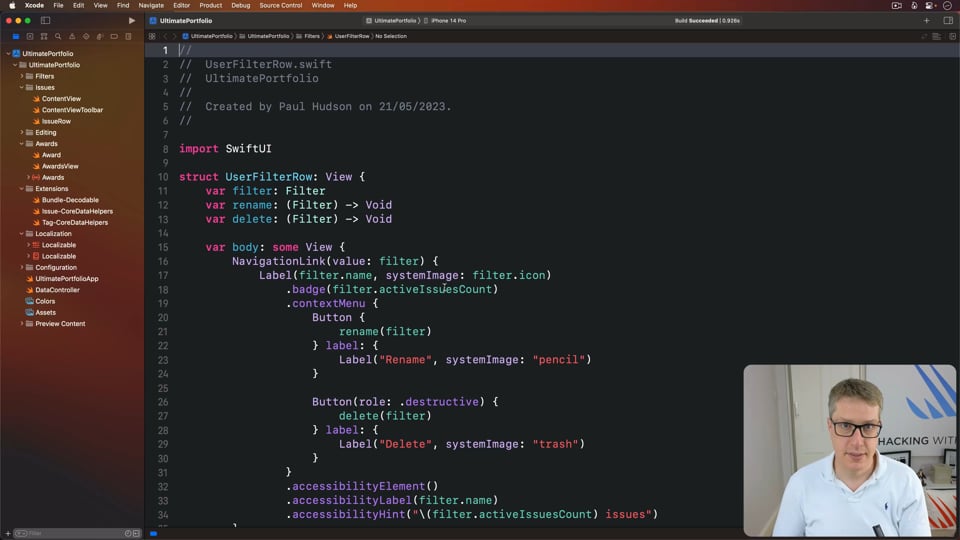
6. Showing, deleting, and synchronizing issues
UPDATED: Now that we’ve got a basic draft of our sidebar working, we can proceed to the next level of our user interface: the content view, showing a list of all the issues they selected, then making sure user changes are synchronized across devices.
Editing our data
25:07
UPDATED: Our next step is to build a simple form so the user can view and edit issues, which is mostly straightforward. However, extra thought needs to be given to how we can select tags neatly – it’s trickier than you might think!
11:39
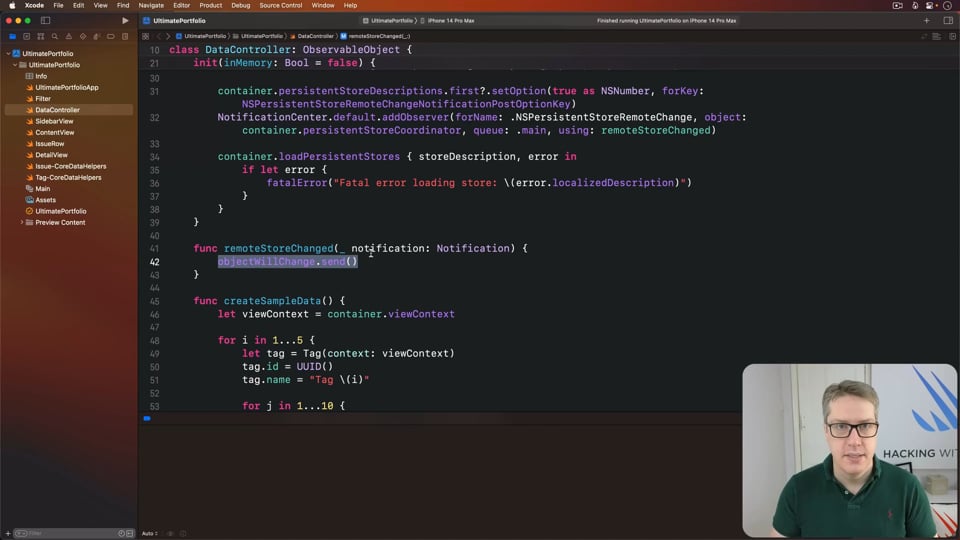
UPDATED: Right now we trigger a save when our user takes a dramatic action such as adding a tag or deleting an issue, but we don’t want to trigger a save for every letter they press while editing an issue title. So, how can we make sure data is safe while also avoiding too much work?
31:48
UPDATED: At this point we have a very basic version of our app running, but we’re missing a handful of key features including search. We can get a simple version of search with little work, but a great version means pushing Core Data much harder.
20:21
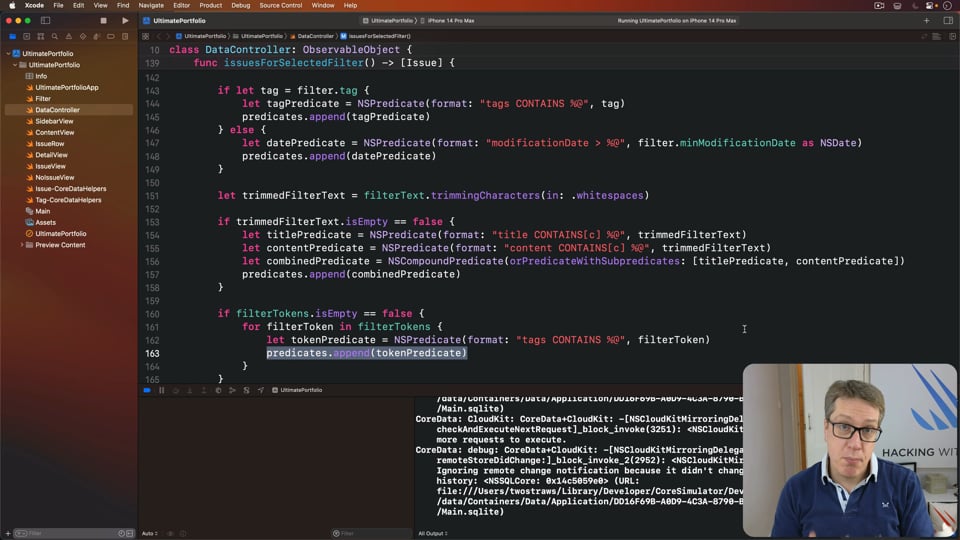
10. Advanced filtering and sorting
UPDATED: You might think we’ve just finished filtering, but Apple’s Feedback Assistant takes this a step further by allowing a second layer of filtering for bug state, as well as options to control sorting – both worthy additions, and not too tricky in our project!
22:06
11. Questions and answers, part 1
UPDATED: As folks have worked their way through the series so far, they’ve sent in various questions about implementation choices and more. In this article I want to address the most common questions asked so far, so that everyone can benefit.
Filling out the functionality
15:42
UPDATED: At this point you can get a basic idea for the UI of our app, but it has a fatal flaw: although we can add test data, we can’t do the same for user data. Let’s fix that now – there’s more to it than you might think!
30:02
UPDATED: Parsing data into your app is probably the single most common task any iOS developer needs to do, so in this article we’ll start to build out an Awards screen using JSON.
13:10
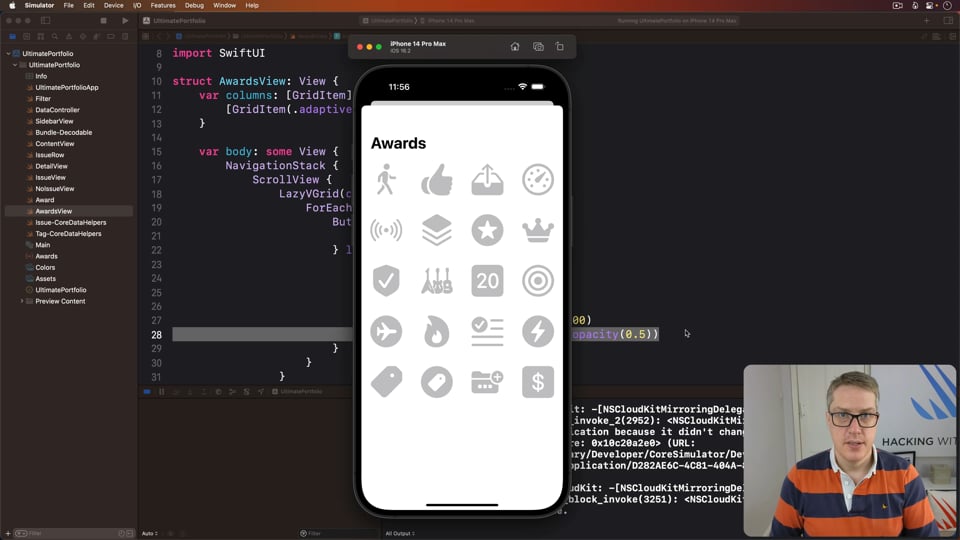
14. Earning awards
UPDATED: Now that we’ve designed a basic awards UI, we can bring it to life with some Core Data queries to determine which awards have actually been earned.
14:40
15. Finishing our initial version
UPDATED: At this point the first version of our app is almost finished, but before we move on to the next stage I want to make a handful of small fixes, tweaks, and improvements to round it out.
Beginning the clean up
04:33
UPDATED: Everything we’ve done so far has produced a serviceable app, although in the future we’ll add a lot more functionality and cross-platform support. But before we get near to those, I want to change gear and focus on making our existing code better. This is where the real work begins!
16:13
17. Making your app accessible
UPDATED: It is my firm belief that every iOS app should be usable to everyone, and putting in the work to make your app function well no matter who is using it says a lot about the kind of developer you are.

46:47
18. Internationalization and localization
UPDATED: Our app was designed to work in English, and although you might not want to change that your should at least be able to change. Let’s fix that now…
37:32
UPDATED: Although our SwiftUI layouts conform to the View protocol, if you were to try to think about them in MVC terms I’d say they were more like controllers. And like controllers from UIKit, we need to put in some work to keep SwiftUI views lean – let’s look at this now…
31:35
20. Linting our code
UPDATED: Code is designed to be read far more often than it is written, and one of the simplest ways of making code easier to read is to make it uniform – to make sure your code follows a simple style, so your brain can focus less on spacing and naming and more on understanding how the code actually works.
30:12
UPDATED: Good documentation describes not only what code does, but provides context on why it works a certain way, what assumptions you made, any optimizations you made, as well as describing subtleties in the implementation if you’re dealing with difficult code. In this article we’re going to be documenting our project for other developers and beyond!
17:54
22. Organizing the project itself
UPDATED: We have one last easy task before we look at something trickier, which is to organize the Xcode project itself. Here I’m going to show you two different approaches so you can contrast them yourself, then explain which I prefer and why.
Testing our project
15:50
UPDATED: At last it’s time to start writing tests for our project, which means a little bit of setup work backed by writing our first couple of tests – we’ll take this slow initially, but lay down a good foundation for future tests.
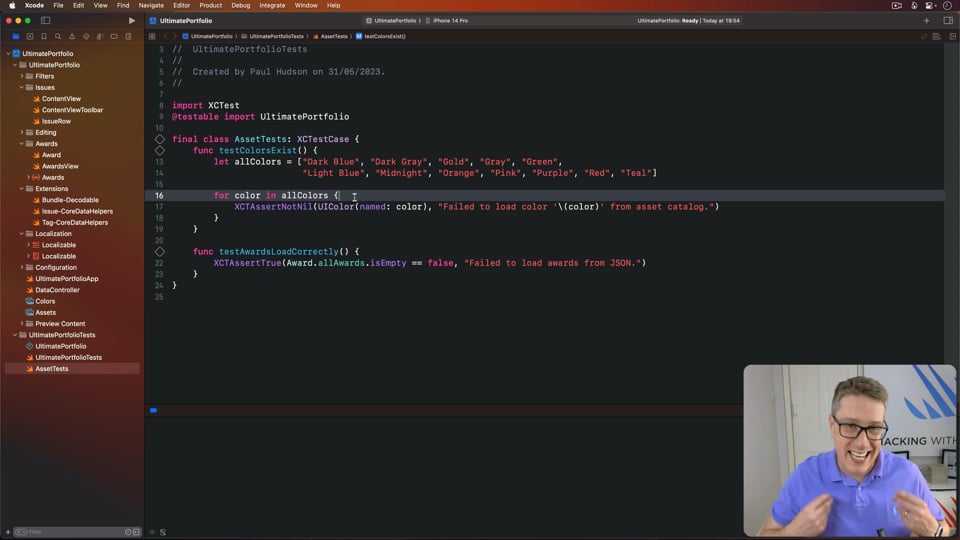
30:31
UPDATED: Our app relies extensively on user data, so if there’s one part of it that absolutely must be bullet proof it’s our Core Data stack. In this article we’ll explore writing tests for our data, including tags, issues, and awards.
8:27
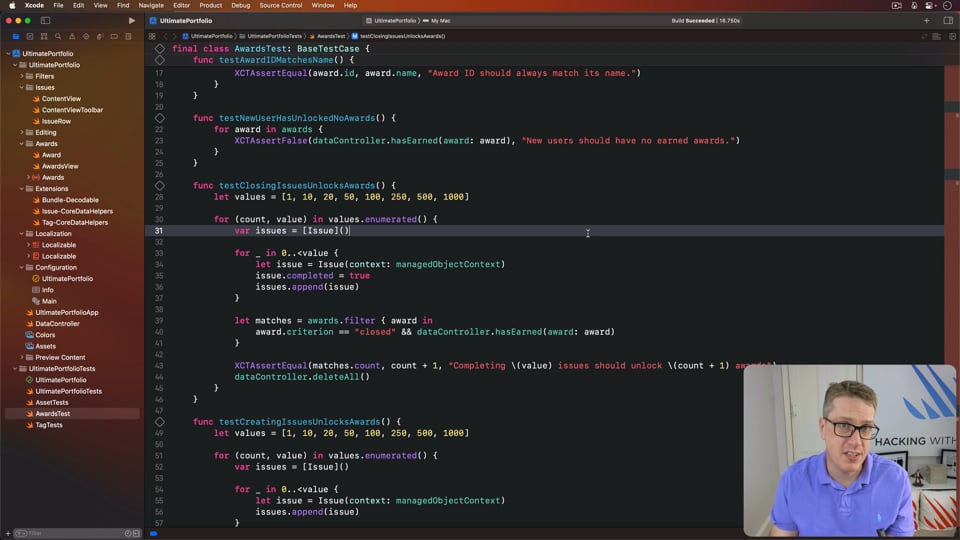
UPDATED: In previous tests we relied upon our sample data creating 5 tags and 50 issues, but that isn’t set in stone right now – it’s an implementation detail, meaning that it’s a behavior that happens to be the case but isn’t explicitly guaranteed. This is a common cause of bugs, so in this article we’re going to write tests for our development code!
28:23
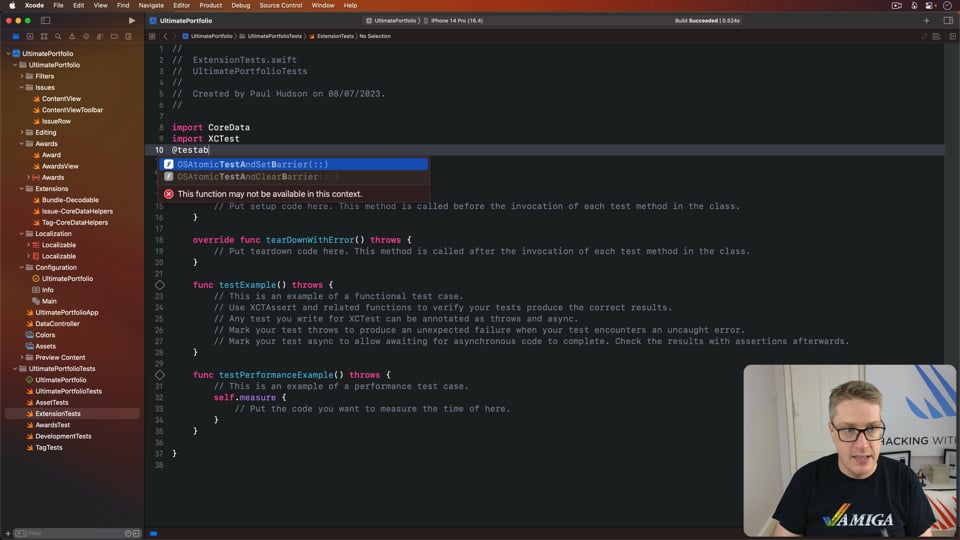
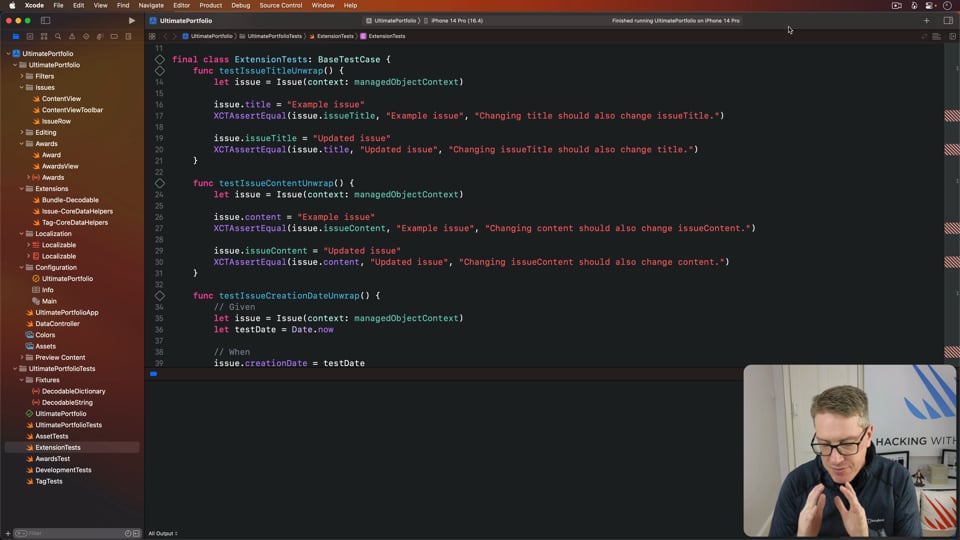
UPDATED: Our project has various extensions that help make the rest of our code easier, and we need to treat these carefully – small changes to these can have huge effects across the rest of our project. So, in this article we’re going to write tests for the extensions we created, making sure they work correctly every time.
14:35
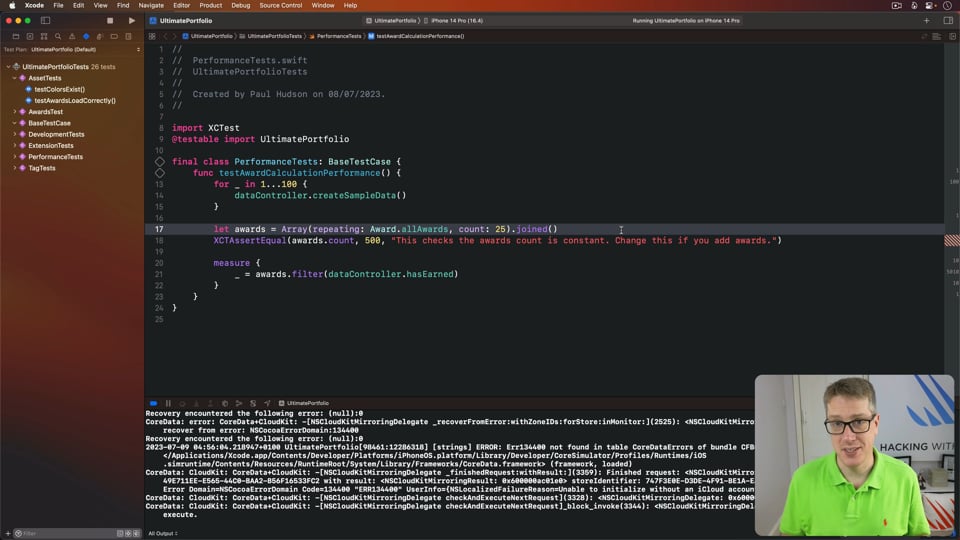
UPDATED: Although our project doesn’t do anything particularly performance intensive, having a great portfolio app means you should at least attempt to demonstrate you understand how performance tests work. In this chapter we’ll add just such a test to our project, to make sure our award counting work is fast.
47:29
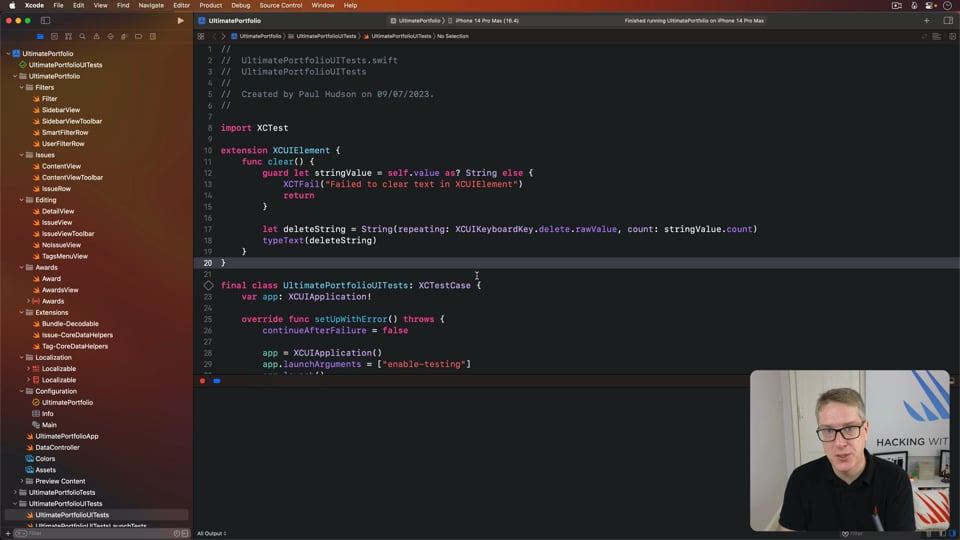
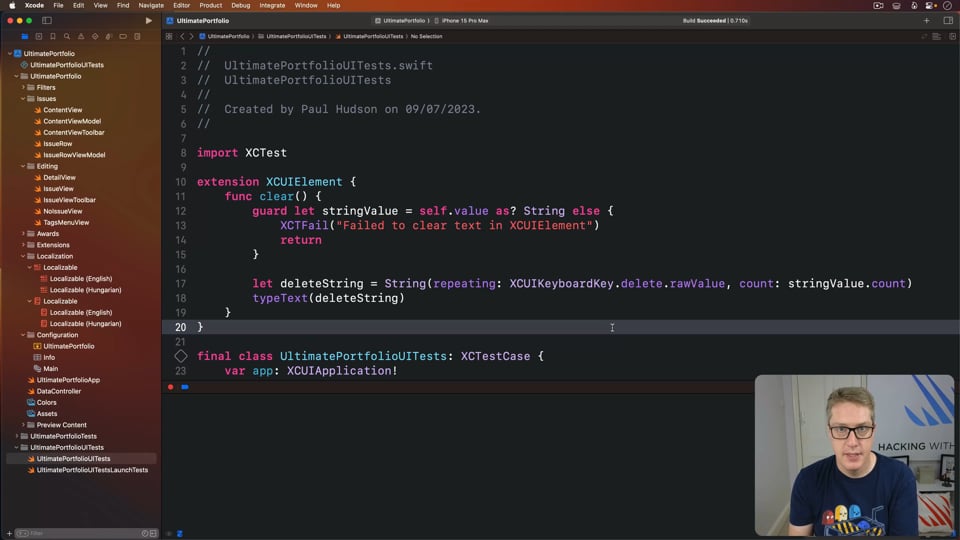
UPDATED: Even after writing stacks of unit tests, chances are your test coverage is still only around 50%. Those units tests are really important, but if you really want great test coverage you need to add some UI tests and that’s exactly what we’re going to work on here.
Pragmatic MVVM
33:41
29. Bringing MVVM into our SwiftUI project, part 1
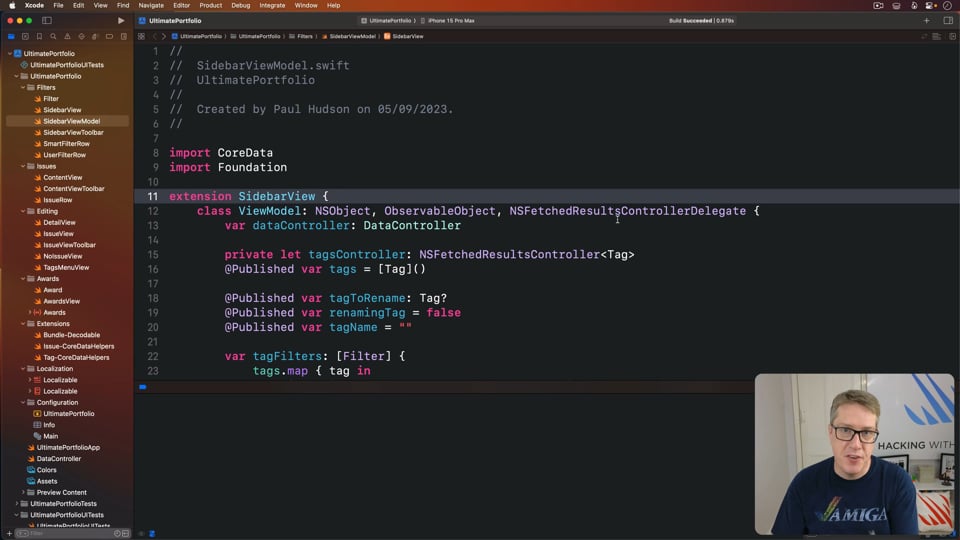
UPDATED: The final major change we’re going to make to our project is to look at how it fits in with the MVVM design pattern. I left this one to last because it’s quite a jump from our previous work and in many respects SwiftUI even fights against it, but I do think it’s worth exploring so you can be sure your code is sound.
26:15
30. Bringing MVVM into our SwiftUI project, part 2
UPDATED: In this article we’re going to continue with our move towards MVVM, this time converting another two views that work well, but also looking at code that works less well so you can get a better idea of how SwiftUI and MVVM really fit together.
Final tweaks
17:00
UPDATED: We’ve just put in place the last major code to complete part one of this app. Let’s clean up just a tiny bit, then look over what we’ve made so far.
Part 2: Integrating with the system
Once our core app is built, we can explore optional extras such as integrating with Core Haptics, Spotlight, StoreKit, and more.
18:42
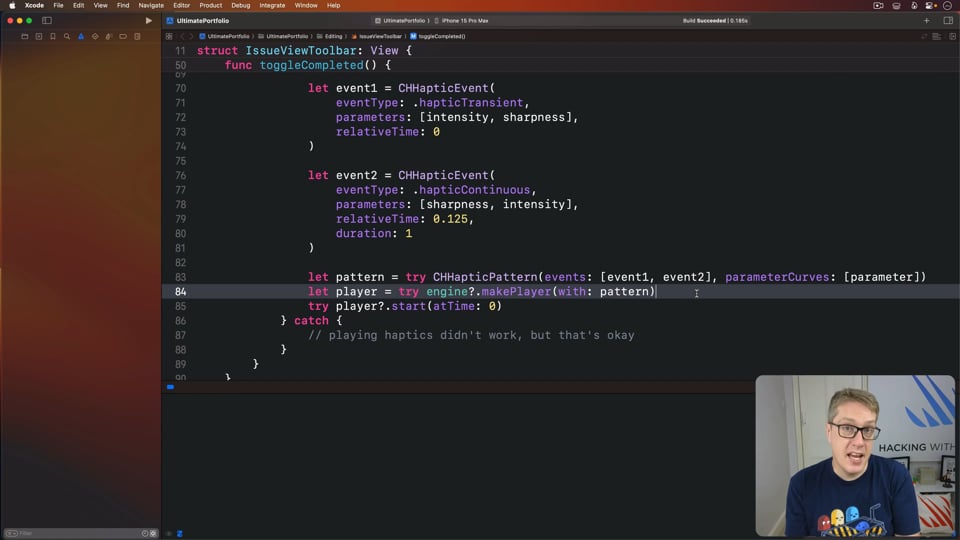
32. Adding haptics
UPDATED: In this article I’m going to walk you through adding haptics to your app, to make it feel a little more alive in the user’s hand.
18:33
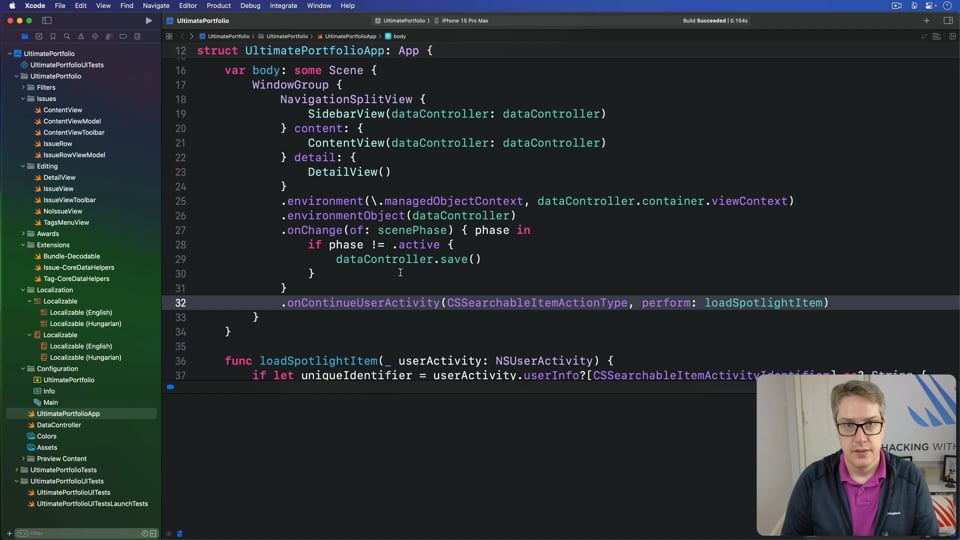
33. Integrating with Spotlight
UPDATED: In this article we’re going to make Spotlight store our app’s data, meaning that the user can search for issues right from their iOS Home Screen. If you intend to follow the Widget or shortcut sections of this course later on, you should follow this article first.
32:35
34. Adding local notifications
UPDATED: Local notifications allow us to set reminders for the user without ever needing to send data off the device. In this article we’re going to add these notifications to our app, so that users can be reminded to work on specific bugs.
45:06
35. Offering in-app purchases, part 1
UPDATED: Although many apps work great when paid for up front, many more work better when using a freemium model – you get lots of downloads of a free app, then charge for some kind of premium service. In this article we’re going to limit our app unless the user has paid for an unlock, but we’ll be using a flexible approach you can adapt easily.
46:07
36. Offering in-app purchases, part 2
UPDATED: Previously we added all the grunt work to make in-app purchases possible in our app. In this article we’re going to continue that work by polishing the whole experience, checking the whole flow works, and also asking for user reviews.

14:39
37. Questions and answers, part 2
UPDATED: I’ve had a whole bunch more questions sent in from readers, covering testing, haptics, Spotlight, and more, so let’s dive into them with code examples.
21:21
38. Adding a Quick Action to our icon
UPDATED: Quick Actions let users long-press on our app’s icon on the Home Screen to show a list of actions they can perform immediately. In this article we’re going to add a quick action to create a new issue in one step – it’s more work than you might think!
8:17
39. Integrating with Shortcuts
UPDATED: Shortcuts let users access quick commands from our app elsewhere in the system, as well as chaining them to build complex commands, or even asking Siri to trigger one directly. In this article we’re going to add one to our app, and I think you’ll be amazed how little work it takes!
43:24
UPDATED: Widgets allow users to place parts of our app right on their Home Screen, which is both deeply powerful and deeply personal. In this article we’re going to start by doing all the app configuration required to make widgets function, then add a simple widget for our app to show that everything works.
34:05
UPDATED: In this follow-on article we’re going to up our widget game by adding a second, more complex widget and exploring some configuration options that help our widgets work better on-screen.
Part 3: Going cross-platform
The final step of our project will be to see how we can take our code to macOS, watchOS, and beyond.
45:35
UPDATED: Now that our app is all built, let's take a look at optimizing it for macOS – tailoring our Swift code to make the most of the Mac platform, rather than just running in iPad compatibility mode.
37:09
UPDATED: From Apple's largest screens down to Apple's smallest screens, it's time to make our app work on Apple Watch. This is the hardest port we'll be doing, and we'll need to make some compromises along the way…
11:22
UPDATED: The last platform we're going to target is visionOS, which is actually the easiest – Apple seem to have put in a great deal of effort to make SwiftUI fit there naturally, so it requires almost no effort from us.
17:26
45. Wrap up
UPDATED: That completes all the code for this course, but before we're done it's important to run through everything to make sure there are no outstanding bugs or warnings, and that our code is as polished as we can make it.