How to install an ad blocker in Safari for iOS
Paul Hudson June 12th 2015 @twostraws
iOS 9 is here, which means you can install a content blocker straight from the App Store
Note: if you're looking to make your own content blocker, you should read my free tutorial: Safari Content Blocking in iOS 9: a tutorial by example. This page describes how to install an existing content blocker from the App Store.
First things first: you need to pick a content blocker. Note that these are called "content blockers" not "ad blockers" because their job is to block any sort of web content the creator made. For many people mobile ads are the target, but they are able to do more so choose wisely!
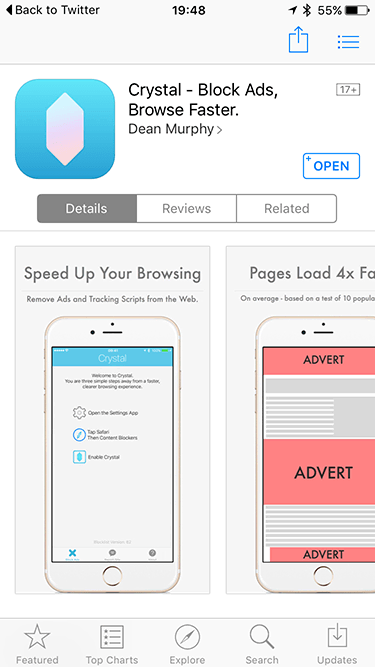
Lots of content blockers have been announced as "coming real soon now", but as of this second the only one that is available worldwide is here: Crystal. It is free for a limited time so don't hang around!
Now for the important bit, so please read carefully. When you install a content blocker app, the app itself doesn't do very much. You'll see an icon on your home screen, yes, but that's not what does the blocking.
Instead, you need to enable the content blocker inside Safari, which is done using the Settings screen. I used the Crystal content blocker in the pictures below, but the process is the same for all content blockers.
Step 1: Install an app that has a content blocker
I chose Crystal, but any of them are just as good.
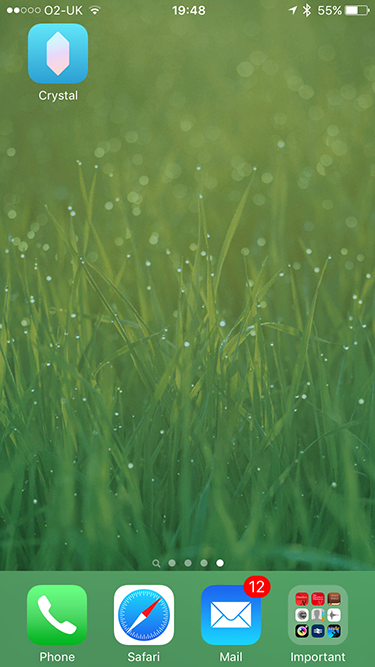
Once the app is installed, you'll see its icon on your home screen, but there's not much point launching it unless you're extremely curious. This is because the content blocker isn't activated inside the app.
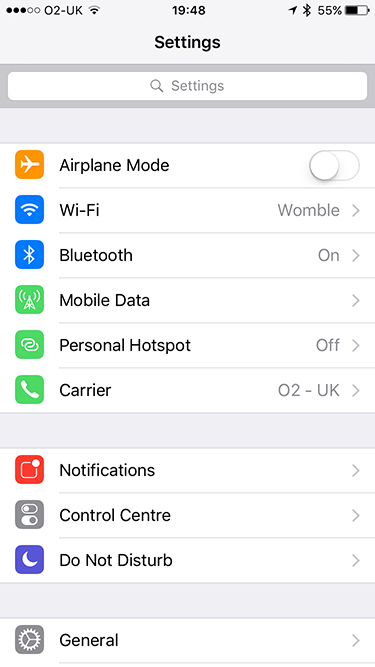
Step 2: Go to Settings and enable the content blocker
Tap Settings:
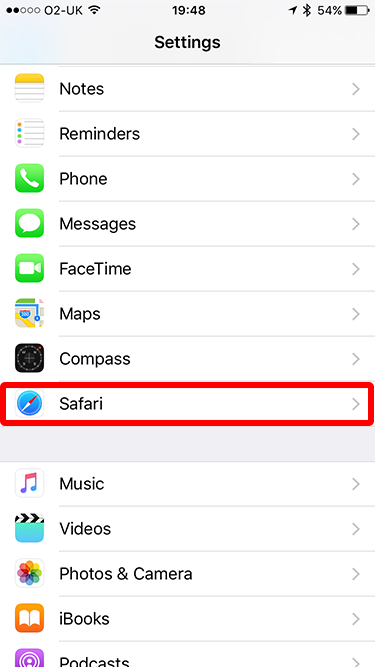
Scroll down until you find Safari, then tap it:
Now scroll down until you find Content Blockers, and tap that:
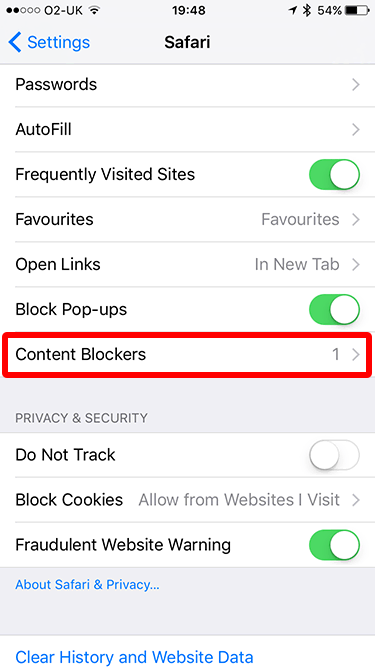
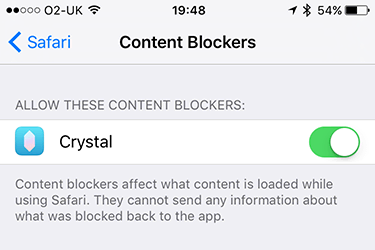
You will see a list of all the content blockers installed on your device. Flick the switch next to the ones you want – yes, "ones": it's plural because you can enable as many as you want.
Step 3: Launch Safari and start browsing
As soon as the content blocker is enabled inside Settings, it becomes active in Safari. You don't need to restart your device or do anything special - it just works!
Step 4: Launch the app you downloaded
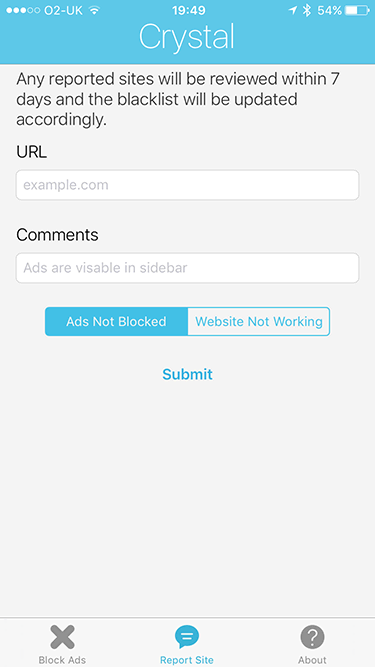
Once content blocking is active, you can go ahead and launch the original app to see if there are any interesting settings you can customise. Crystal, for example, lets you report sites that manage to evade its content blocking.
Step 5: Make your own!
Apple made it super easy to make your own content blocker, so why not give it a try? I wrote a free tutorial on how to make your own content blocker and anyone can follow along.
- What's new in iOS 9?
- What's new in Swift 2?
- How to use Core Spotlight and SFSafariViewController
- Introduction to WebKit Content Blockers


