Creating the sandbox
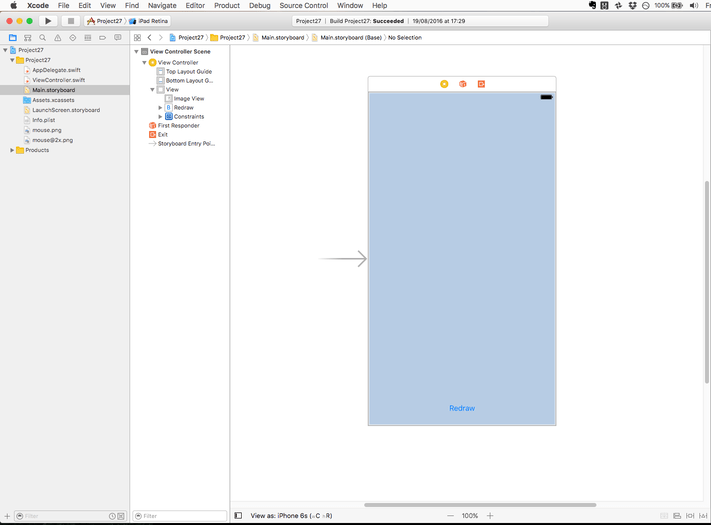
Open Main.storyboard in Interface Builder, then drag out an image view so that it fills the whole space of the view. Set its aspect mode to be Aspect Fit, so that images will be correctly resized according to the device’s aspect ratio. Now place a button near the bottom of the view controller, centered horizontally, then give it the title “Redraw”.
We can make Interface Builder do all the constraints for this one: select the main view in the document outline, then go to Editor > Resolve Auto Layout Issues > Reset to Suggested Constraints.
We're going to need to reference the image view in code, so please switch to the assistant editor and create an outlet for it called imageView. While you're there, you should also create an action for the button being tapped, called redrawTapped().
Switch back to the standard editor, and open up ViewController.swift because that's our user interface done; the rest is code!
We're going to use a similar code structure to project 15: a property that we increment through, using a switch/case to call different methods each time. In addition, we need viewDidLoad() to call an initial method so that we start by drawing something. Start by adding this property to your view controller:
var currentDrawType = 0And now create this empty method – we'll be filling it shortly:
func drawRectangle() {

}
As with project 15, the button we placed needs to add one to the property, wrapping it back to zero when it reaches a certain point. The property is then used to decide what method to call, although right now we're only going to have one useful case: drawRectangle().
Here's the initial code for redrawTapped(); we'll be adding more cases over time:
@IBAction func redrawTapped(_ sender: Any) {
    currentDrawType += 1

    if currentDrawType > 5 {
        currentDrawType = 0
    }

    switch currentDrawType {
    case 0:
        drawRectangle()

    default:
        break
    }
}
The only remaining step to make our sandbox complete is to have viewDidLoad() call the drawRectangle() method so that the screen starts by showing something. Change your viewDidLoad() method to this:
override func viewDidLoad() {
    super.viewDidLoad()

    drawRectangle()
}
Running the app at this point will do very little, because although your user interface works the code effectively does nothing. We're going to fix that by filling in the drawRectangle() method, then proceed to add more cases to the switch/case block.

SPONSORED Join a FREE crash course for mid/senior iOS devs who want to achieve an expert level of technical and practical skills – it’s the fast track to being a complete senior developer! Hurry up because it'll be available only until April 28th.
Sponsor Hacking with Swift and reach the world's largest Swift community!


