Switch case
You've seen if statements and now loops, but Swift has another type of flow control called switch/case. It's easiest to think of this as being an advanced form of if, because you can have lots of matches and Swift will execute the right one.
In the most basic form of a switch/case you tell Swift what variable you want to check, then provide a list of possible cases for that variable. Swift will find the first case that matches your variable, then run its block of code. When that block finishes, Swift exits the whole switch/case block.
Here's a basic example:
let liveAlbums = 2

switch liveAlbums {
case 0:
    print("You're just starting out")

case 1:
    print("You just released iTunes Live From SoHo")

case 2:
    print("You just released Speak Now World Tour")

default:
    print("Have you done something new?")
}
We could very well have written that using lots of if and else if blocks, but this way is clearer and that's important.
One advantage to switch/case is that Swift will ensure your cases are exhaustive. That is, if there's the possibility of your variable having a value you don't check for, Xcode will refuse to build your app.
In situations where the values are effectively open ended, like our liveAlbums integer, you need to include a default case to catch these potential values. Yes, even if you "know" your data can only fall within a certain range, Swift wants to be absolutely sure.
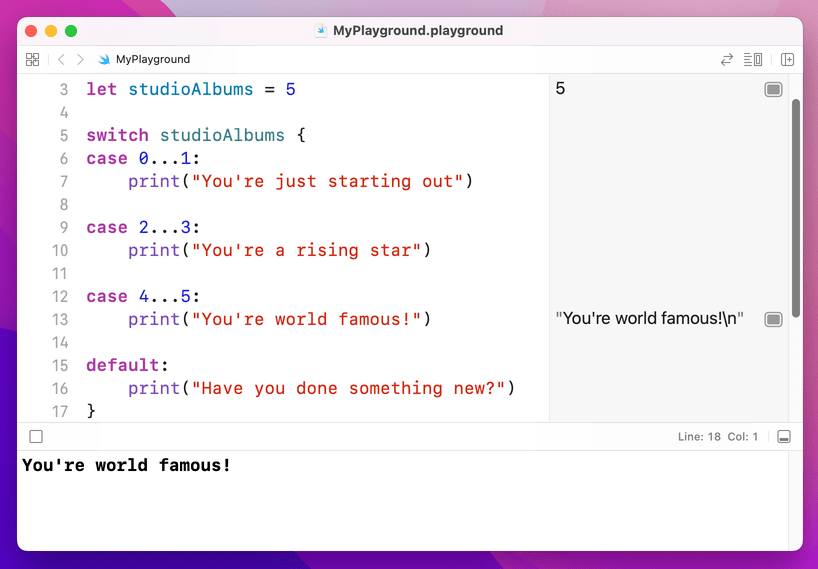
Swift can apply some evaluation to your case statements in order to match against variables. For example, if you wanted to check for a range of possible values, you could use the closed range operator like this:
let studioAlbums = 5

switch studioAlbums {
case 0...1:
    print("You're just starting out")

case 2...3:
    print("You're a rising star")

case 4...5:
    print("You're world famous!")

default:
    print("Have you done something new?")
}
One thing you should know is that switch/case blocks in Swift don't fall through like they do in some other languages you might have seen. If you're used to writing break in your case blocks, you should know this isn't needed in Swift.
Instead, you use the fallthrough keyword to make one case fall into the next – it's effectively the opposite. Of course, if you have no idea what any of this means, that's even better: don't worry about it!
BUILD THE ULTIMATE PORTFOLIO APP Most Swift tutorials help you solve one specific problem, but in my Ultimate Portfolio App series I show you how to get all the best practices into a single app: architecture, testing, performance, accessibility, localization, project organization, and so much more, all while building a SwiftUI app that works on iOS, macOS and watchOS.
Sponsor Hacking with Swift and reach the world's largest Swift community!


