Ultimate Portfolio App: Introduction
UPDATED: While I’m sure you’re keen to get started programming immediately, please give me a few minutes to outline the goals of this course and explain why it’s different from other courses I’ve written.
Watch the video here, or read the article below
Quick links
- The least you need to do
- One app, step by step
- What interests you?
- What you need
- Releasing installments
- About our app
The least you need to do
I’m going to explain a few things about this course in just a moment, but if you’re the impatient type there is one set of steps absolutely must follow:
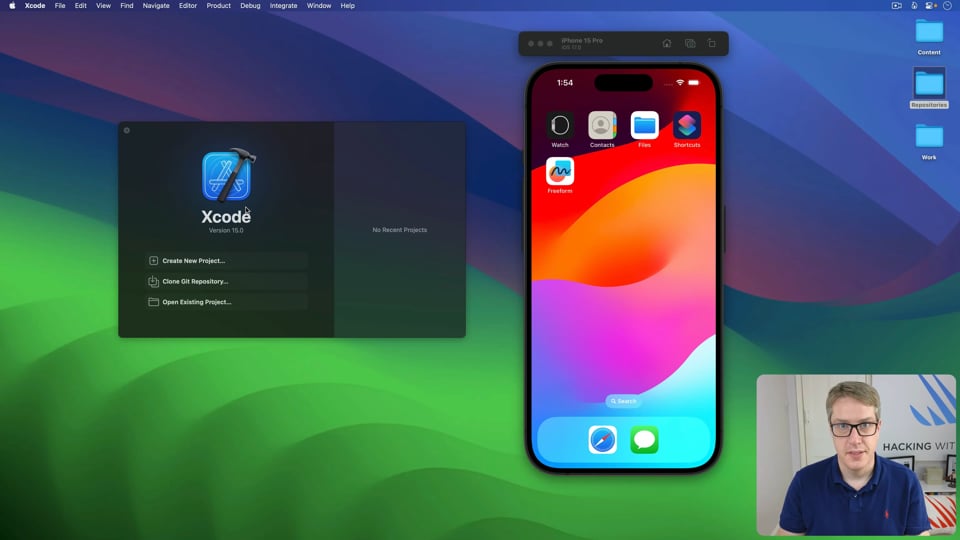
- Launch Xcode. You’ll need at least Xcode 14.2 to follow along.
- Create a new project.
- Select the Multiplatform tab, and the App template.
- Give your project a name – I’m naming mine “UltimatePortfolio”, but it’s your project so please name it whatever you want.
Note: Because my project is called UltimatePortfolio, my @main Swift file will be called UltimatePortfolioApp.swift. Whenever you see me refer to UltimatePortfolioApp.swift you should obviously open whatever is the equivalent file in your project – whichever one has @main before its App struct.
Please do not check Use Core Data or Include Tests. We’ll be doing both these things by hand, so you can see exactly how they work.
After you click Next you’ll be asked where to save your project. You’ll also be asked whether you want to enable source control for this project or not – if you’re comfortable using Xcode for source control then you’re welcome to check that box, but if not I’ll be briefly showing you how to use Git on the command line to keep your code safe.
Okay, that’s the absolute least you need to do to start the project. For the rest of this article I’m going to walk you through the plan for what we’ll be doing – again, I recommend you take the time to follow along!
One app, step by step
Many tutorials I write teach a handful of specific things at a time, often wrapped up inside an app project. The app itself is nice enough because it lets you see code in a real-world context, but it’s not the point of the tutorials – the point is to teach your Core Data, or haptics, or whatever, and the app is really just along for the ride.
This course is very different, because we’re going to be building just one app the entire time. And rather than the app itself being somewhat incidental to the end result, this time the app itself is the core of the course because our goal is to make it a great example of so many different parts of app development, and one you can feel proud of uploading to GitHub as part of your portfolio.
This means two things. First, it means we’ll be covering a huge range of topics: important frameworks such as SwiftUI and Core Data, various system integrations such as Widgets, StoreKit, and Spotlight, plus good programming practice such as testing, architecture, localization, project organization, and accessibility.
Second, it means it’s important you understand how everything fits together, so we’ll be covering a lot of why along with how – I’ll take you down a few wrong turns so you can see where problems lie, then show you how to solve them. Hopefully this means when it comes to talking about your project with an employer, you’re able to give clear, correct answers about the choices we made.
Our goal here isn’t to create a fancy user interface that looks shiny in screenshots, but instead to show that you understand what it takes to build solid, reliable software. Yes, of course I want you to build something that looks good, but much more importantly for this course I want you to build something that works good – that shows you can be relied on to build important, complex Swift code.
None of this should stop you from having fun customizing the design as much as you want, it’s just not going to be a priority for me.
What interests you?
This course is split into three sections, which are:
- Building the core app, where we’ll look at SwiftUI, Core Data, architecture, testing, accessibility, documentation, networking, localization, and more.
- Integrating with the system, where we’ll look at StoreKit, Core Spotlight, widgets, notifications, haptics, and more.
- Designing for every platform, where we’ll expand our base iOS app to work equally well on macOS and watchOS.
Only the first section is required. It’s important that everyone follow the first section completely, and in order, because that’s where we build the core of our app.
Once you complete the first section, you can complete any or all of sections 2 or 3, in any order you want – they are all optional, and all more or less standalone. This is where the course is more fun because you get to customize your portfolio app to suit what interests you, and it also means your portfolio app will be unique because it focuses on the things you care about.
Now, that first section is quite unlike everything I’ve taught before, because as you’ll see it results in a fascinating crescendo of bad code. In my regular tutorials I would either try to work in best practices as we went, or provide a shortcut because constantly repeating the same thing can be quite tiresome.
Here, though, we’re going to start by building a fairly naive version of the app – no testing, no documentation, no localization, no real project structure, and so on. This will produce a perfectly serviceable app, and one you could ship to the App Store if you wanted, but it won’t be the kind of app that will get admiring comments when you’re talking about it during an interview.
But then once the app is built, we’re going to start fixing it up step by step. Not only will this result in you having an app that has great internationalization, for example, but critically it will also show you the techniques required to give any app great internationalization.
What you need
This entire course was written using Xcode 14 for iOS 16, macOS Ventura, and watchOS 9, but it should work great on future versions. It’s recommended that you have an active account with Apple’s Developer Program, but I don’t think it’s required outside of something like StoreKit.
I highly recommend you commit your work to a source code repository such as GitHub as you complete each step. This doesn’t need to be a public repository; anywhere you can put code to keep it safe is a good idea. I’ll be demonstrating this once so you can see how it looks for yourself, but after that it’s down to you.
In terms of your own ability, although I will be explaining every step of our code as we go I highly recommend you complete my 100 Days of SwiftUI course before starting because my goal isn’t to go over all the basics of SwiftUI. Instead, I’ll be focusing on the more interesting stuff – why certain choices make sense, how to structure code well, and so on.
Releasing installments
This is the first time I’ve written a course that’s written in installments, so it’s quite an adventure for me. Obviously some parts of the course are much easier than others, so the exact release schedule will fluctuate a little, but that’s my goal.
This does mean I might need to issue corrections in the middle of the course, based either on me changing my mind or feedback from readers. Obviously I hope this doesn’t happen, but if it does it will be really clearly flagged.
About our app
Last but not least, I want to introduce you to the app we’ll be building. In fact, it’s one you might be familiar with already because we’ll be creating our own version of Apple’s Feedback Assistant app that we all use to report bugs to Apple.
It won’t be quite the same, because we don’t have the same restrictions as Apple. For example, rather than having a fixed list of products to choose from we’ll use users create custom tags, and rather than forcing users to add new comments to issues we’ll just let them edit issues freely. This means our app will work a little differently, but if you desperately wanted to make it identical to Feedback Assistant that wouldn’t take a great deal of work.
Now, I want to encourage everyone to builds an app that means something to them, so although I’ll be using general terms such as “Issue” and “Portfolio App”, I want you to adapt that to fit something you care about. Maybe tracking bugs isn’t interesting, but tracking habits does interest you, or tracking goals, or to do lists, or whatever – it’s a really smart idea to adapt this template into something you care about, because that’s what will really make it shine.
This means not only is your final app the culmination of whichever optional modules you chose, but also on a topic that matters to you personally. I’ve said it many times before, but it bears repeating: the best kinds of apps are when you take the coding skill you have and use it to power your own personal passions, to build an app that solves real problems you face every day.
So, we have lots and lots to cover in this course, and I hope you enjoy following along, I hope you enjoy customizing it to fit your needs and interests, and I hope you learn a whole lot along the way.
If you liked this, you'd love Hacking with Swift+…
Here's just a sample of the other tutorials, with each one coming as an article to read and as a 4K Ultra HD video.
Find out more and subscribe here
31:55
DATA STRUCTURES
FREE: Trees
Trees are an extraordinarily simple, extraordinarily useful data type, and in this article we’ll make a complete tree data type using Swift in just a few minutes. But rather than just stop there, we’re going to do something quite beautiful that I hope will blow your mind while teaching you something useful.
36:18
HIGH-PERFORMANCE APPS
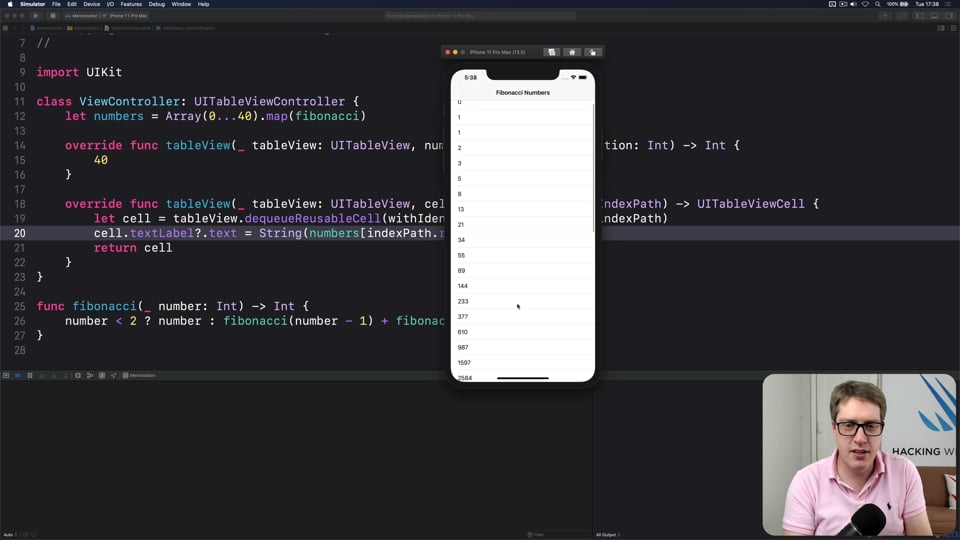
FREE: Using memoization to speed up slow functions
In this article you’ll learn how memoization can dramatically boost the performance of slow functions, and how easy Swift makes it thanks to its generics and closures.

3:54
INTERVIEW QUESTIONS
FREE: Interview questions: Introduction
Getting ready for a job interview is tough work, so I’ve prepared a whole bunch of common questions and answers to help give you a jump start. But before you get into them, let me explain the plan in more detail…
27:33
INTERMEDIATE SWIFT
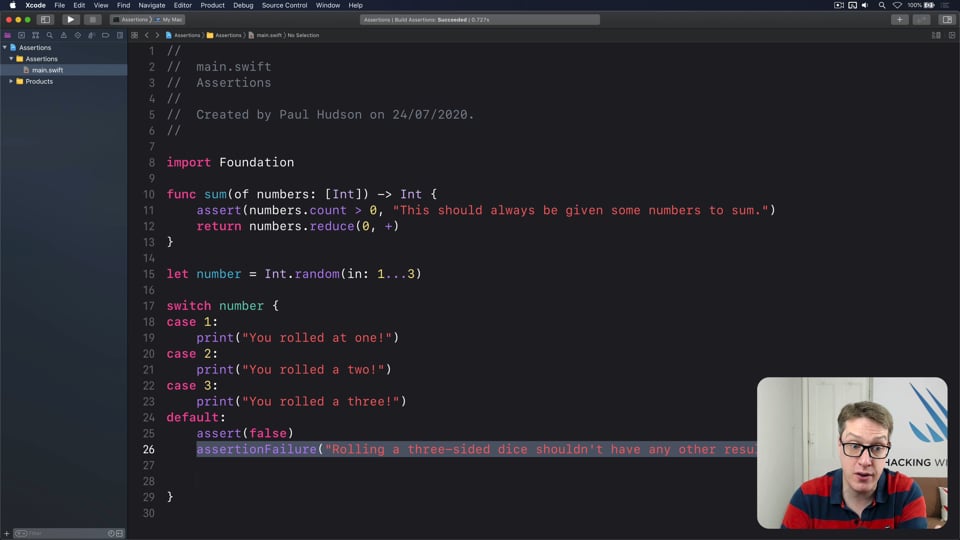
FREE: Understanding assertions
Assertions allow us to have Swift silently check the state of our program at runtime, but if you want to get them right you need to understand some intricacies. In this article I’ll walk you through the five ways we can make assertions in Swift, and provide clear advice on which to use and when.
20:01
INTERMEDIATE SWIFT
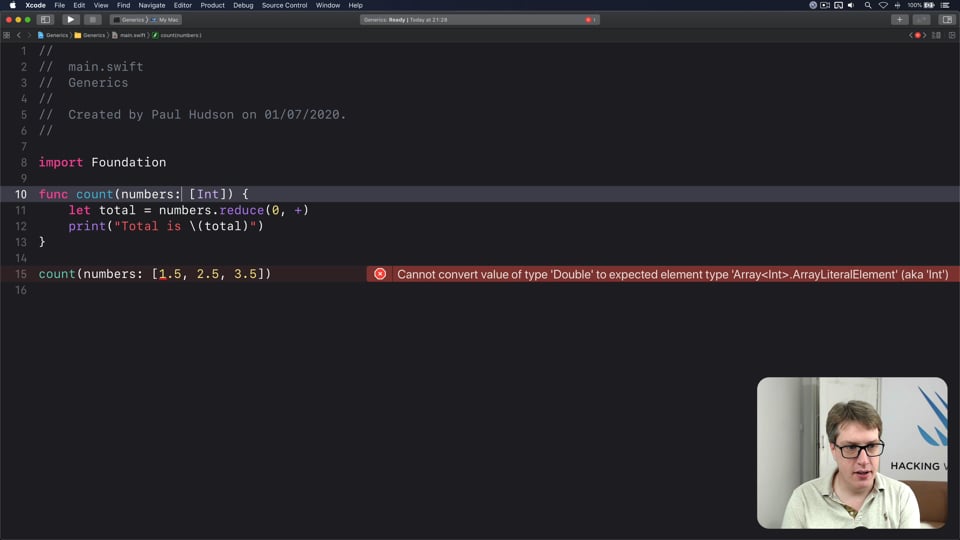
FREE: Understanding generics – part 1
Generics are one of the most powerful features of Swift, allowing us to write code once and reuse it in many ways. In this article we’ll explore how they work, why adding constraints actually helps us write more code, and how generics help solve one of the biggest problems in Swift.
14:26
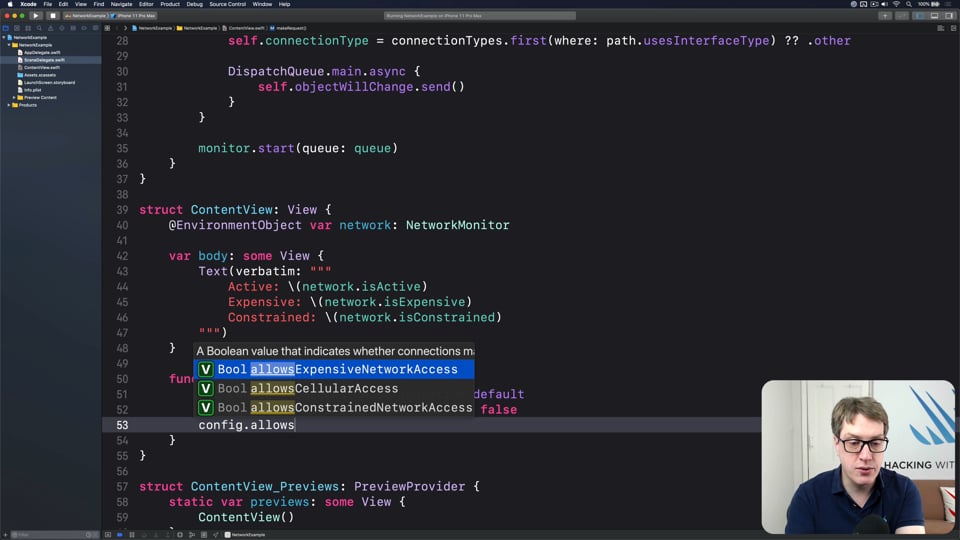
NETWORKING
FREE: User-friendly network access
Anyone can write Swift code to fetch network data, but much harder is knowing how to write code to do it respectfully. In this article we’ll look at building a considerate network stack, taking into account the user’s connection, preferences, and more.
32:08
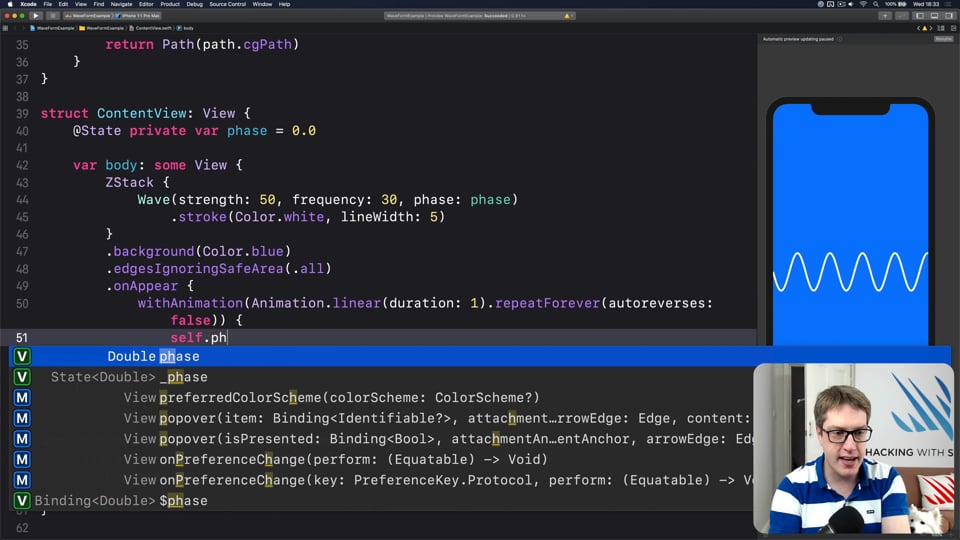
CUSTOM SWIFTUI COMPONENTS
FREE: Creating a WaveView to draw smooth waveforms
In this article I’m going to walk you through building a WaveView with SwiftUI, allowing us to create beautiful waveform-like effects to bring your user interface to life.
19:50
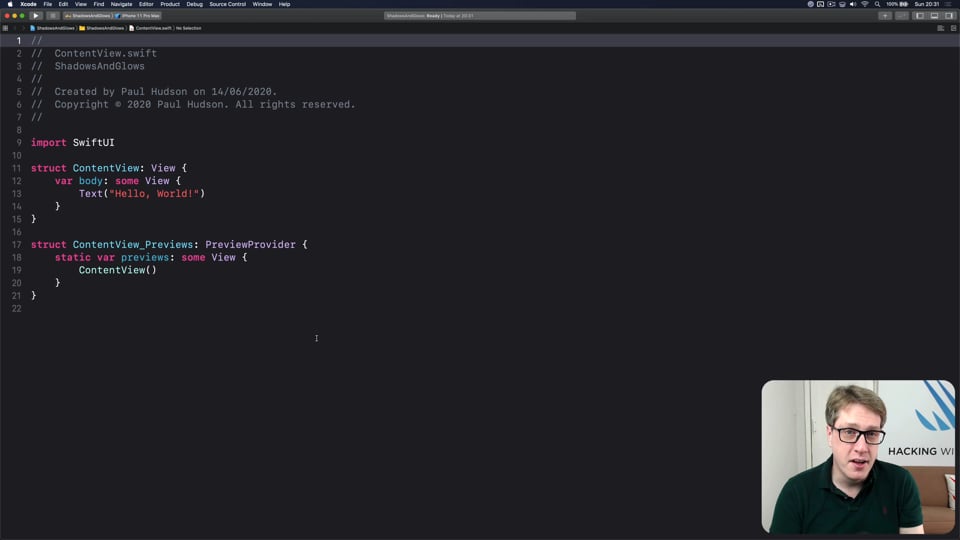
SWIFTUI SPECIAL EFFECTS
FREE: Shadows and glows
SwiftUI gives us a modifier to make simple shadows, but if you want something more advanced such as inner shadows or glows, you need to do extra work. In this article I’ll show you how to get both those effects and more in a customizable, flexible way.
42:32
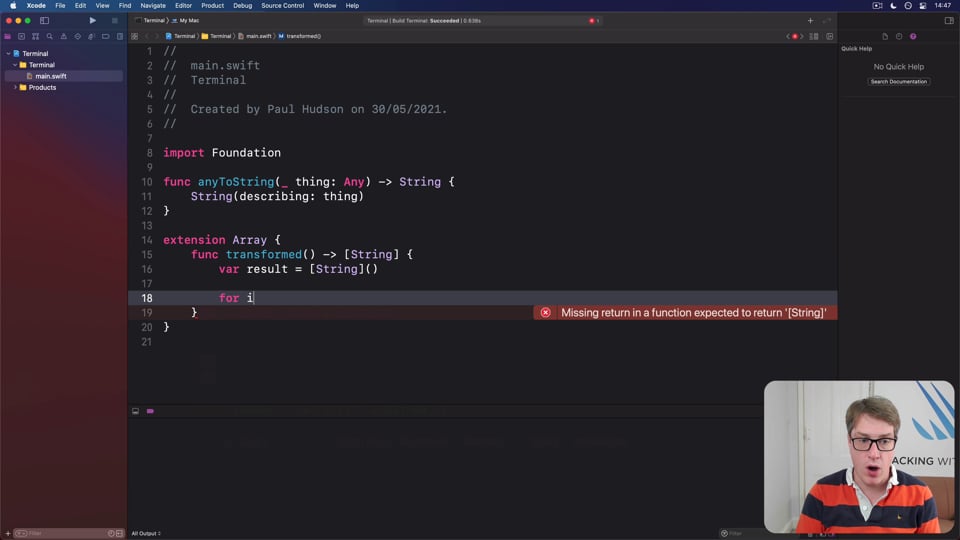
FUNCTIONAL PROGRAMMING
FREE: Transforming data with map()
In this article we’re going to look at the map() function, which transforms one thing into another thing. Along the way we’ll also be exploring some core concepts of functional programming, so if you read no other articles in this course at least read this one!
23:07
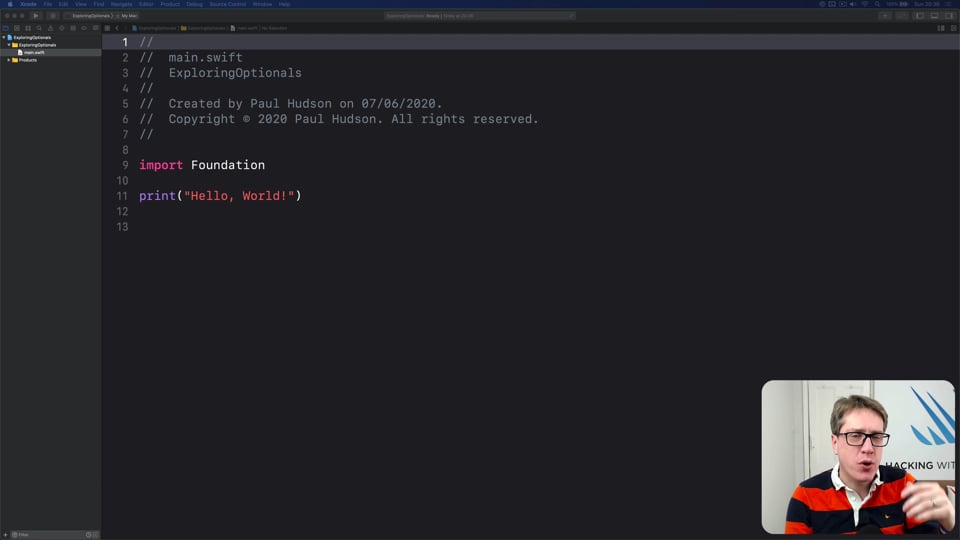
ADVANCED SWIFT
FREE: Making the most of optionals
Swift’s optionals are implemented as simple enums, with just a little compiler magic sprinkled around as syntactic sugar. However, they do much more than people realize, and in this article I’m going to demonstrate some of their power features that can really help you write better code – and blow your mind along the way.
14:20
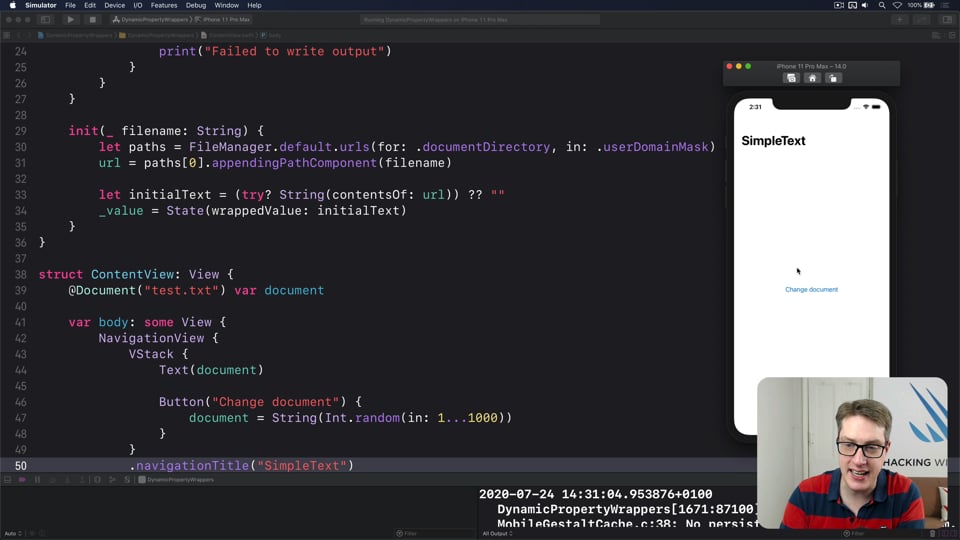
INTERMEDIATE SWIFTUI
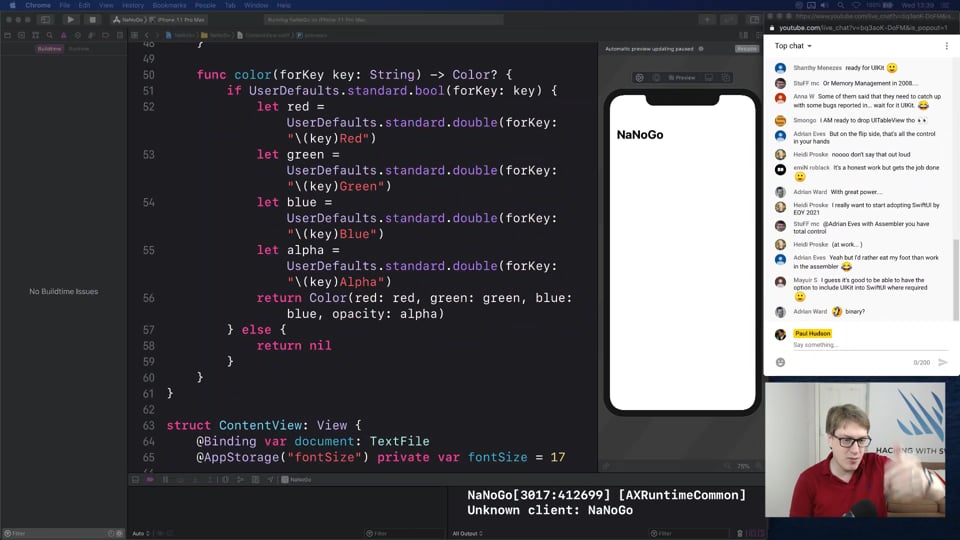
FREE: Creating a custom property wrapper using DynamicProperty
It’s not hard to make a basic property wrapper, but if you want one that automatically updates the body property like @State you need to do some extra work. In this article I’ll show you exactly how it’s done, as we build a property wrapper capable of reading and writing documents from our app’s container.
24:11
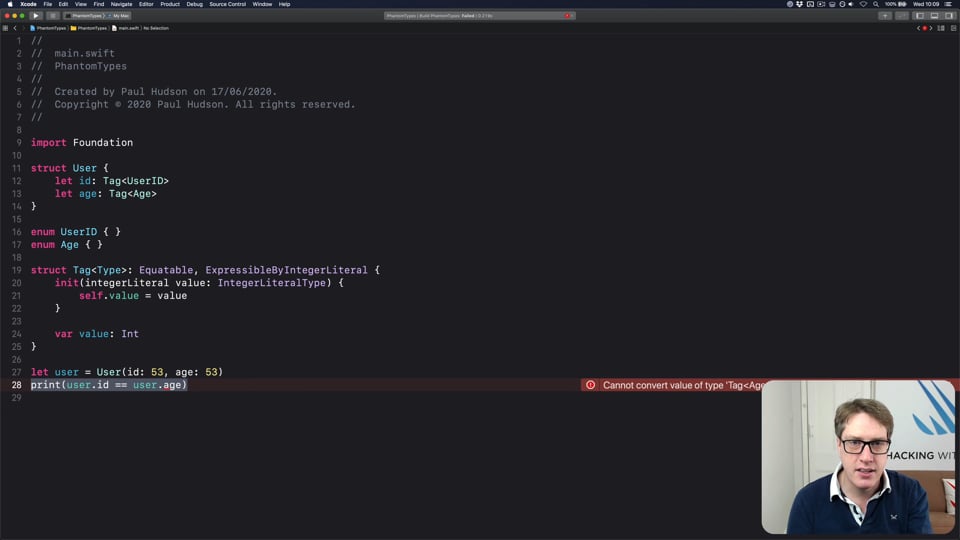
ADVANCED SWIFT
FREE: How to use phantom types in Swift
Phantom types are a powerful way to give the Swift compiler extra information about our code so that it can stop us from making mistakes. In this article I’m going to explain how they work and why you’d want them, as well as providing lots of hands-on examples you can try.

6:52
FUNCTIONAL PROGRAMMING
FREE: Functional programming in Swift: Introduction
Before you dive in to the first article in this course, I want to give you a brief overview of our goals, how the content is structured, as well as a rough idea of what you can expect to find.
26:15
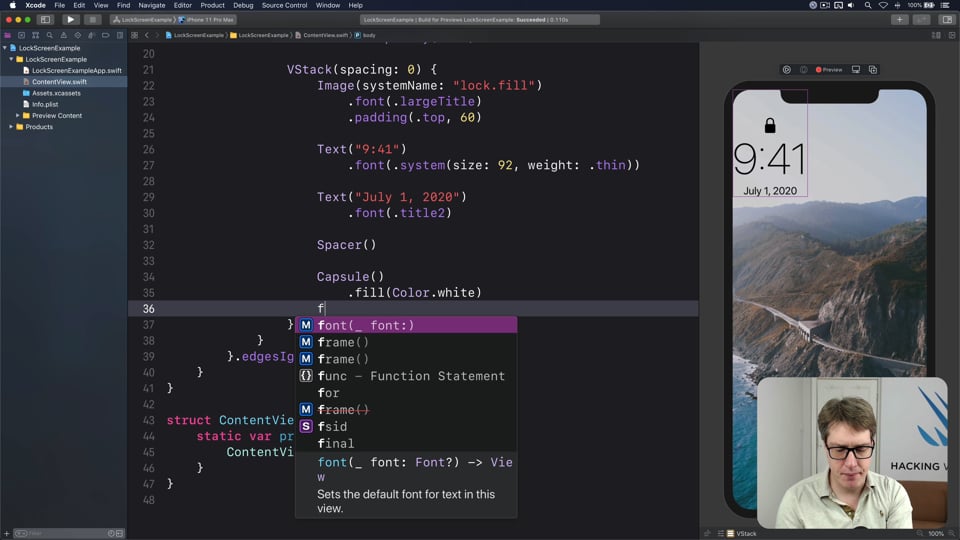
REMAKING APPS
Remaking the iOS lock screen
In this article we’re going to look at how easy it is to rebuild the iOS lock screen. Yes, this isn’t hard, but along the way I think you’ll pick up a few cool SwiftUI tricks, including better date formatting, haptic buttons, and more.
16:57
SOLUTIONS
Rock, Paper, Scissors
This challenge asks you to build a fun brain game using all the SwiftUI skills you’ve learned so far. Let’s tackle it now…

2:27
INTERVIEW QUESTIONS
What are the advantages and disadvantages of SwiftUI compared to UIKit?
This is another example of a question where exclusively picking one over the other makes you look inexperienced – software development is often fuzzy, and acknowledging that complexity is a mark of experience rather than a weakness.

2:05
INTERVIEW QUESTIONS
What steps do you take to identify and resolve crashes?
Crashes are inevitable, at least when you’re in development, so learning how to find the source of a problem and getting it resolved is a key skill for any developer.
27:45
REMAKING APPS
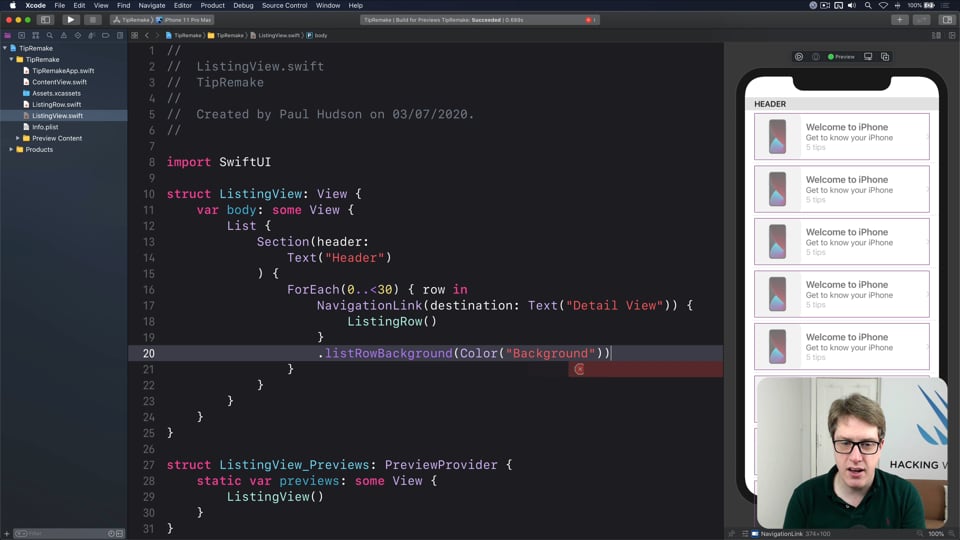
Remaking the Tips app
In this article we’re going to look at how to rebuild the Tips app using SwiftUI, including how to make scrolling tabs of content, how to get a parallax scrolling effect, and more.
1:26:39
EVENTS
UIKit updates: UICollectionView lists
In this part we’re going to build an app to explore SF Symbols, all built using the massive new updates to UICollectionView that let it act like a table view.
19:32
ADVANCED SWIFT
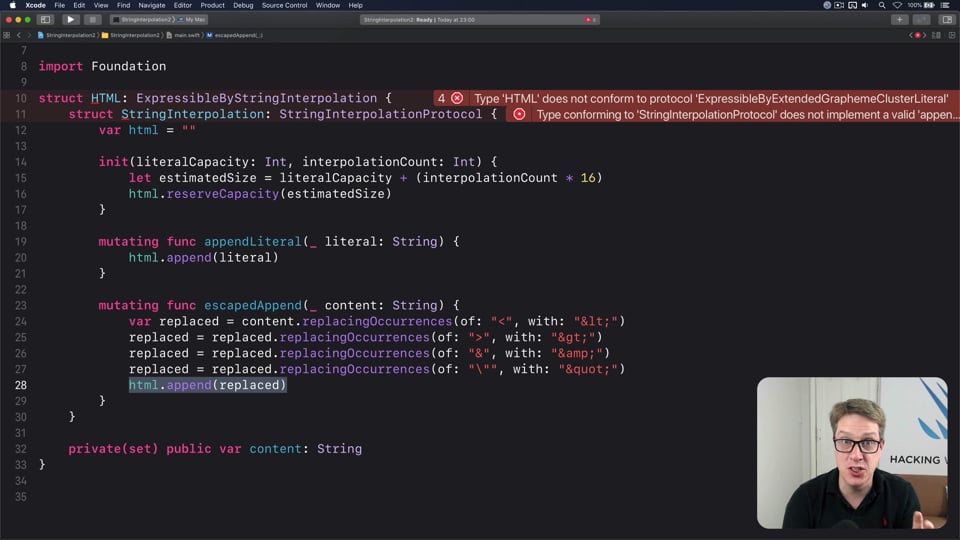
Advanced string interpolation, part two
In part one of this tutorial we looked at how to customize string interpolations on a type-by-type basis, giving you more control over how your code works. In this second part we’ll look at a second powerful use for interpolation: building whole types from scratch.
