Shadows and glows
SwiftUI gives us a modifier to make simple shadows, but if you want something more advanced such as inner shadows or glows, you need to do extra work. In this article I’ll show you how to get both those effects and more in a customizable, flexible way.
Watch the video here, or read the article below
Quick links
Layering shadows
SwiftUI gives us a simple shadow() modifier that is good enough for simple purposes. To try it out, create a new Single View App in Xcode, then modify its ContentView to this:
struct ContentView: View {
    var body: some View {
        ZStack {
            Circle()
                .fill(Color.green)
                .frame(width: 300, height: 300)
                .shadow(color: .black, radius: 10)
        }
        .frame(maxWidth: .infinity, maxHeight: .infinity)
        .background(Color.white)
        .edgesIgnoringSafeArea(.all)
    }
}
That code places a green circle on a white background, and gives the circle a black shadow with a 10-point radius:
However, the effect isn’t very strong even when using a black color, and just increasing the radius doesn’t help much.
Fortunately, SwiftUI has a remarkable trick up its sleeve: we can create multiple shadows for a single view, and the shadows multiply together so the effect becomes significantly darker.
For example, we could repeat our black shadow three times:
Circle()
    .fill(Color.green)
    .frame(width: 300, height: 300)
    .shadow(color: .black, radius: 10)
    .shadow(color: .black, radius: 10)
    .shadow(color: .black, radius: 10)
And now we’ll get a deep black shadow around the circle.
Outer glows
Outer glows are effectively shadows that are brighter than their surroundings, but they don’t work well out of the box because they are very dark.
To see it for yourself, try using this for the body of ContentView:
ZStack {
    Circle()
        .fill(Color.white)
        .frame(width: 300, height: 300)
        .shadow(color: .red, radius: 36)

}
.frame(maxWidth: .infinity, maxHeight: .infinity)
.background(Color.black)
.edgesIgnoringSafeArea(.all)
When you run it, you’ll see the red is obviously there, but it’s not what I’d call glowing.
We can fix this by repeating our shadow trick: if we layer a glow several times we can get increasingly bright effects. The important thing to remember here is that each shadow applies on top of the previous one, so if you don’t want your overall glow size to change you should divide your overall glow size by how many shadow effects you want to repeat.
For example, this applies three shadow effect with a 12-point radius each, making for a 36-point glow in total:
Circle()
    .fill(Color.white)
    .frame(width: 300, height: 300)
    .shadow(color: .red, radius: 12)
    .shadow(color: .red, radius: 12)
    .shadow(color: .red, radius: 12)
That’s much clearer, and it’s something you’ll find yourself doing a lot when creating glows. As a result, I recommend you create a little View extension such as this:
extension View {
    func glow(color: Color = .red, radius: CGFloat = 20) -> some View {
        self
            .shadow(color: color, radius: radius / 3)
            .shadow(color: color, radius: radius / 3)
            .shadow(color: color, radius: radius / 3)
    }
}
And now you can easily replicate your glow effect like this:
Circle()
    .fill(Color.white)
    .frame(width: 300, height: 300)
    .glow(color: .blue, radius: 36)
You can create an interesting variation on this by blurring self in the glow() method as part of the overlay, like this:
self
    .overlay(self.blur(radius: radius / 6))
    .shadow(color: color, radius: radius / 3)
    .shadow(color: color, radius: radius / 3)
    .shadow(color: color, radius: radius / 3)
Try it with and without that overlay, and see which you prefer!
Rainbow glows
If you’d like to try a more advanced effect, we can create a rainbow glow using a background gradient, some blurring, and some masking – it’s quite complex, but the end result looks amazing with something like text.
First, add this extension on View:
extension View {
    func multicolorGlow() -> some View {
        ZStack {
            ForEach(0..<2) { i in
                Rectangle()
                    .fill(AngularGradient(gradient: Gradient(colors: [.red, .yellow, .green, .blue, .purple, .red]), center: .center))
                    .frame(width: 400, height: 300)
                    .mask(self.blur(radius: 20))
                    .overlay(self.blur(radius: 5 - CGFloat(i * 5)))
            }
        }
    }
}
That uses ForEach to create two rectangles, each of which are filled with a rainbow gradient at a precise size. When then mask the gradient using whatever view this method was called on, then overlay the original view with either a 5-point blur or no blur.
To try the effect out, modify your ContentView to this:
Text("Hello World")
    .font(.system(size: 96, weight: .black, design: .rounded))
    .foregroundColor(.white)
    .multilineTextAlignment(.center)
    .frame(width: 400, height: 300)
    .multicolorGlow()
Having two colored rectangles is important, because that’s what gives our glow its strength – we apply the effect more than once. The rectangles are then masked using a blurred version of our original view (the text “Hello World” in our example) so that we get a multi-colored glow.
Finally, drawing the original view as an overlay is what causes the text to appear: it’s drawn once with a small blur so that it brightens up the colors directly around it, then once again with no blue so the text is nice and sharp.
If you wanted a softer look, you could try drawing the blurred original shape on top, like this:
.overlay(self.blur(radius: CGFloat(i * 2)))Inner shadows
Last but not least, I want to show you how to create an inner shadow effect. We can create this effect by overlaying a new shape on top our existing shape, give it a blurred stroke, then offsetting the blur in our angle direction and masking it with the original shape.
That’s a lot, so let’s break it down and build it up piece by piece in code. First, add this simple innerShadow() method on View that just returns self:
extension View {
    func innerShadow<S: Shape>(using shape: S, angle: Angle = .degrees(0), color: Color = .black, width: CGFloat = 6, blur: CGFloat = 6) -> some View {
        return self
    }
}
We’ll add to that more in just a moment, but first I want you to change ContentView so you can see our results as we go:
struct ContentView: View {
    var body: some View {
        ZStack {
            Circle()
                .fill(Color.green)
                .frame(width: 300, height: 300)
                .innerShadow(using: Circle())
        }
        .frame(maxWidth: .infinity, maxHeight: .infinity)
        .background(Color.white)
        .edgesIgnoringSafeArea(.all)
    }
}
Note: I changed the background color to white to make our inner shadow easier to see.
First we’re going to add a stroke around our shape, using whatever width they specified. This is done as an overlay in SwiftUI, so modify the innerShadow() method to this:
return self.
    .overlay(
        shape
            .stroke(color, lineWidth: width)
    )
If you run it now, you’ll see our green circle has a black line around it. To create our inner shadow effect, we want to move that black line so that it’s thinner at the top than the bottom.
To do that, we’re going to use our input angle with sin() and cos() to calculate which direction to move it in. So, start by adding these two lines of code before return self:
let finalX = CGFloat(cos(angle.radians - .pi / 2))
let finalY = CGFloat(sin(angle.radians - .pi / 2))
That will tell us where the X and Y positions where we should be drawing our overlay, but in the range -1 to 1. To make the effect more pronounced we want to multiply it by some amount of our width.
First, try adding this below the stroke():
.offset(x: finalX * width, y: finalY * width)That uses the full width of our stroke to multiply the X/Y offset, but if you run that code back you’ll see the bottom part of our green circle peeks out underneath the overlaid black circle – we’ve moved it too far.
When we draw a size X border around a circle, X/2 of the border will be drawn inside the perimeter of the circle and X/2 will be drawn outside. So, the maximum we can safely use for the offset is half our width, which will result in the whole border being drawn on one edge and none on the other edge.
I say “safely” because honestly we can go slightly over to increase our effect, and it won’t be noticeable at all, particularly once we apply the next step! So, try changing your offset to this:
.offset(x: finalX * width * 0.6, y: finalY * width * 0.6)At this point you’re probably wondering how this is going to look like an inner shadow, because it looks just like a regular stroked circle.
However, try adding a mask for the original shape directly after our offset:
.mask(shape)And now you’ll see how our effect works: by pushing the stroked circle to one directly then masking it, the parts of our shape that were outside the original circle stop being visible, creating a crescent shape for our shadow.
Of course, we don’t want a solid black line, so I’d like you to add a blur() modifier in between offset() and mask(), like this:
return self
    .overlay(
        shape
            .stroke(color, lineWidth: width)
            .offset(x: finalX * width * 0.6, y: finalY * width * 0.6)
            .blur(radius: blur)
            .mask(shape)
    )
Run it again, and you’ll see now see our black stroke has become hazy, which completes our effect.
Challenge
If you’d like to take these effects further, try these two tasks:
- Create an inner glow effect to add to your toolbox. This will need to be based on our current inner glow code, but requires the same layer to get brightness.
- Try making our glow effect animate over time, as if the glow were pulsating.
If you liked this, you'd love Hacking with Swift+…
Here's just a sample of the other tutorials, with each one coming as an article to read and as a 4K Ultra HD video.
Find out more and subscribe here
31:55
DATA STRUCTURES
FREE: Trees
Trees are an extraordinarily simple, extraordinarily useful data type, and in this article we’ll make a complete tree data type using Swift in just a few minutes. But rather than just stop there, we’re going to do something quite beautiful that I hope will blow your mind while teaching you something useful.
27:33
INTERMEDIATE SWIFT
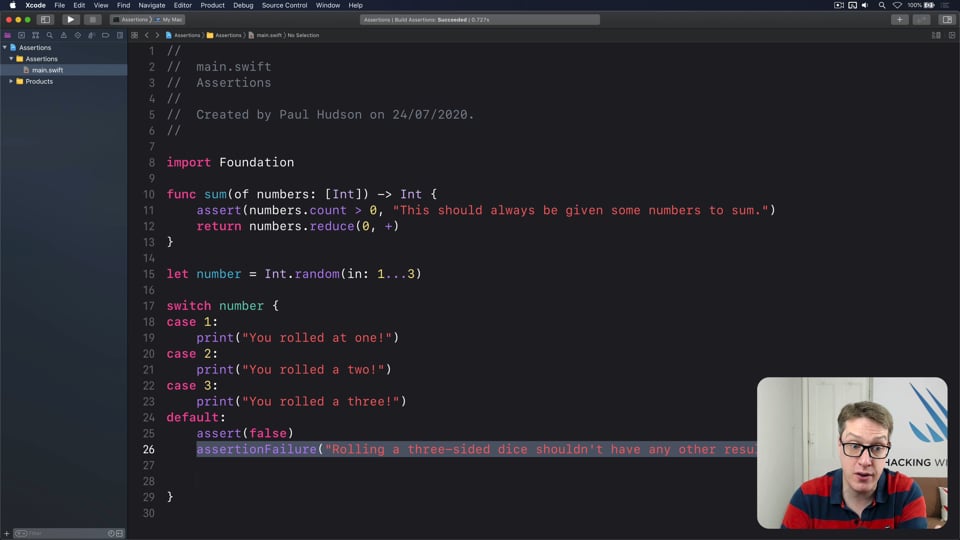
FREE: Understanding assertions
Assertions allow us to have Swift silently check the state of our program at runtime, but if you want to get them right you need to understand some intricacies. In this article I’ll walk you through the five ways we can make assertions in Swift, and provide clear advice on which to use and when.
11:03
ULTIMATE PORTFOLIO APP
FREE: Ultimate Portfolio App: Introduction
UPDATED: While I’m sure you’re keen to get started programming immediately, please give me a few minutes to outline the goals of this course and explain why it’s different from other courses I’ve written.
42:32
FUNCTIONAL PROGRAMMING
FREE: Transforming data with map()
In this article we’re going to look at the map() function, which transforms one thing into another thing. Along the way we’ll also be exploring some core concepts of functional programming, so if you read no other articles in this course at least read this one!
14:20
INTERMEDIATE SWIFTUI
FREE: Creating a custom property wrapper using DynamicProperty
It’s not hard to make a basic property wrapper, but if you want one that automatically updates the body property like @State you need to do some extra work. In this article I’ll show you exactly how it’s done, as we build a property wrapper capable of reading and writing documents from our app’s container.
23:07
ADVANCED SWIFT
FREE: Making the most of optionals
Swift’s optionals are implemented as simple enums, with just a little compiler magic sprinkled around as syntactic sugar. However, they do much more than people realize, and in this article I’m going to demonstrate some of their power features that can really help you write better code – and blow your mind along the way.
24:11
ADVANCED SWIFT
FREE: How to use phantom types in Swift
Phantom types are a powerful way to give the Swift compiler extra information about our code so that it can stop us from making mistakes. In this article I’m going to explain how they work and why you’d want them, as well as providing lots of hands-on examples you can try.
32:08
CUSTOM SWIFTUI COMPONENTS
FREE: Creating a WaveView to draw smooth waveforms
In this article I’m going to walk you through building a WaveView with SwiftUI, allowing us to create beautiful waveform-like effects to bring your user interface to life.
36:18
HIGH-PERFORMANCE APPS
FREE: Using memoization to speed up slow functions
In this article you’ll learn how memoization can dramatically boost the performance of slow functions, and how easy Swift makes it thanks to its generics and closures.

3:54
INTERVIEW QUESTIONS
FREE: Interview questions: Introduction
Getting ready for a job interview is tough work, so I’ve prepared a whole bunch of common questions and answers to help give you a jump start. But before you get into them, let me explain the plan in more detail…
14:26
NETWORKING
FREE: User-friendly network access
Anyone can write Swift code to fetch network data, but much harder is knowing how to write code to do it respectfully. In this article we’ll look at building a considerate network stack, taking into account the user’s connection, preferences, and more.
6:52
FUNCTIONAL PROGRAMMING
FREE: Functional programming in Swift: Introduction
Before you dive in to the first article in this course, I want to give you a brief overview of our goals, how the content is structured, as well as a rough idea of what you can expect to find.
20:01
INTERMEDIATE SWIFT
FREE: Understanding generics – part 1
Generics are one of the most powerful features of Swift, allowing us to write code once and reuse it in many ways. In this article we’ll explore how they work, why adding constraints actually helps us write more code, and how generics help solve one of the biggest problems in Swift.
15:47
SOLUTIONS
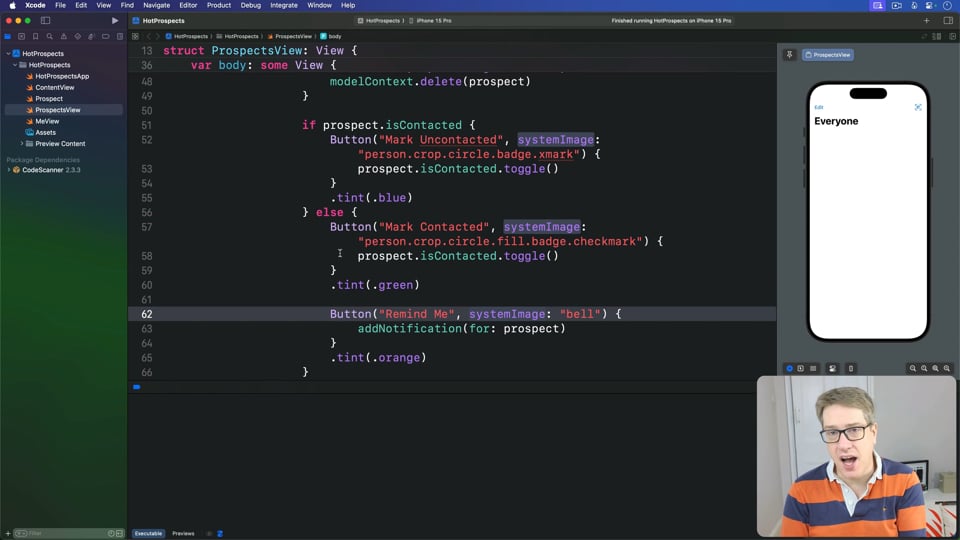
Hot Prospects
This challenge asks you to add an icon to show which prospects have been contacted, to add an editing screen for contacts, and to enable custom sorting for the data. Let’s tackle it now…
20:53
ULTIMATE PORTFOLIO APP
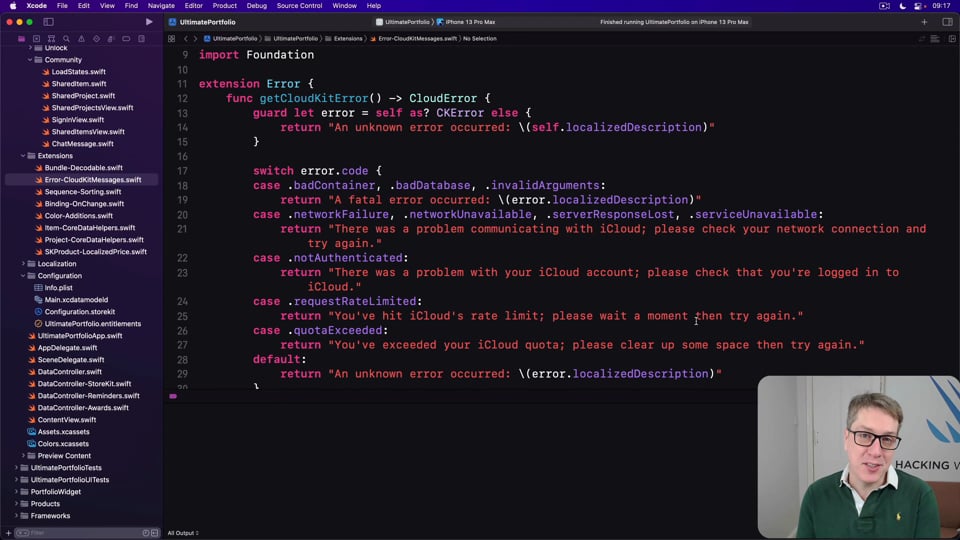
Cleaning up CloudKit, part 3
The last part of cleaning up CloudKit involves upgrading our Awards to include chat messages, updating our localization to include all the new UI we’ve added, and fixing a small SwiftUI bug – just enough to leave CloudKit in good shape before we move on.
30:31
ULTIMATE PORTFOLIO APP
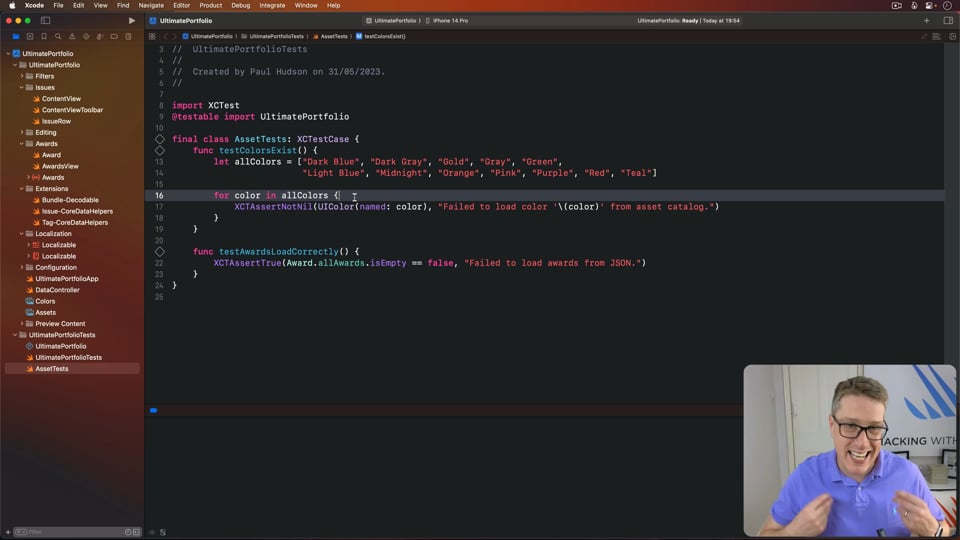
Testing Core Data
UPDATED: Our app relies extensively on user data, so if there’s one part of it that absolutely must be bullet proof it’s our Core Data stack. In this article we’ll explore writing tests for our data, including tags, issues, and awards.
17:58
MAKING THE MOST OF FOUNDATION
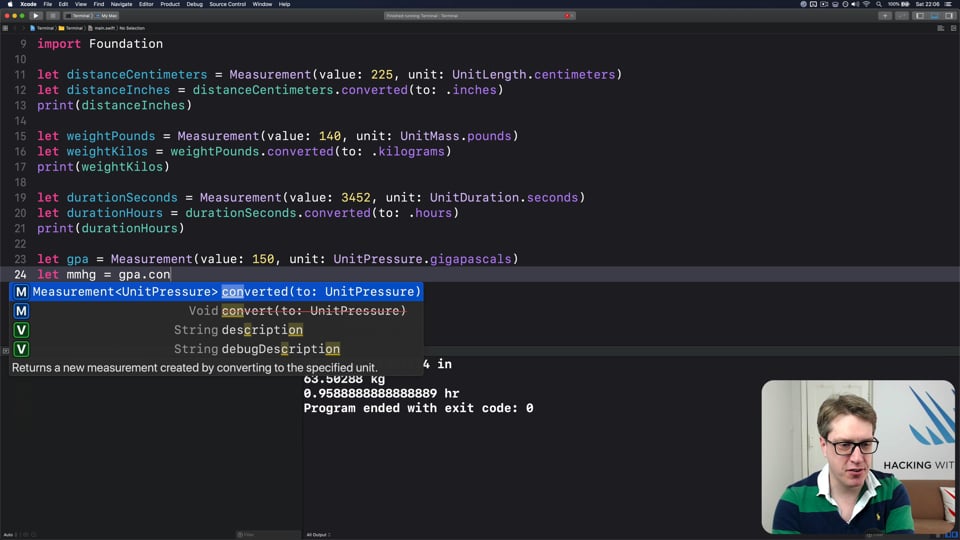
Converting measurements safely
Apple’s Foundation framework makes it easy for us to convert any kind of measurement into any other kind of measurement. In this article I’ll show you how to make the most of these APIs, but also why it’s so useful that they work with Swift features such as operator overloading, plus important protocols such as Comparable, Equatable, and Codable.
6:23
SOLUTIONS
Word Scramble
This challenge asks you to disallow certain words, let users start a new game whenever they want, and also track player scores. Let’s tackle it now…
22:06
ULTIMATE PORTFOLIO APP
Questions and answers, part 1
UPDATED: As folks have worked their way through the series so far, they’ve sent in various questions about implementation choices and more. In this article I want to address the most common questions asked so far, so that everyone can benefit.
40:41
ULTIMATE PORTFOLIO APP
Creating a second widget
In this follow-on article we’re going to up our widget game by adding a second, more complex widget and exploring some configuration options that help our widgets work better on-screen.
