User-friendly network access
Anyone can write Swift code to fetch network data, but much harder is knowing how to write code to do it respectfully. In this article we’ll look at building a considerate network stack, taking into account the user’s connection, preferences, and more.
Watch the video here, or read the article below
Quick links
Optimal network detection
Let’s start with the basics: do we even have an active network connection?
Years ago, before “reachability” was used to make it easier to reach distant parts of an iPhone screen, Apple used the name for a small network class that would detect whether a server could be reached or not. Over the years this has been forked multiple times, and you’ll still commonly see it used in the wild.
These days, though, there’s a much better solution called NWPathMonitor. It comes with the Network framework that was introduced in iOS 12, and we can either restrict it to using particular network types (e.g. WiFi or cellular) or just let it work across all interfaces.
To use it takes a few steps, so we’re going to create a simple wrapper for it so you can either monitor it directly with SwiftUI, or in other frameworks using Combine.
This takes five small steps in total, starting with creating a new class that conforms to the ObservableObject protocol so we can announce updates as they come in. We’ll need to add some properties to this, the most important two of which are one to store the internal NWPathMonitor watching for changes, and one to store a DispatchQueue where the monitoring work will take place.
So, start by adding an import for Network, then add this new class to the same file:
class NetworkMonitor: ObservableObject {
    private let monitor = NWPathMonitor()
    private let queue = DispatchQueue(label: "Monitor")
}
Second, to make this easier to use we’re going to add four properties that describe the network availability we have: whether it’s active (do we have access to the network?), whether it’s expensive (cellular or WiFi using a cellular hotspot), whether it’s constrained (restricted by low data mode), and the exact connection type we have (WiFi, cellular, etc).
So, add these properties to NetworkMonitor:
var isActive = false
var isExpensive = false
var isConstrained = false
var connectionType = NWInterface.InterfaceType.other
Third, we need to give the class an initializer that tells the internal NWPathMonitor what it should do when changes come in, and tells it start monitoring on our private queue:
init() {
    monitor.pathUpdateHandler = { path in
        // more code here
    }

    monitor.start(queue: queue)
}
Now for the fractionally more complex part: whenever that // more code here closure is run, we need to store our latest networking values in our property, then notify anyone who is watching for updates.
This is mostly easy to do, but we do need to make an array of all possible connection types then find the first one that is actually available.
Replace the // more code here comment with this:
self.isActive = path.status == .satisfied
self.isExpensive = path.isExpensive
self.isConstrained = path.isConstrained

let connectionTypes: [NWInterface.InterfaceType] = [.cellular, .wifi, .wiredEthernet]
self.connectionType = connectionTypes.first(where: path.usesInterfaceType) ?? .other

DispatchQueue.main.async {
    self.objectWillChange.send()
}
For the final step, we need to create an instance of NetworkMonitor then inject it into the SwiftUI environment. We can do that in the scene delegate by replacing the let contentView line with this:
let monitor = NetworkMonitor()

let contentView = ContentView().environmentObject(monitor)
And that’s it! We now have a reusable network monitor that works great in SwiftUI, but also can be used in UIKit and other frameworks because it just uses a simple Combine publisher.
To try it out in SwiftUI, use code like this:
struct ContentView: View {
    @EnvironmentObject var network: NetworkMonitor

    var body: some View {
        Text(verbatim: """
        Active: \(network.isActive)
        Expensive: \(network.isExpensive)
        Constrained: \(network.isConstrained)
        """)
    }
}
Once it’s running, you’ll find your UI automatically updates if you toggle WiFi or flight mode.
Waiting for access
If you want really great network access then you need to create your own URLSession. This is easy to do, and although it gives us control over the same constrained and expensive checks as before, we now also gain the ability to control caching and waiting – it’s one of the most beautiful parts of Apple’s APIs, and I wish more folks used it!
Here’s how a basic configuration might look:
func makeRequest() {
    let config = URLSessionConfiguration.default
    config.allowsExpensiveNetworkAccess = false
    config.allowsConstrainedNetworkAccess = false

    let session = URLSession(configuration: config)
    let url = URL(string: "https://www.apple.com")!

    session.dataTask(with: url) { data, response, error in
        print(data)
    }.resume()
}
With expensive and constrained network access disabled, that request will fail if Low Data Mode is enabled or if the user is on an expensive connection – i.e., cellular or WiFi backed by a cellular hotspot.
The nice thing about this approach is that it means all our requests honor our settings automatically – you can stash that session away somewhere, then make requests on it whenever you need.
But the real power is that we get new functionality, including the ability to defer our network request until access becomes available. This means we can start the request for some work now, provide it with whatever functionality we want to execute when it completes, and iOS will simply hold on to that until we finally have network access.
What does it take to make that happen? Just one Boolean:
config.waitsForConnectivity = trueTo try it out, add that line to makeRequest(), then rewrite ContentView so it has a button that triggers makeRequest() when tapped:
var body: some View {
    Button("Fetch Data", action: makeRequest)
}
Try running that on a real device that has flight mode on and WiFi off – you’ll see nothing happens. But as soon as you enable some sort of network, you’ll see something like “Optional(67820 bytes)”, which is the completed download of the Apple website.
This is the ideal way of working with data, particularly when it’s large: we want to have it at some point but not necessarily now, and not if the user is using an expensive or constrained network.
But having a custom URL session allows us to go one step further: we can have complete control over the way data is cached. By default we’ll have our data while our app is running, but we can just adjust our configuration so that data is always reloaded like this:
config.requestCachePolicy = .reloadIgnoringLocalCacheDataPutting all this together, we can get sensible caching, requests that wait until network access is available, requests that refuse to work over expensive or constrained networks, and super slick network detection with NWPathMonitor – not bad!
Challenges
There are a few tasks I recommend you try to make our code more flexible:
- Update the
NetworkMonitorclass so that we can create the internalNWPathMonitorusing a specific interface type if needed. This should be alongside the current initializer, but it should allow us to request WiFi specifically. - Also add a way to stop our network monitor from working.
If you liked this, you'd love Hacking with Swift+…
Here's just a sample of the other tutorials, with each one coming as an article to read and as a 4K Ultra HD video.
Find out more and subscribe here
32:08
CUSTOM SWIFTUI COMPONENTS
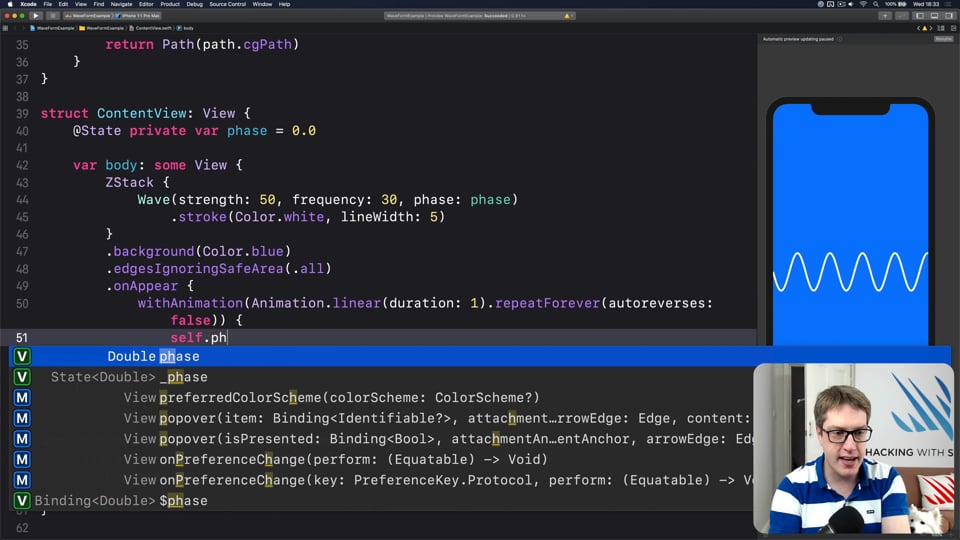
FREE: Creating a WaveView to draw smooth waveforms
In this article I’m going to walk you through building a WaveView with SwiftUI, allowing us to create beautiful waveform-like effects to bring your user interface to life.
11:03
ULTIMATE PORTFOLIO APP
FREE: Ultimate Portfolio App: Introduction
UPDATED: While I’m sure you’re keen to get started programming immediately, please give me a few minutes to outline the goals of this course and explain why it’s different from other courses I’ve written.

6:52
FUNCTIONAL PROGRAMMING
FREE: Functional programming in Swift: Introduction
Before you dive in to the first article in this course, I want to give you a brief overview of our goals, how the content is structured, as well as a rough idea of what you can expect to find.
23:07
ADVANCED SWIFT
FREE: Making the most of optionals
Swift’s optionals are implemented as simple enums, with just a little compiler magic sprinkled around as syntactic sugar. However, they do much more than people realize, and in this article I’m going to demonstrate some of their power features that can really help you write better code – and blow your mind along the way.
14:20
INTERMEDIATE SWIFTUI
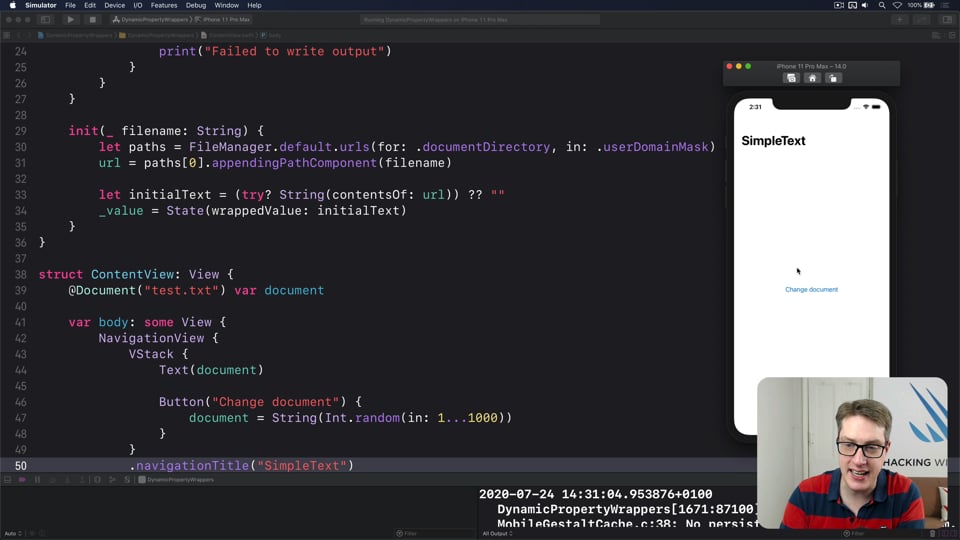
FREE: Creating a custom property wrapper using DynamicProperty
It’s not hard to make a basic property wrapper, but if you want one that automatically updates the body property like @State you need to do some extra work. In this article I’ll show you exactly how it’s done, as we build a property wrapper capable of reading and writing documents from our app’s container.
27:33
INTERMEDIATE SWIFT
FREE: Understanding assertions
Assertions allow us to have Swift silently check the state of our program at runtime, but if you want to get them right you need to understand some intricacies. In this article I’ll walk you through the five ways we can make assertions in Swift, and provide clear advice on which to use and when.

3:54
INTERVIEW QUESTIONS
FREE: Interview questions: Introduction
Getting ready for a job interview is tough work, so I’ve prepared a whole bunch of common questions and answers to help give you a jump start. But before you get into them, let me explain the plan in more detail…
36:18
HIGH-PERFORMANCE APPS
FREE: Using memoization to speed up slow functions
In this article you’ll learn how memoization can dramatically boost the performance of slow functions, and how easy Swift makes it thanks to its generics and closures.
24:11
ADVANCED SWIFT
FREE: How to use phantom types in Swift
Phantom types are a powerful way to give the Swift compiler extra information about our code so that it can stop us from making mistakes. In this article I’m going to explain how they work and why you’d want them, as well as providing lots of hands-on examples you can try.
31:55
DATA STRUCTURES
FREE: Trees
Trees are an extraordinarily simple, extraordinarily useful data type, and in this article we’ll make a complete tree data type using Swift in just a few minutes. But rather than just stop there, we’re going to do something quite beautiful that I hope will blow your mind while teaching you something useful.
42:32
FUNCTIONAL PROGRAMMING
FREE: Transforming data with map()
In this article we’re going to look at the map() function, which transforms one thing into another thing. Along the way we’ll also be exploring some core concepts of functional programming, so if you read no other articles in this course at least read this one!
19:50
SWIFTUI SPECIAL EFFECTS
FREE: Shadows and glows
SwiftUI gives us a modifier to make simple shadows, but if you want something more advanced such as inner shadows or glows, you need to do extra work. In this article I’ll show you how to get both those effects and more in a customizable, flexible way.
20:01
INTERMEDIATE SWIFT
FREE: Understanding generics – part 1
Generics are one of the most powerful features of Swift, allowing us to write code once and reuse it in many ways. In this article we’ll explore how they work, why adding constraints actually helps us write more code, and how generics help solve one of the biggest problems in Swift.
31:19
SOLUTIONS
iTour
In my book SwiftData by Example we build a complete introductory project with SwiftUI and SwiftData. At the end I lay out three challenges to help you build your skills further, and we'll solve them here – then go on to solve five bonus challenges too!
42:07
INTERMEDIATE SWIFTUI
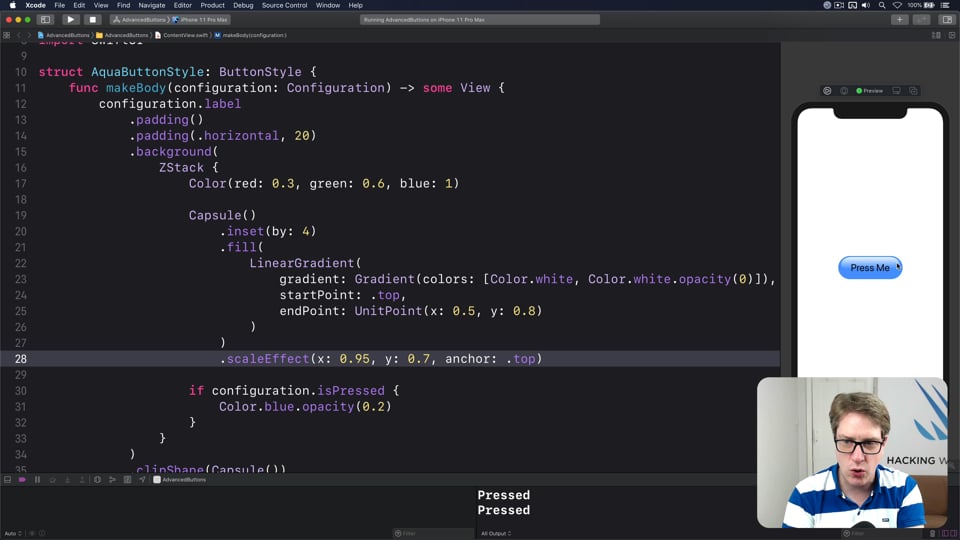
Advanced button customization using ButtonStyle
Previously we looked at how to create basic button styles that unify your app’s styling efficiently. In this follow-on article we’re going to explore three completely different button styles that show off just what SwiftUI is capable of: glossy marble buttons, classic fantasy buttons, and sci-fi buttons.
56:53
SWIFTUI SPECIAL EFFECTS
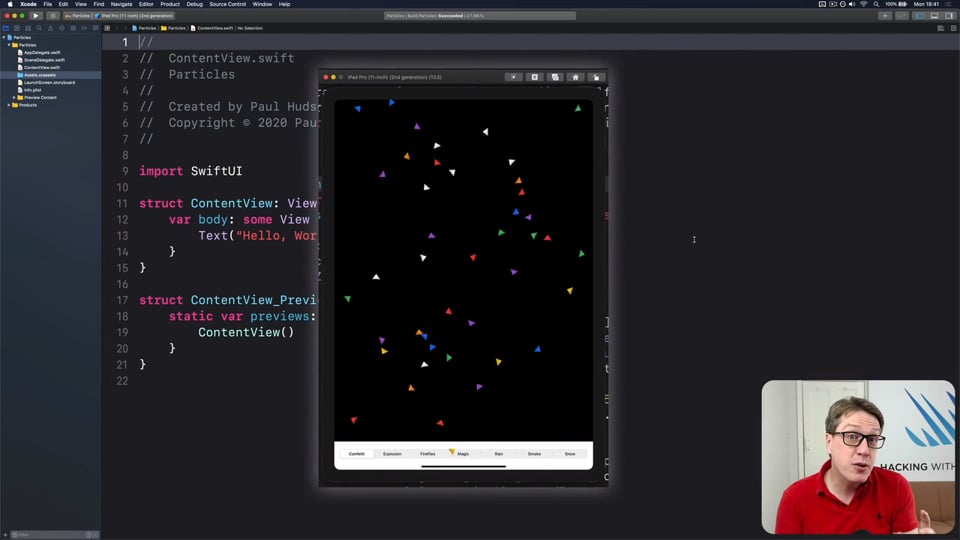
Creating a particle system in SwiftUI
Particle systems let us create special effects such as confetti, fire, smoke, rain, and snow, all by adjusting a range of inputs. In this article we’re going to build our own particle system entirely driven by SwiftUI, so you can easily add some sparkle to your apps.
5:09
SOLUTIONS
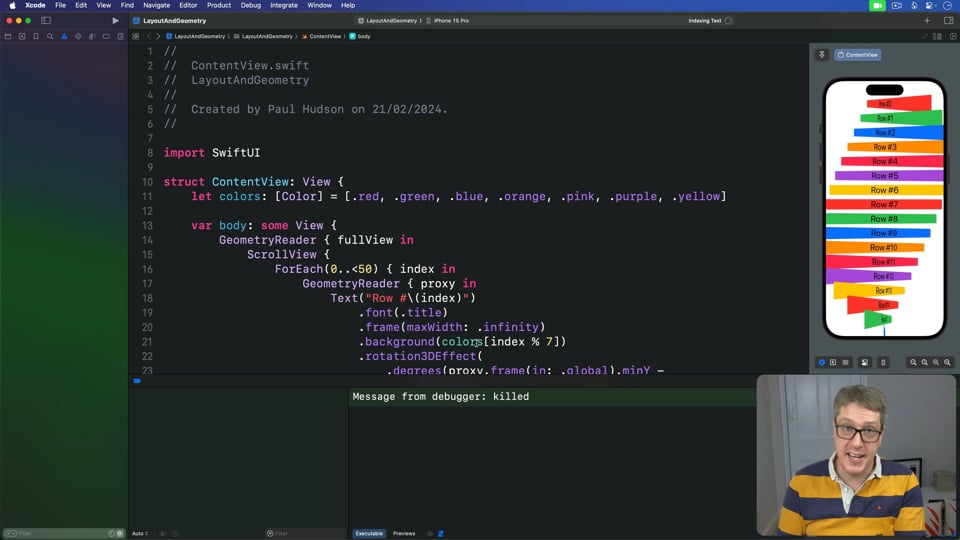
Layout and Geometry
This challenge asks you make views fade out, scale down, and change their color, all synchronized with the movement in our ScrollView. Let’s tackle it now…
1:20:17
LIVE STREAMS
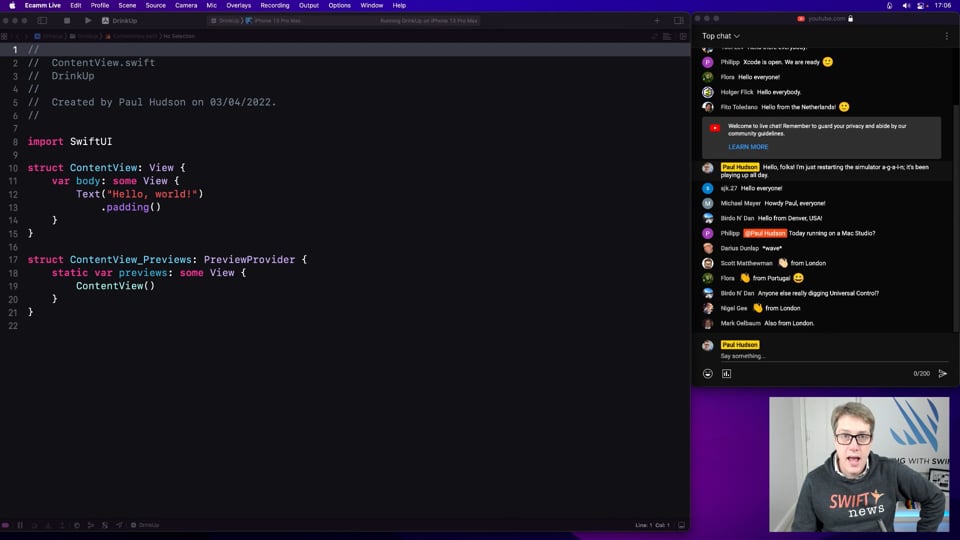
Drink up!
In this article we’re going to build an app to track how much water the user has consumed today, then tie it into a widget so they place a gentle reminder right on their Home Screen.
27:41
ADVANCED SWIFTUI
How to create Metal shaders for SwiftUI, part 1
From iOS 17 onwards, we can dynamically adjust any SwiftUI views using Metal shaders. I’m going to show you how to do it, but not just how to apply them – I’m going to show you how to write your own shaders using Metal shading language! In this first article I’ll introduce how shaders work, along with some fundamental data types and a handful of Metal functions.
1:28:14
LIVE STREAMS
TOM
In this stream we’re going to build a macOS app that simulates a small assembly language and virtual machine, which is great for learners. Along the way we’ll explore some fun features such as regular expressions and document-based apps – it’s really quite powerful!
