Understanding assertions
Assertions allow us to have Swift silently check the state of our program at runtime, but if you want to get them right you need to understand some intricacies. In this article I’ll walk you through the five ways we can make assertions in Swift, and provide clear advice on which to use and when.
Watch the video here, or read the article below
Quick links
- assert()
- assertionFailure()
- precondition()
- preconditionFailure()
- fatalError()
- Where things get fuzzy…
- Challenges
assert()
The simplest possible assertion is simply assert(), which takes a condition to check and a message to print if that check fails. If the conditions fails, your app will crash and the message will be printed. Use it like this:
func sum(of numbers: [Int]) -> Int {
    assert(numbers.count > 0, "This should always be given some numbers to sum.")
    return numbers.reduce(0, +)
}
Any use of assert() only applies while you are debugging – it will be compiled out completely when you ship your app to the App Store, as if the whole assert() line never existed.
As a result, you should assert() frequently.
“But Paul,” I hear you say, “I already use assert().” No. Use it twice as much. Use it five times as much. Seriously, there is no good reason for not adding more assertions to your code: they literally have zero performance impact on your code, and just act as a way of checking that the assumptions you have about your program are valid.
So, add assertions at the start of your functions, checking the values are within the range you expect. Heck, add assertions in the middle of your functions if you want, again making sure everything is how you expect.
Remember, because it gets compiled out completely, don’t be afraid to make your condition slower than you would normally accept, like this:
assert(reallySlowFunction() == true, "Slow function returned an incorrect value")If you ever find yourself reaching for print(), consider using assert() instead – rather than forcing you to read through your output to see what happened, assert() literally checks the thing you care about and won’t print anything if everything is what you expect.
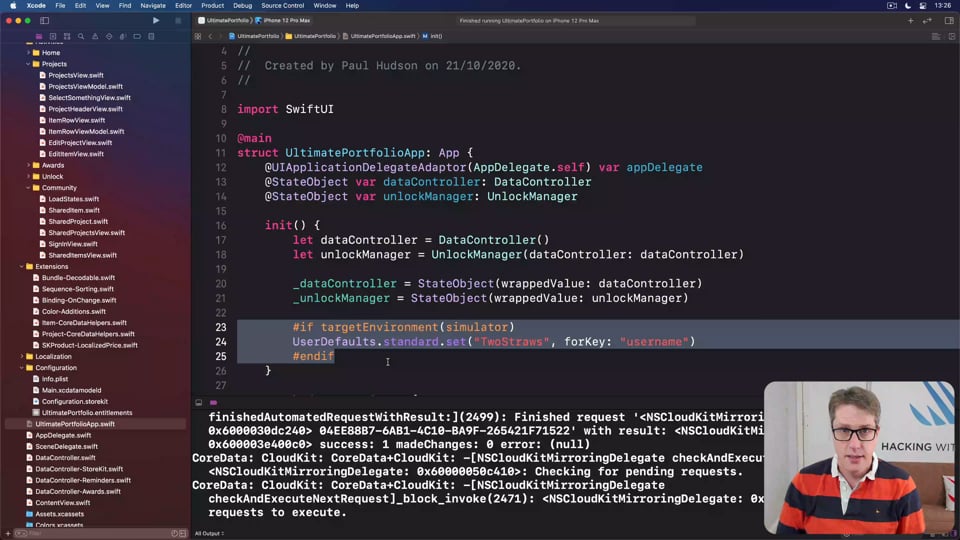
Importantly, if you build with unchecked optimizations (setting Disable Safety Checks to Yes in your build settings), Swift is free to assume that your assertions are always true. This isn’t so dangerous here, but it can be in some of the other functions below.
TL;DR: Use assert() regularly; it costs nothing and will help you.
assertionFailure()
One step up from assert() is assertionFailure(), which no longer has a condition: it will always crash your app when the function is called, printing any message you provide. As with assert() this will only ever be used in debug builds, so you don’t have to worry about this in release mode.
Use it like this:
let number = Int.random(in: 1...3)

switch number {
case 1:
    print("You rolled a one!")
case 2:
    print("You rolled a two!")
case 3:
    print("You rolled a three!")
default:
    assertionFailure("Rolling a 3-sided dice shouldn't have any other results.")
}
If you build with unchecked optimizations, the compiler is free to assume that your assertionFailure() code is never called – it should be unreachable. This is not the same as a failed assertion: using assert() means “crash when this line is hit in debug mode if my test fails,” but using assertionFailure() means “this will always crash in debug mode,” so in theory the compiler doesn’t have to worry about any code following the call to assertionFailure().
That “in theory” matters: using assertionFailure() provides an optimization hint, but what Swift’s optimizer does here isn’t specifically defined so you’re in uncertain territory.
TL;DR: Use assertionFailure() for situations where you know your code won’t be reached, for example if you’ve written a switch statement and need to put something in default even though you know it won’t be reached because all other cases are covered.
precondition()
One step up from assertionFailure() is precondition(), which works similarly to assert() in that you provide it a condition to check and it will crash your code and print a message if the check fails.
Use it like this:
extension Array {
    mutating func removeRandom(_ number: Int) {
        precondition(count >= number, "Can't remove \(number) items from an array with count \(count)")

        for _ in 0..<number {
            remove(at: Int.random(in: 0..<count))
        }
    }
}
Unlike assertions, precondition() will not be compiled out of release builds, which means the check will take place on your users devices and will crash your code if it fails.
So, you should use preconditions where your checks are designed to preserve data integrity. For example, the Swift standard library uses preconditions to check that you aren’t trying to make a range where the upper bound is less than the lower bound.
If you build with unchecked optimizations, Swift is free to assume that your checks always return true, even in release mode.
TL;DR: Use precondition() when you need to be absolutely sure the state of your program is what you expect before continuing, even when running on user devices.
preconditionFailure()
Going a step up from precondition() we have preconditionFailure(), which is the counterpart to assertionFailure(): it doesn’t perform a test, but will unconditionally crash your code when reached.
Use it like this:
func updateStatus(to newStatus: String) -> String {
    if newStatus == "active" || newStatus == "inactive" {
        return "Updating status…"
    }

    preconditionFailure("Unknown status: \(newStatus)")
}
Like precondition(), calls to preconditionFailure() will remain present in your release code, so you should only use this if you’re certain the code should never be reached. However, unlike assert(), assertionFailure(), and precondition(), the preconditionFailure() function has a return type of Never, which means the Swift compiler will automatically warn you if you attempt to put executable code after it.
Another important effect of using Never is that you aren’t forced to return a nonsense value from a function when you know you’re in an invalid state. If we had used assertionFailure() in the code above, then we’d need to add an extra line returning some sort of string just to make our code compile.
If you build with unchecked optimizations, the compiler is free to assume that your assertionFailure() code is never called – it should be unreachable.
So, in our code above we’ve made it really clear that updating the user’s status to anything other than “active” and “inactive” is completely invalid – any other kind of change will damage our user’s data, so it’s better to crash rather than continue.
TL;DR: Use preconditionFailure() when continuing execution is dangerous, and it’s better to halt execution than continue. Swift will explicitly warn you if you put code after a preconditionFailure() line, because it will never return.
fatalError()
At the very top of the assertion food chain is fatalError(), which will unconditionally crash your code regardless of you building for debug or release, or even if you have unchecked optimizations enabled – it will always crash your code.
Use it like this:
guard let url = Bundle.main.url(forResource: "input", withExtension: "json") else {
    fatalError("Failed to locate input.json in bundle.")
}
Think of fatalError() as being like preconditionFailure(), except you cannot turn it off – no level of compiler adjustments will make calls to fatalError() go away, so you should use them judiciously.
Still, there are at least two reasons why fatalError() might not be for you:
- Sometimes a force unwrap is simpler. Jordan Rose – who worked on Swift at Apple from 2012 to 2019, said “if your else block is just going to call
fatalError(),!is more expressive. It's an assertion, not unsafe.” - Using
fatalError()will copy the full path to your current file into your finished program, so you might inadvertently reveal something confidential.
TL;DR: Use fatalError() if you absolutely must crash your code no matter what build settings you use. To quote Ellen Ripley, “nuke it from orbit – it’s the only way to be sure.”
Where things get fuzzy…
Three of our five options are relatively straightforward:
- Use
assert()as often as you want, because it lets you check things are how you expect without having a performance impact for customers. - Use
assertionFailure()if there’s somewhere your code shouldn’t reach, but it’s not a disaster if it happens. - Use
precondition()anywhere that important checks must happen in order to keep your user safe.
That leaves just fatalError() and preconditionFailure(), and there’s only one difference between them significant enough for most people: fatalError() will always cause your program to halt, whereas preconditionFailure() can be ignored depending on your build settings.
Challenges
If you’d like to take this tutorial further, here are some suggestions:
- Pick any project of yours, then identify and add at least 10 places where
assert()can be used. - Take a look at the Swift source code for
assert()– how does@autoclosureallow our work to be compiled out so cleanly?
If you liked this, you'd love Hacking with Swift+…
Here's just a sample of the other tutorials, with each one coming as an article to read and as a 4K Ultra HD video.
Find out more and subscribe here
31:55
DATA STRUCTURES
FREE: Trees
Trees are an extraordinarily simple, extraordinarily useful data type, and in this article we’ll make a complete tree data type using Swift in just a few minutes. But rather than just stop there, we’re going to do something quite beautiful that I hope will blow your mind while teaching you something useful.
23:07
ADVANCED SWIFT
FREE: Making the most of optionals
Swift’s optionals are implemented as simple enums, with just a little compiler magic sprinkled around as syntactic sugar. However, they do much more than people realize, and in this article I’m going to demonstrate some of their power features that can really help you write better code – and blow your mind along the way.
24:11
ADVANCED SWIFT
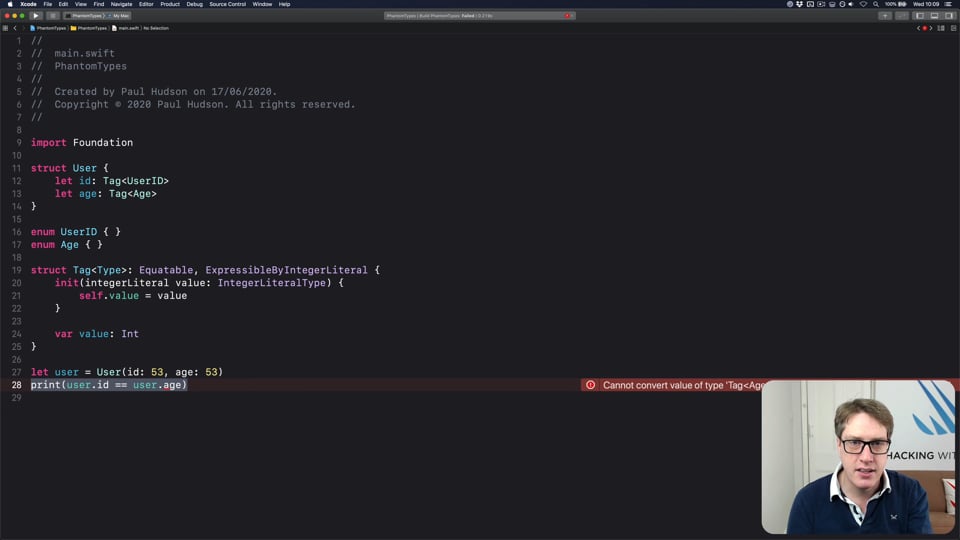
FREE: How to use phantom types in Swift
Phantom types are a powerful way to give the Swift compiler extra information about our code so that it can stop us from making mistakes. In this article I’m going to explain how they work and why you’d want them, as well as providing lots of hands-on examples you can try.
32:08
CUSTOM SWIFTUI COMPONENTS
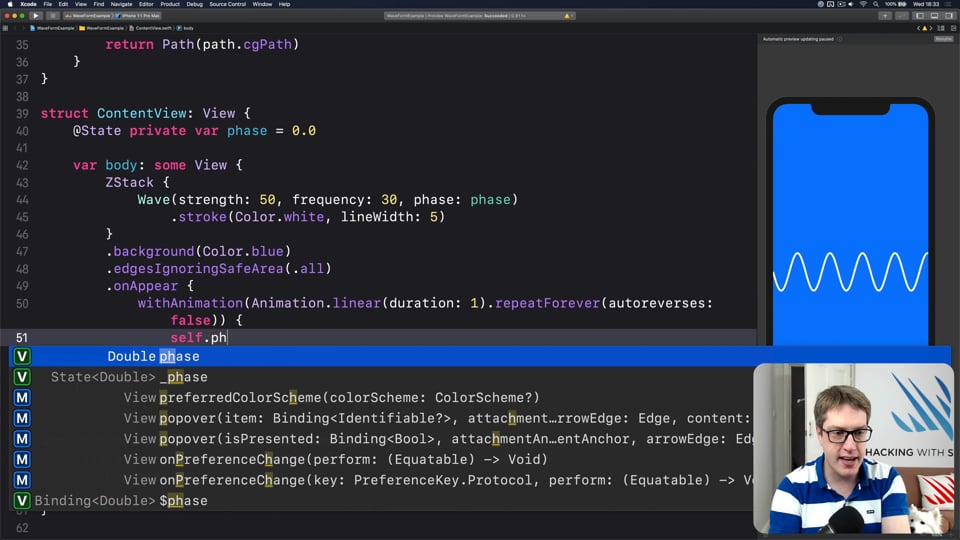
FREE: Creating a WaveView to draw smooth waveforms
In this article I’m going to walk you through building a WaveView with SwiftUI, allowing us to create beautiful waveform-like effects to bring your user interface to life.
20:01
INTERMEDIATE SWIFT
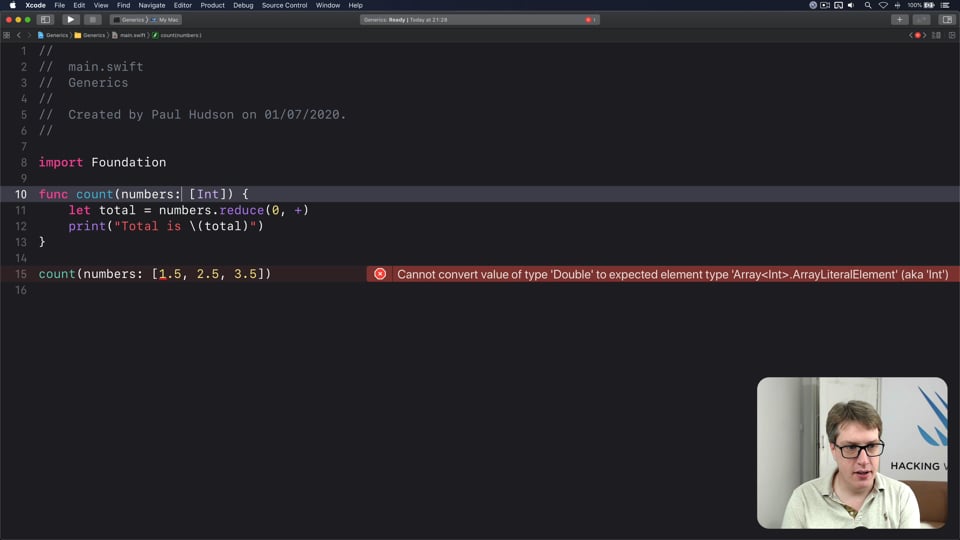
FREE: Understanding generics – part 1
Generics are one of the most powerful features of Swift, allowing us to write code once and reuse it in many ways. In this article we’ll explore how they work, why adding constraints actually helps us write more code, and how generics help solve one of the biggest problems in Swift.
19:50
SWIFTUI SPECIAL EFFECTS
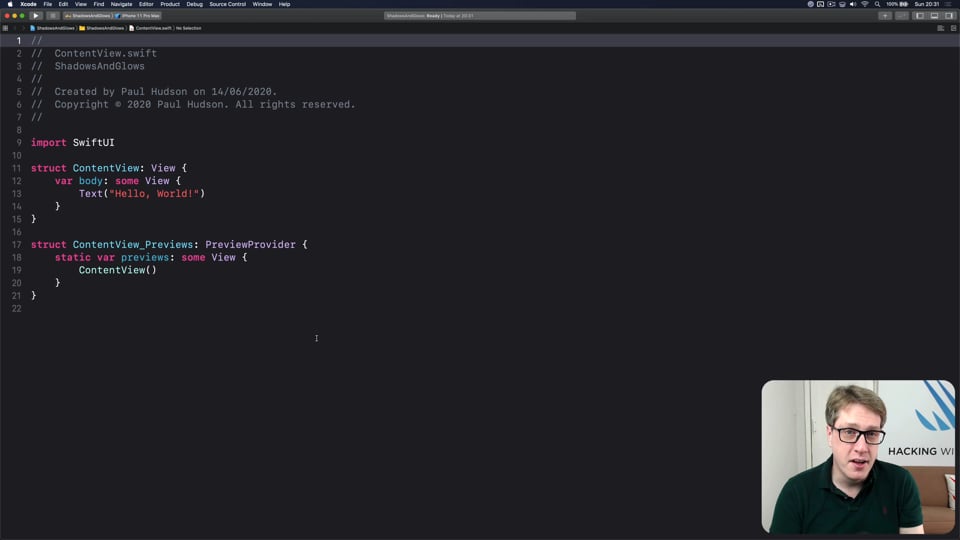
FREE: Shadows and glows
SwiftUI gives us a modifier to make simple shadows, but if you want something more advanced such as inner shadows or glows, you need to do extra work. In this article I’ll show you how to get both those effects and more in a customizable, flexible way.

3:54
INTERVIEW QUESTIONS
FREE: Interview questions: Introduction
Getting ready for a job interview is tough work, so I’ve prepared a whole bunch of common questions and answers to help give you a jump start. But before you get into them, let me explain the plan in more detail…
42:32
FUNCTIONAL PROGRAMMING
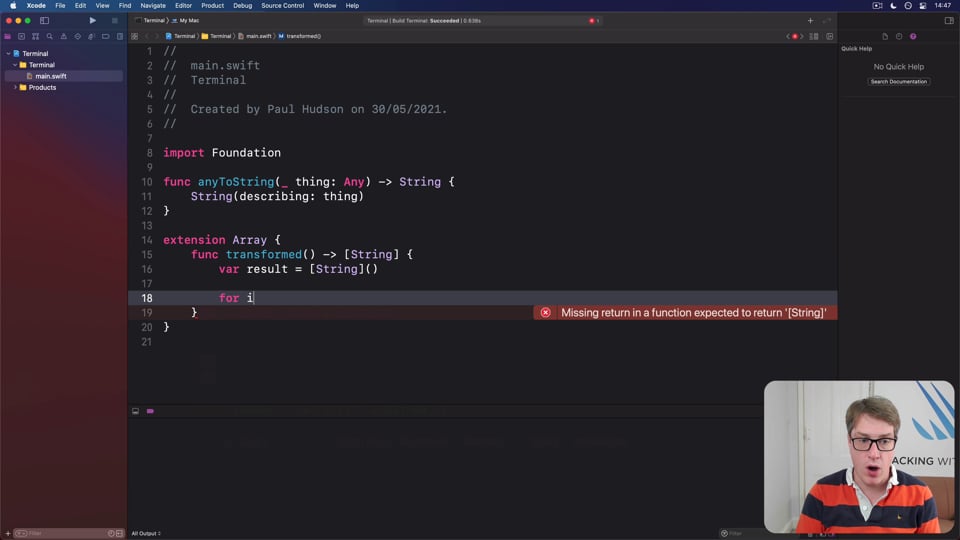
FREE: Transforming data with map()
In this article we’re going to look at the map() function, which transforms one thing into another thing. Along the way we’ll also be exploring some core concepts of functional programming, so if you read no other articles in this course at least read this one!
14:26
NETWORKING
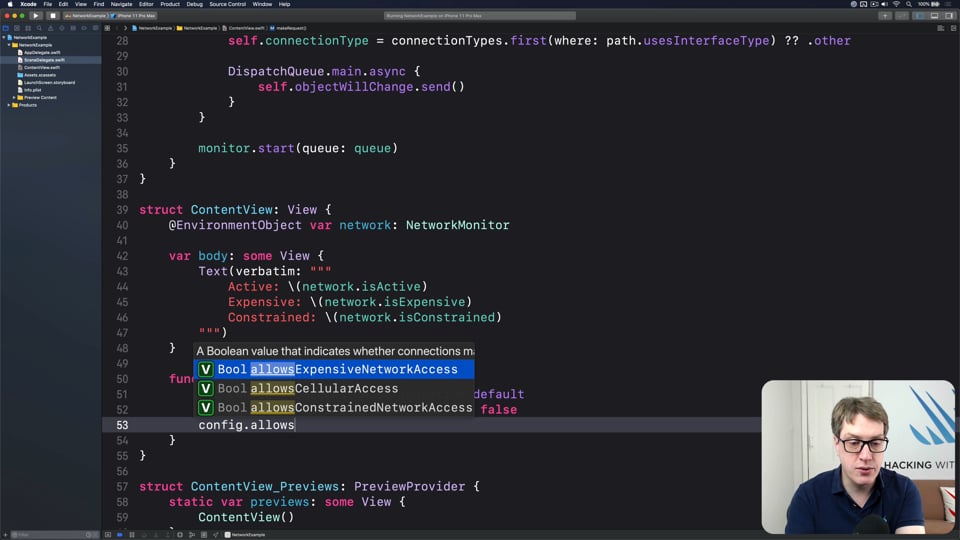
FREE: User-friendly network access
Anyone can write Swift code to fetch network data, but much harder is knowing how to write code to do it respectfully. In this article we’ll look at building a considerate network stack, taking into account the user’s connection, preferences, and more.
36:18
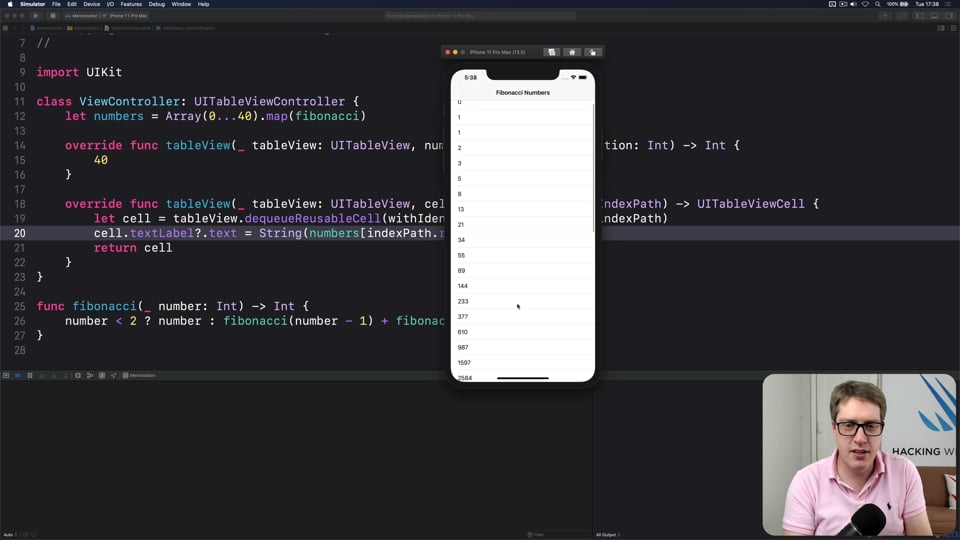
HIGH-PERFORMANCE APPS
FREE: Using memoization to speed up slow functions
In this article you’ll learn how memoization can dramatically boost the performance of slow functions, and how easy Swift makes it thanks to its generics and closures.
14:20
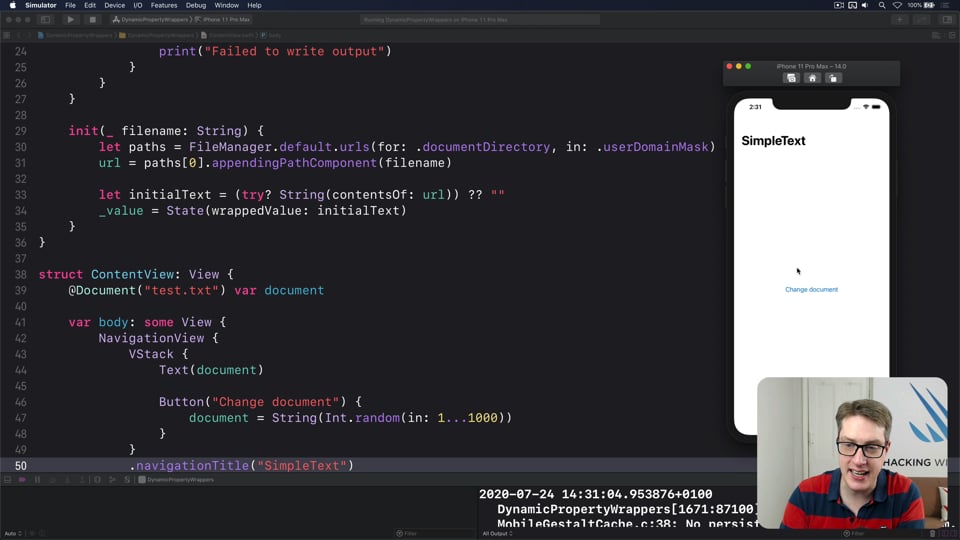
INTERMEDIATE SWIFTUI
FREE: Creating a custom property wrapper using DynamicProperty
It’s not hard to make a basic property wrapper, but if you want one that automatically updates the body property like @State you need to do some extra work. In this article I’ll show you exactly how it’s done, as we build a property wrapper capable of reading and writing documents from our app’s container.
6:52
FUNCTIONAL PROGRAMMING
FREE: Functional programming in Swift: Introduction
Before you dive in to the first article in this course, I want to give you a brief overview of our goals, how the content is structured, as well as a rough idea of what you can expect to find.
11:03
ULTIMATE PORTFOLIO APP
FREE: Ultimate Portfolio App: Introduction
UPDATED: While I’m sure you’re keen to get started programming immediately, please give me a few minutes to outline the goals of this course and explain why it’s different from other courses I’ve written.
28:23
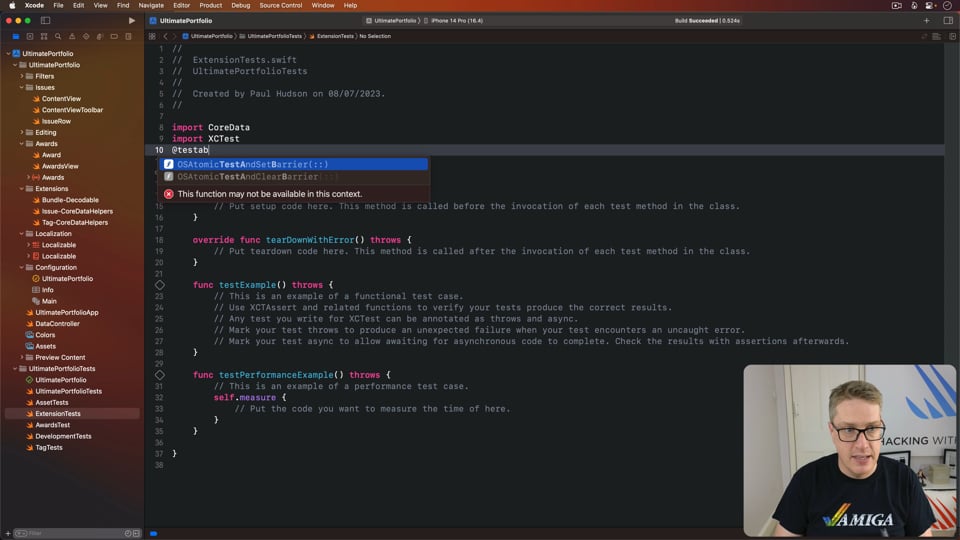
ULTIMATE PORTFOLIO APP
Testing extensions
UPDATED: Our project has various extensions that help make the rest of our code easier, and we need to treat these carefully – small changes to these can have huge effects across the rest of our project. So, in this article we’re going to write tests for the extensions we created, making sure they work correctly every time.
1:28:19
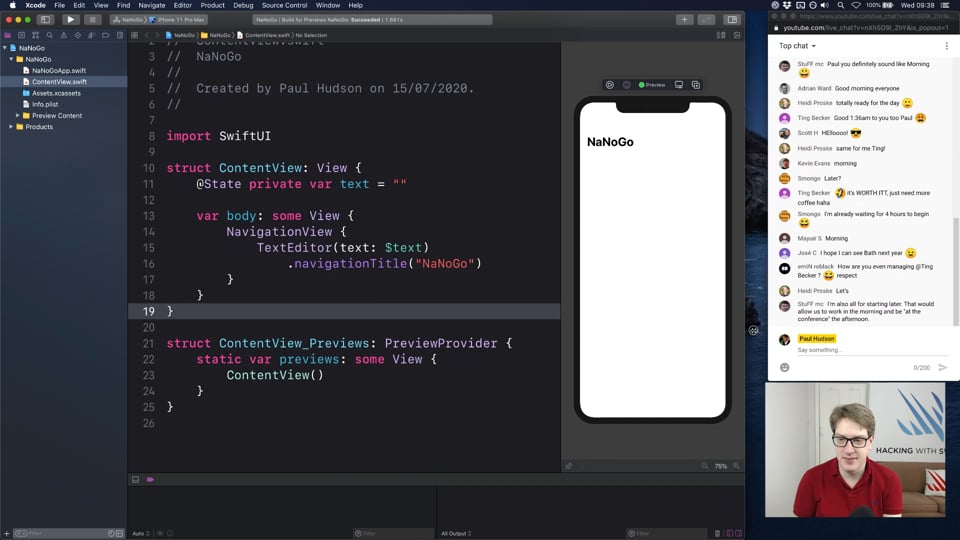
EVENTS
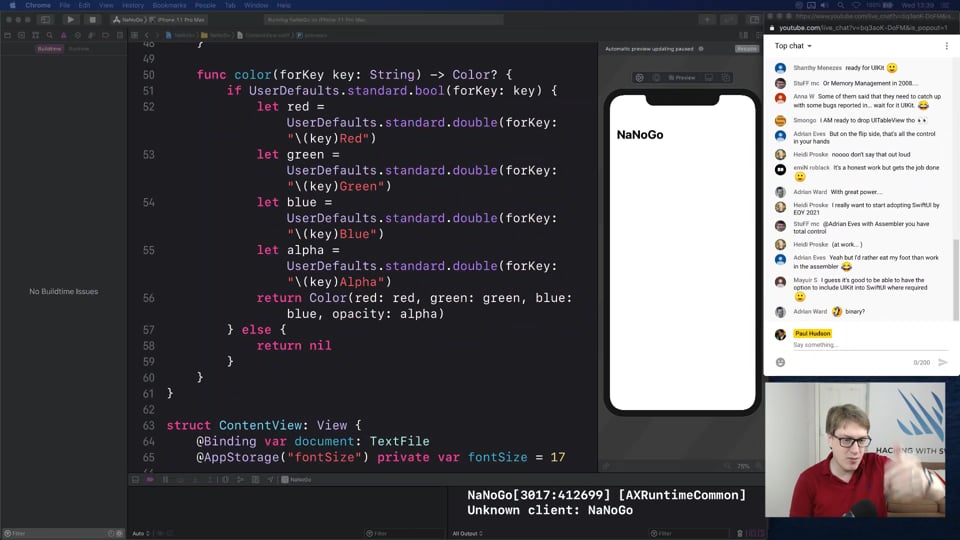
Starting NaNoGo
In this part we’ll start a second project that uses a whole new range of SwiftUI features, including TextEditor, multiple scenes, ColorPicker, and more.
5:09
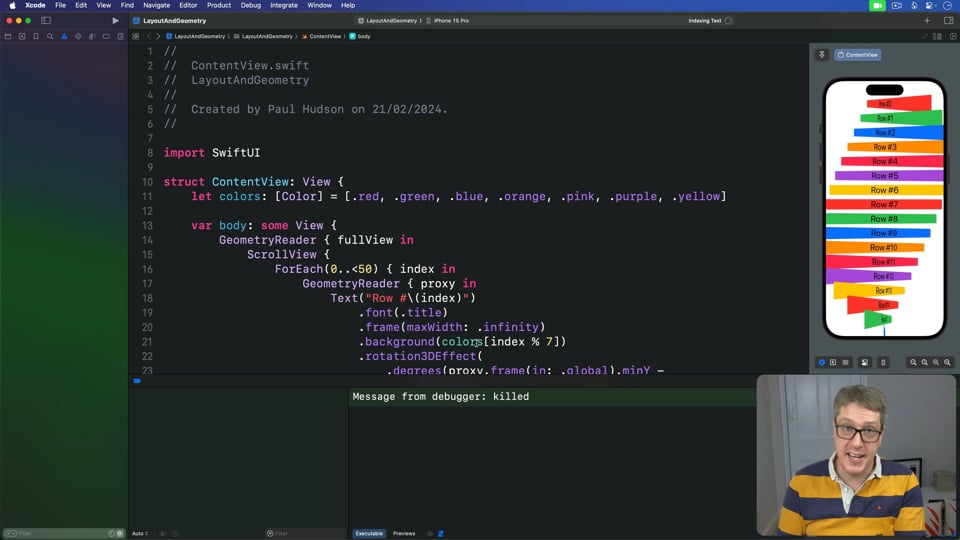
SOLUTIONS
Layout and Geometry
This challenge asks you make views fade out, scale down, and change their color, all synchronized with the movement in our ScrollView. Let’s tackle it now…
1:12:54
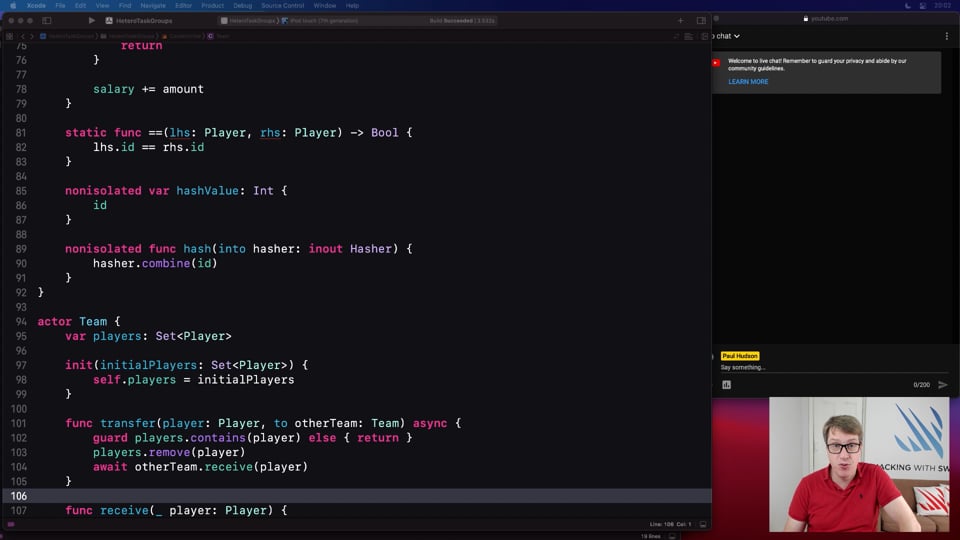
EVENTS
Final tips then SwiftUI
We’re about to start exploring the many SwiftUI changes introduced this year, but before we’re done with concurrency we have two last techniques to explore.
1:26:39
EVENTS
UIKit updates: UICollectionView lists
In this part we’re going to build an app to explore SF Symbols, all built using the massive new updates to UICollectionView that let it act like a table view.
12:19
ADVANCED SWIFT
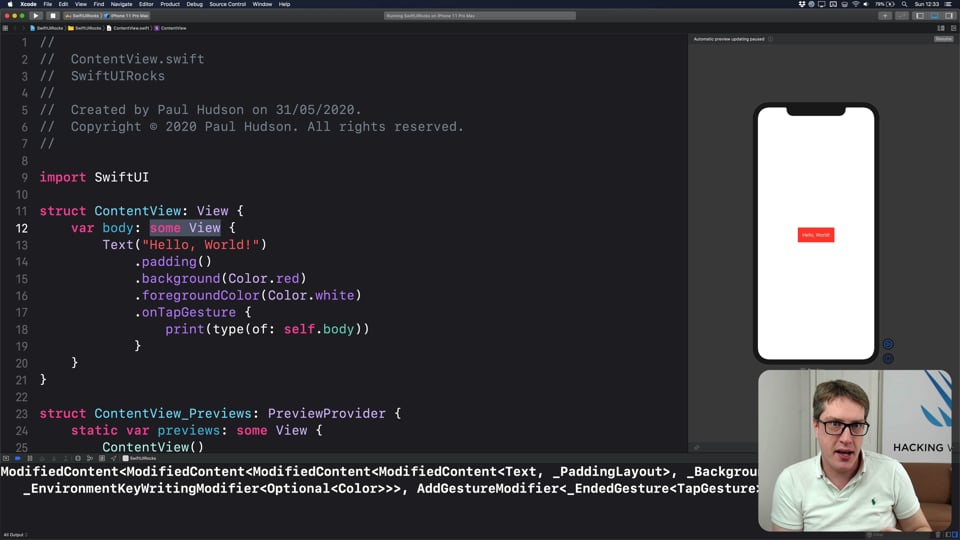
Why opaque return types are so important
Opaque return types are a powerful feature in Swift, and are also critically important for writing SwiftUI. In this article I’ll be explaining how they work, and why they give us more power than returning a simple protocol.
23:21
ULTIMATE PORTFOLIO APP
Posting comments through CloudKit
The last major piece of CloudKit work we’re going to add will let users post comments on shared projects – hopefully encouraging ones! This will combine querying and writing CloudKit data in a single part of our app, and also demonstrate how to write single records rather than several at once.
