Join over 90,000 readers today


The ultimate investment for your iOS career
Hacking with Swift+ is a subscription service that delivers incredible, hands-on Swift tutorials, so you can deepen your understanding of Swift, SwiftUI, UIKit, and more, and take your career to the next level.
HWS+ costs just $20/month or $200/year, and every article includes 4K Ultra HD video.
Already a subscriber? Log in here
Membership includes…
✅
All HWS+ tutorials as both text and 4K video
✅
Downloadable projects and learning challenges
✅
Our massive Ultimate Portfolio App series
✅
Access to my monthly app building livestreams
✅
Free gifts for every year of your subscription
✅
An ad-free experience everywhere on the site
✅
Video solutions for the 100 Days of SwiftUI
✅
A 20% discount on all my books year-round
✅
Access to an exclusive forum for subscribers
✅
Videos from Hacking with Swift Live
And it gets even better… 🤯
Once you've subscribed for 18 months, you get free online access to over a dozen of my books to expand your learning even further, including:
- Pro Swift, Pro SwiftUI, Swift Design Patterns, and Testing Swift
- Hacking with macOS, Hacking with tvOS, and Hacking with watchOS
- Swift Coding Challenges, Objective-C for Swift Developers, and Beyond Code
- Advanced iOS: Volumes 1, 2, and 3
- And more!
This means your subscription grows as you do, making Hacking with Swift+ the largest and most comprehensive membership around.
Note: If you're using team licensing with at least three seats, you gain access to this reading library immediately rather than waiting 18 months.
Or start a free trial
Our courses include…
- The Ultimate Portfolio App walks you through the process of building one app that implements best practices for architecture, accessibility, testing, documentation, and more, while also working across iOS, macOS, tvOS, and even watchOS.
- Advanced Swift focuses on improving your core Swift language skills, regardless of whether you use UIKit, SwiftUI, or something else.
- Algorithms helps you understand common algorithms in computer science, all implemented and explained step by step in Swift.
- Custom SwiftUI Components walks you through building a wide variety of reusable UI components using SwiftUI.
- Data Structures teaches you how to build stacks, lists, trees and more, while working with a variety of common Swift protocols.
- Funtional Programming walks you through hands-on examples of how to build smaller, composable more testable using functional approaches such as
filter(),map(), andreduce(). - High-performance Apps teaches you techniques for writing faster code, rendering faster views, and more, so you can make best use of your user's device.
- Intermediate Swift is designed to help push your skills further, giving in-depth explanations for generics, optionals, assertions, and more.
- Intermediate SwiftUI is packed with tips and tricks to help you write better SwiftUI code, including customizing common controls with styles, handling size classes better, and working with dynamic properties.
- Making the most of Foundation goes back to the basics of Apple's Foundation framework, exploring how best to use common code such as
UserDefaultsandMeasurement. - Networking covers a core topic in a fresh way, showing you smart ways to make your code simpler and safer using generics, Combine, and more.
- Remaking Apps walks you through building copies of well-known apps from iOS using SwiftUI, showing you how easy it is to get powerful effects with very little code.
- Rendering Charts in SwiftUI shows you how SwiftUI can be used to build complete types of charts from scratch, including pie charts, bar charts, and more.
- SwiftUI Special Effects teaches you how to add some surprise and delight to your user interface using particles, Core Motion, and more.
- Working with Data helps you get to grips with data input, such as creating a custom XML parser, or handling complex or messy JSON.
PLUS: A huge and growing collection of solutions for challenges in the 100 Days of SwiftUI and elsewhere, a complete archive of HWS+ live streams, access to videos from Hacking with Swift Live 2020 and 2021.
Even more courses are on the way: debugging, testing, and of course lots more SwiftUI – I have an epic collection of tutorials coming, and I can’t wait to share them all with you.
Your Hacking with Swift+ membership gets you every subscriber-only article and video published now and in the future, plus an incredible amount of extras!
Exclusive bonuses!
Every subscriber gets immediate access to the full range amazing tutorials written for Hacking with Swift+ subscribers, plus the ad-free browsing experience, downloadable projects, monthly live streams, private forum access, and more.
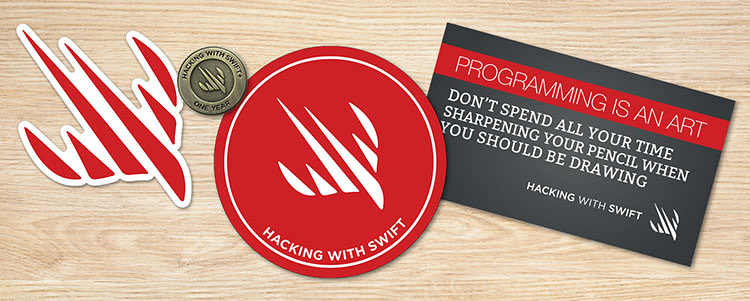
But above and beyond all that you'll also receive exclusive subscriber-only thank you gifts every year – it's the least I can do to show how grateful I am that you're supporting my work.
This has some important terms and conditions, so please read the following carefully!
- Hacking with Swift+ subscriber gifts are available for everyone; we'll cover the postage worldwide.
- The gifts are free bonuses; you don't need to pay anything extra to receive them.
- There are multiple gifts based on how many years you have subscribed. After your first year you'll receive a "One Year" metal pin badge, a sticker, a fridge magnet, and a coaster. Second and subsequent years will contain different gifts.
- If you subscribe yearly, you'll be sent your gifts immediately.
- If you subscribe monthly, you'll be sent your gifts after you have been a subscriber for 12 months. These months do not need to be contiguous – you could subscribe for six months, take a six month break, then subscribe for another six months.
- To claim your free gifts, edit your Hacking with Swift account to include your mailing address.
- If you don't want to share your address with me, or if you'd rather avoid the environmental impact of sending packages around the world, you can opt out of receiving gifts.
- If your country levies import duty or other taxes on gifts you will be liable to pay them directly to your government.
Join Hacking with Swift+
Start your HWS+ subscription today and start learning immediately, plus get access to the private members forum, enjoy ad-free site browsing, join my monthly live streams, and more.
$20 / month
$200 / year
If you're not sure whether HWS+ is right for you, you can try a free three-day trial – no payment or credit card needed.
- Get instant access to all past existing Hacking with Swift+ episodes, plus new ones as they are released.
- Support my work helping make high-quality Swift tutorials for everyone.
- Pay just $20 a month, or $200 for a yearly subscription.
To subscribe or start a free trial, please click the button below to sign in to Hacking with Swift.
Create New Account
Or click here to log in with an existing account
FAQ
Does this subscription give me all your books?
The articles produced for Hacking with Swift+ are all new and exclusive to subscribers, but after subscribing for 18 months you'll also gain free online access to over a dozen of my books. This means your subscription grows as you do, making Hacking with Swift+ the largest and most comprehensive subscription around.
Can I share one account with my whole team?
No, this is not allowed – each member of your team needs their own subscription, just like they would need their own Netflix or Apple Music accounts. If you want your whole team to have a Hacking with Swift+ account, please change the number of licensed seats upwards from 1 when subscribing.
How is a team subscription different from an individual subscription?
When you subscribe with at least three seats, all members of your team gain immediate access to the Hacking with Swift reading library, rather than waiting 18 months – that's over a dozen of my books to maximise your team's learning.
What are the free gifts?
Each year of your subscription we'll mail out free gifts, as a thank you for supporting the site. These include pin metal badges, magnets, stickers, coasters, and more – we think you'll love them! If you take out an annual subscription, we send out your first year's gifts immediately.
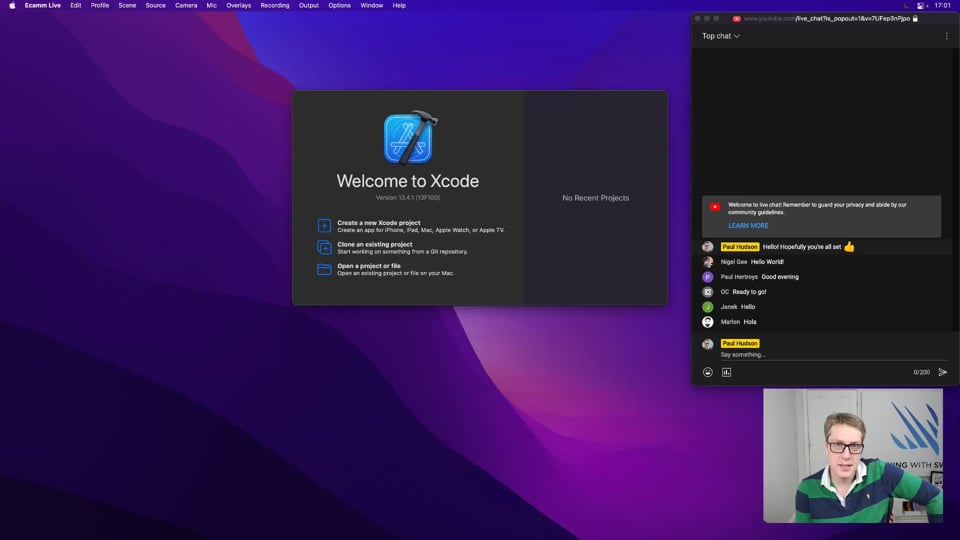
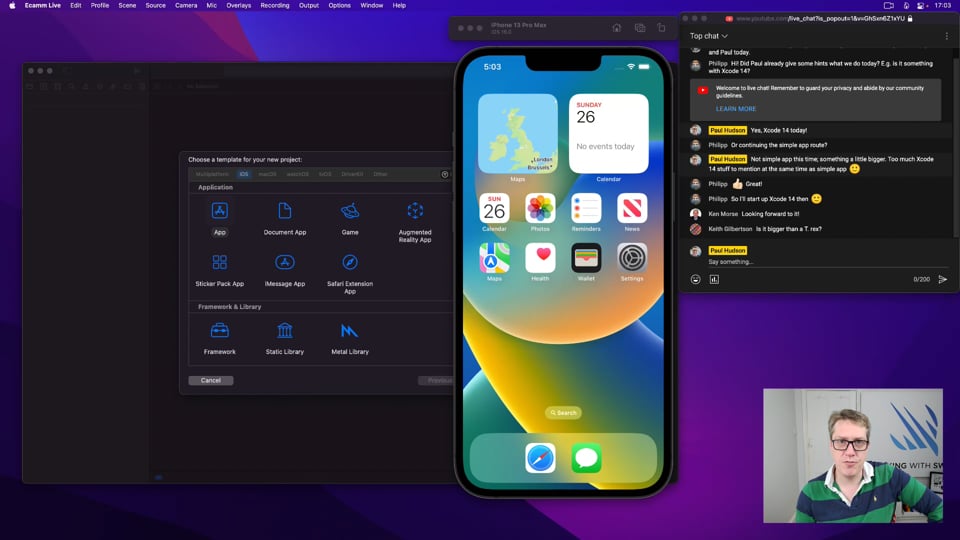
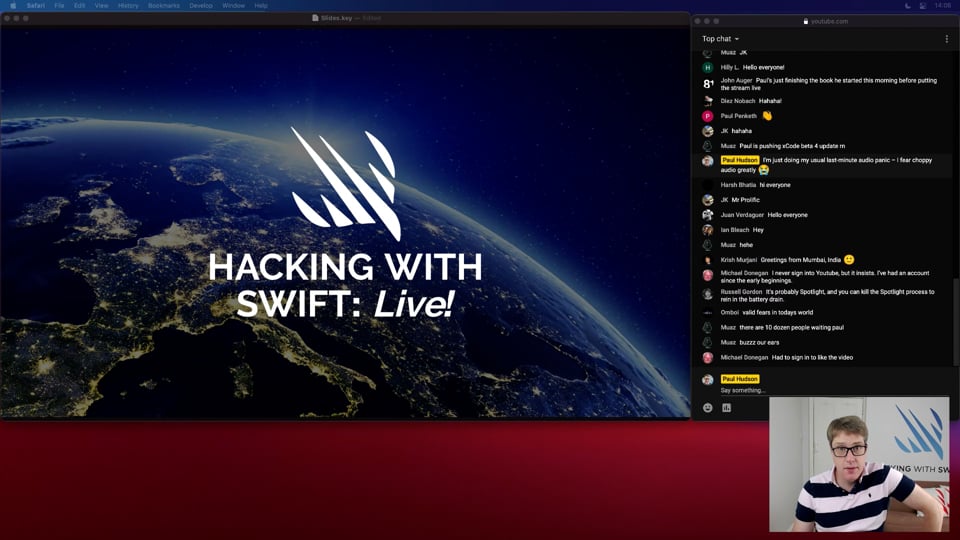
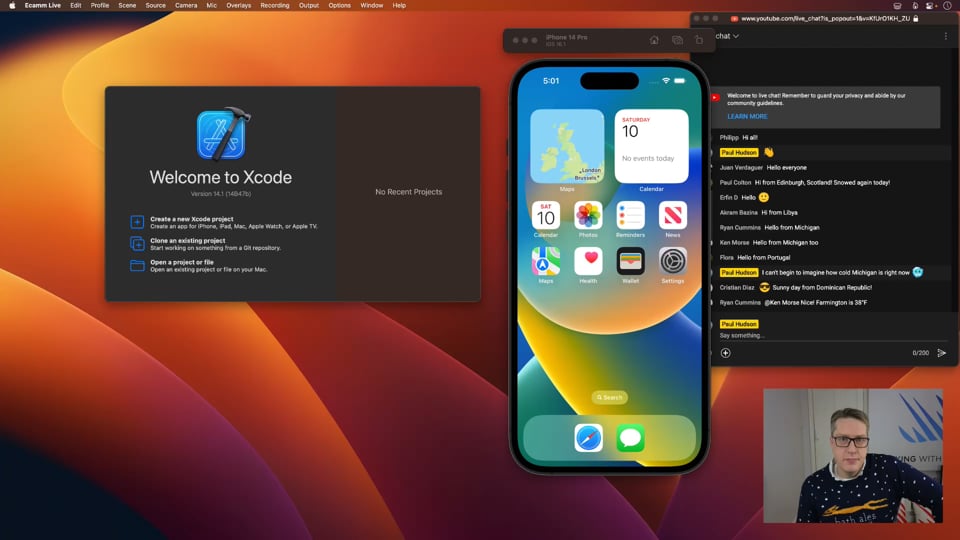
What happens in the monthly live streams?
Every Hacking with Swift+ subscriber is invited to join my private monthly live streams on YouTube, where I build a complete app from scratch while answering questions along the way. This is your chance to get involved and explore projects being written live, and these streams are always hugely popular.
What happens if I miss a live stream?
All live streams are recorded, and posted onto the main Hacking with Swift+ site afterwards. Even better, they include a full transcript alongside, so if you prefer text tutorials to video tutorials you have that option.
How do I remove adverts from the site?
Every subscriber can enjoy an ad-free experience on Hacking with Swift – all you need to do is log in, and the site will automatically remove the adverts. To give you the fastest reading experience, we also remove the gray bar under the menu, plus the right-hand bar that sits next to every article.
Is Hacking with Swift+ suitable for absolute beginners?
If you're an absolute beginner you should start with my free 100 Days of SwiftUI course, which teaches you the fundamentals of Swift and SwiftUI. However, Hacking with Swift+ includes complete solutions to all the checkpoints and milestones in the 100 Days of SwiftUI series, making it the perfect companion as you're learning.
What's more, Hacking with Swift+ will grow with you once you've finished learning – it has a wide range of intermediate to advanced Swift techniques and tutorials that will keep pushing your skills further, no matter what your goal.
Some sites claim to have thousands of videos – why is HWS+ better?
Hacking with Swift+ focuses firmly on two things:
- Giving you the depth you need to get a strong grasp of each topic. Where other sites make hundreds of three or four minute videos that touch lightly on each subject, we prefer to go into much more detail – 20 or 30 minutes, and often longer – so you get to understand why things work as well as how.
- We teach Swift, Swift, and more Swift. We don't do Kotlin, we aren't interested in Dart, we won't try to squeeze in Flutter, and you won't find any React Native. That's not to say those other technologies aren't interesting, only that you're here to take your Swift skills further and that's exactly what we care about most.
How much does it cost?
Hacking with Swift+ costs $20 a month or $200 a year, per seat. Your membership includes all subscriber-only videos and articles available now and published in the future, for as long as your membership remains active. You can cancel your membership at any time, and your access will continue until your term ends.
What's the difference between Monthly and Yearly subscriptions?
Hacking with Swift+ is $20 per month, and you can cancel whenever you want. If you intend to work through many articles and really push your learning forward, you should consider the yearly subscription option, which is $200 for 12 months – a saving of $40.
Both tiers get access to exactly the same high-quality videos, articles, and source code. The only difference is that with the Yearly tier you save $40 every year, making it better value for money.
Are there exercises?
Yes! Many Hacking with Swift+ articles end with challenges to help you take your learning further – code to try, problems to solve, questions to consider, and more.
Why do I need a Hacking with Swift account?
Your Hacking with Swift account links your Gumroad purchase to this site, so we can unlock your subscription. This account also allows you to post to the forums if you want to.
Can I switch from a Monthly to Yearly subscription?
Yes, you can upgrade at any time, and we'll discount the annual subscription based on how much of your monthly subscription remains.
How can I cancel my subscription?
If at any point you want to cancel your Hacking with Swift+ subscription, you can do so directly through your Gumroad account. Your access to the subscriber-only content will remain active until your subscription term ends, at which point it will cease.
Will there be sales tax or VAT added to the price?
If you live in a country or state where tax is applied to digital purchases, that will be added to your subscription price. As you might imagine there isn't a lot I can do about that.
Will you still make free tutorials?
Yes, absolutely! I believe it's important to help everyone learn, so I will still be publishing as many free tutorials as I can. This won't be affected by Hacking with Swift+.
Or start a free trial
Here's a sample of what's waiting for you…
1:46:18
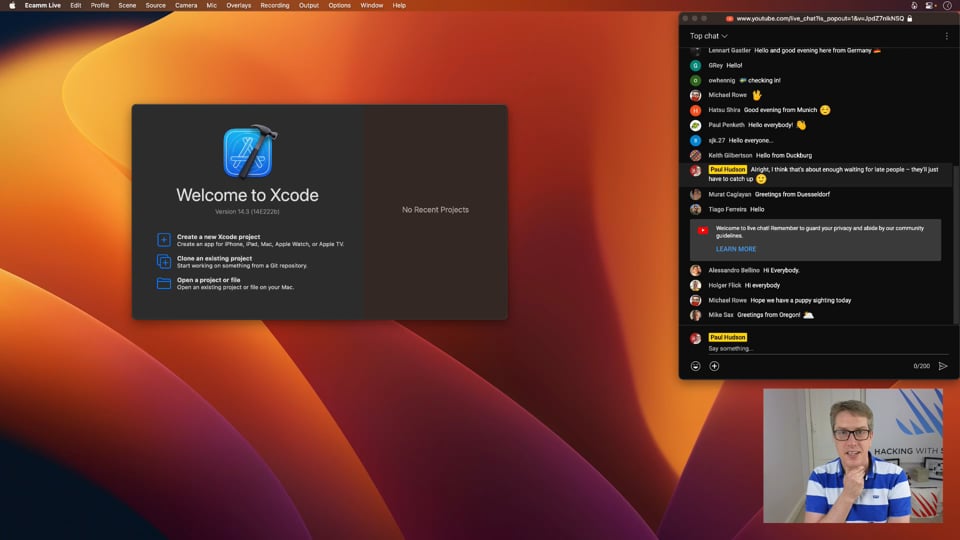
LIVE STREAMS
Ping Pong
How can you be first in line when a website announces important changes? Simple: make your computer watch for changes automatically! In this article we’ll build a macOS app that can watch an arbitrary list of URLs for changes, and will notify us when something changes…
20:24
ADVANCED SWIFT
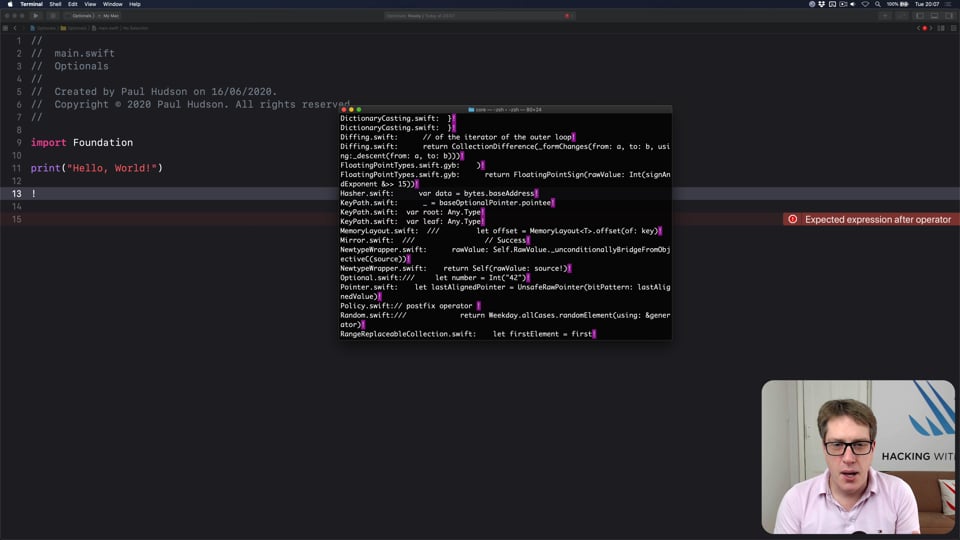
Making the most of optionals – part 2
I already introduced how the internals of optionals work, including how they use conditional conformance and how to avoid infinitely sized structs. In this video I’m going to go further as we look at how our knowledge of Optional can be translated to Result, why it’s so important that optionals are functors and monads, and more.
37:55
REMAKING APPS
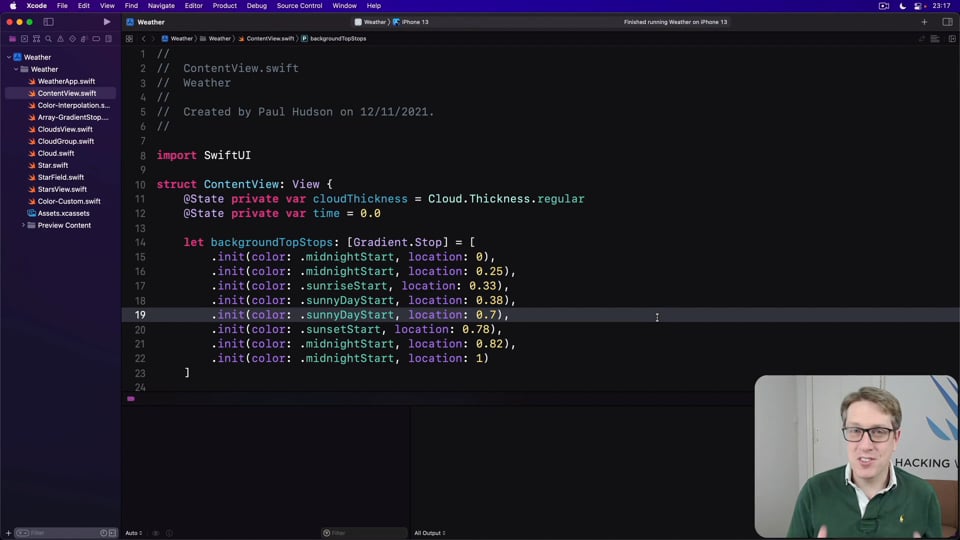
Rendering rain and snow, part 1
One of the most fascinating and beautiful effects in the Weather app is the use of rain and snow: some particles that fall gracefully, and some that pile up on the user interface. Building this means taking your Canvas skill up a notch, so let’s get into it…

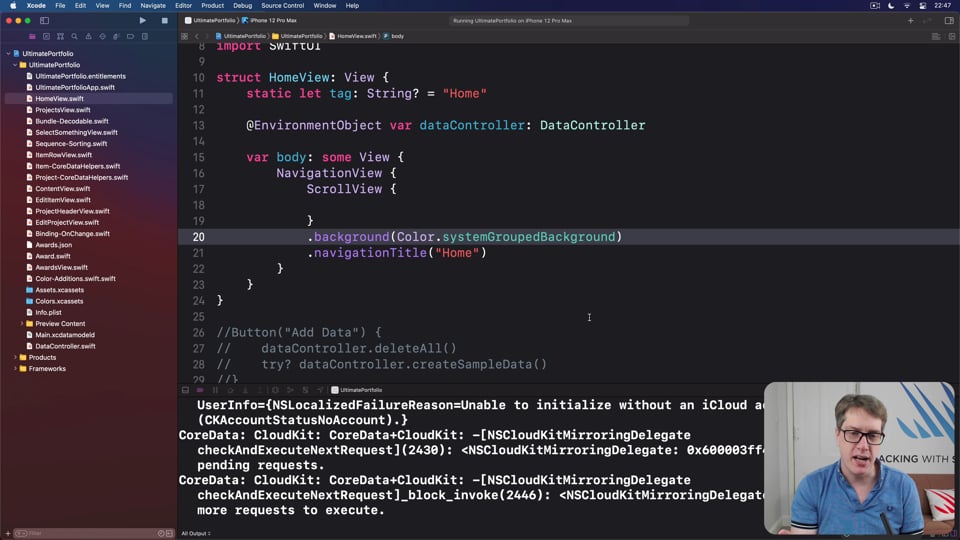
34:39
ULTIMATE PORTFOLIO APP
Querying data from iCloud
In the previous step we added the ability to upload projects and items to iCloud, then used the iCloud Dashboard to check the data had arrived safely. In this step we’re going to load shared projects, and let users browse them.
22:27
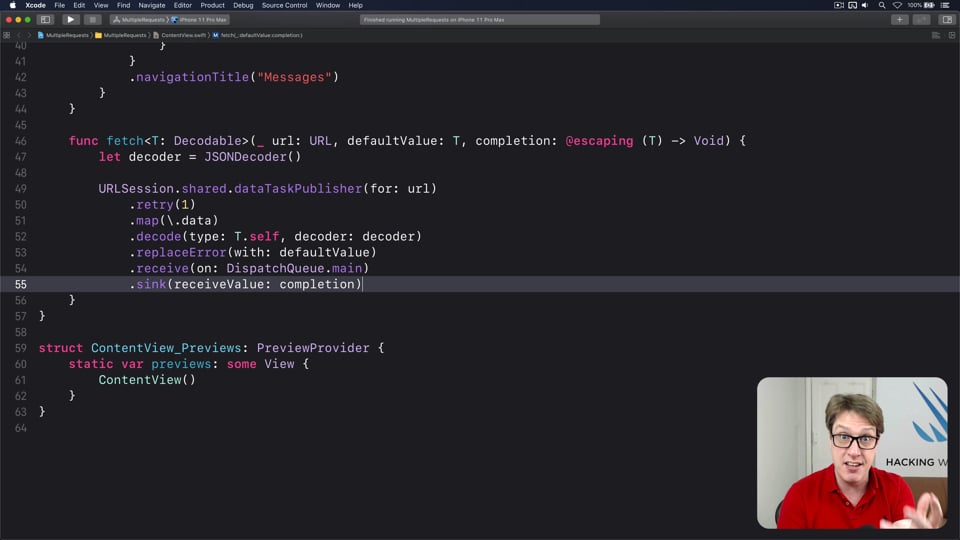
NETWORKING
Merging multiple requests with Combine
In a previous article I showed you a smart, simple and safe way of fetching data from the internet using Combine. This article I want to look at how to handle multiple network requests safely, ensuring that both complete before you update your user interface.
1:30:50
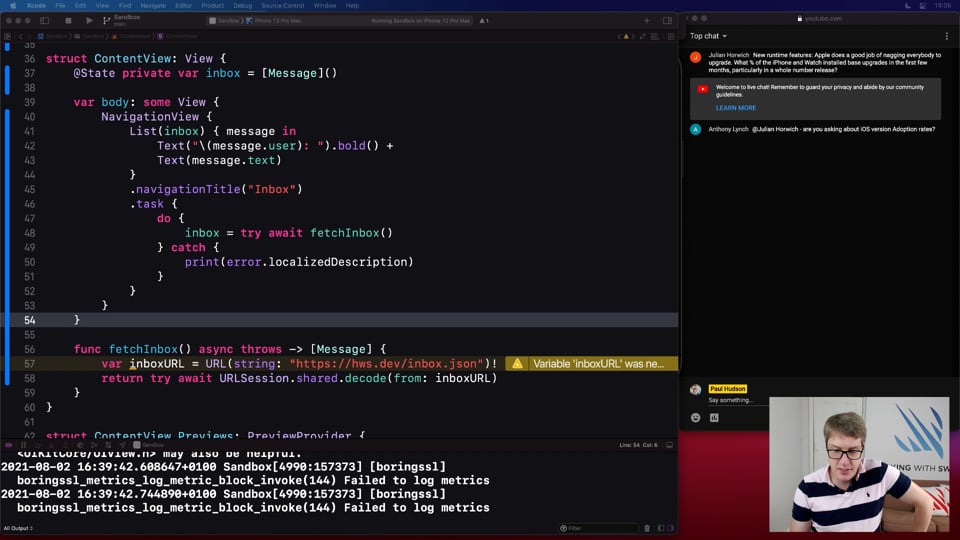
EVENTS
Synchronous vs asynchronous
Now that you’ve had a taste of how async/await code looks, let’s break down what we just saw and examine how asynchronous functions work behind the scenes, and how we can move over to async let with surprising ease.
33:11
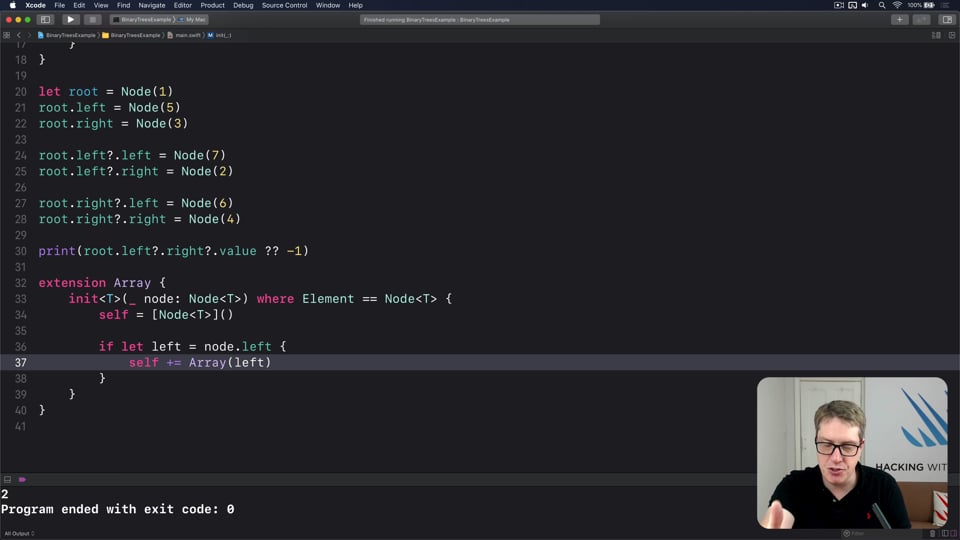
DATA STRUCTURES
Binary trees
We already looked at trees, where each node can have zero or more children, and now I want to look at a specialized version called binary trees, where each node has zero, one, or two children. In particular we’re looking to look at how these lead to binary search trees and the remarkable performance advantages they can bring.
1:10:19
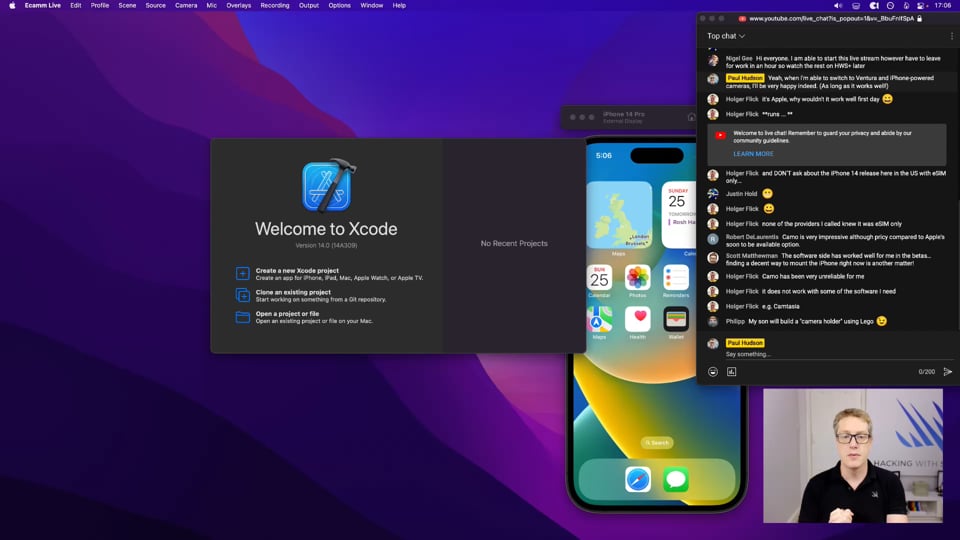
LIVE STREAMS
Speak Up!
Apple’s Voice Memos app is great, but wouldn’t it be nice to be able to search your recordings? With the Speech framework we can do just that, and with SwiftUI we can add on a simple UI without much work.
1:39:17
LIVE STREAMS
Spaced Out
In this stream we’re going to build an app to help folks learn something, like a language or other important terminology. It’s flashcards, but with a twist: we’ll be using widgets, so they learn right from their Home Screen.
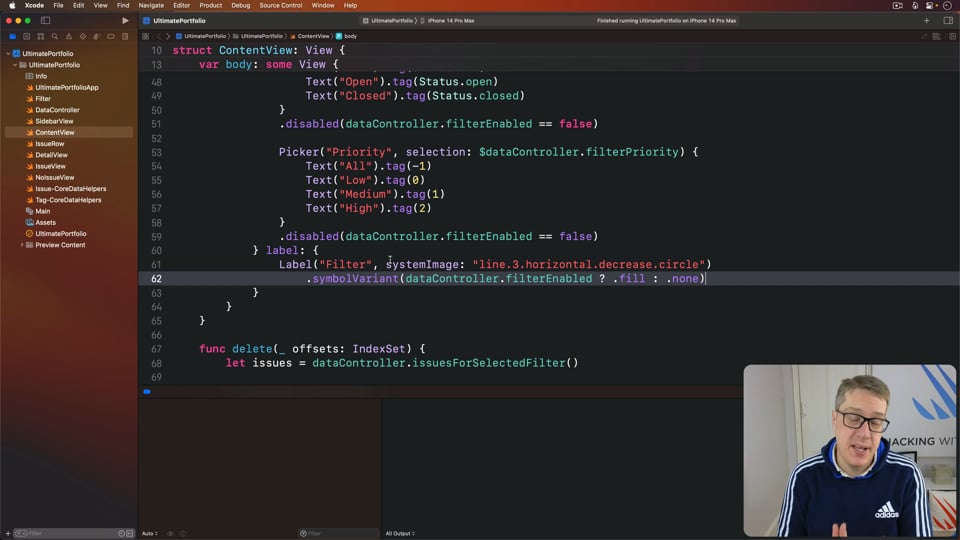
35:49
ULTIMATE PORTFOLIO APP
Creating the Home view
So far our home view has simply been a host for adding test data, but that changes now: we’re going to make the home view a summary of all their project progress, plus the most important items coming up next.
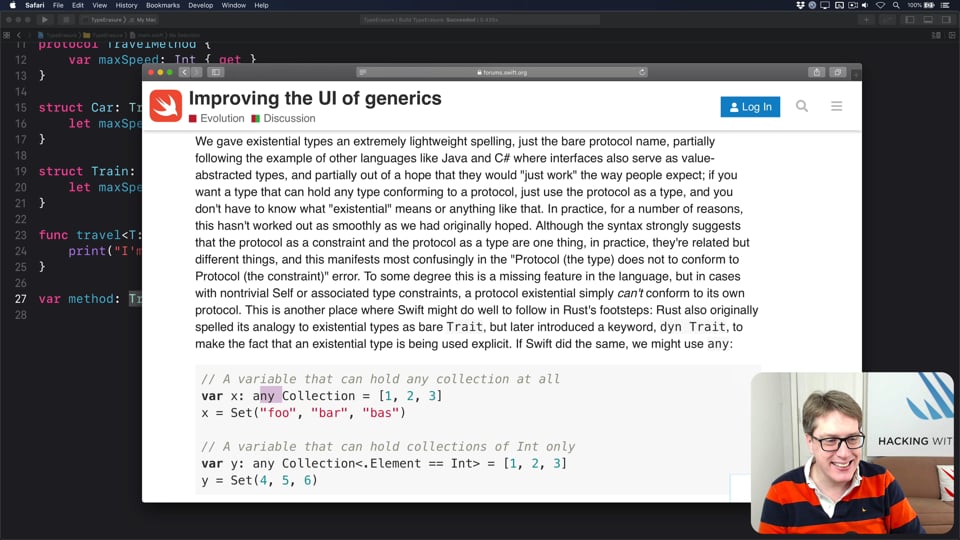
17:14
ADVANCED SWIFT
Existentials and type erasure – part 1
Type erasure helps us solve difficult type system problems by purposefully discarding some information. In this article we’ll look at what the underlying problem is and how Swift solves it, and in the second part we’ll continue on to look at how we can build type erasure ourselves.
15:42
ULTIMATE PORTFOLIO APP
Adding issues and tags
UPDATED: At this point you can get a basic idea for the UI of our app, but it has a fatal flaw: although we can add test data, we can’t do the same for user data. Let’s fix that now – there’s more to it than you might think!
1:28:55
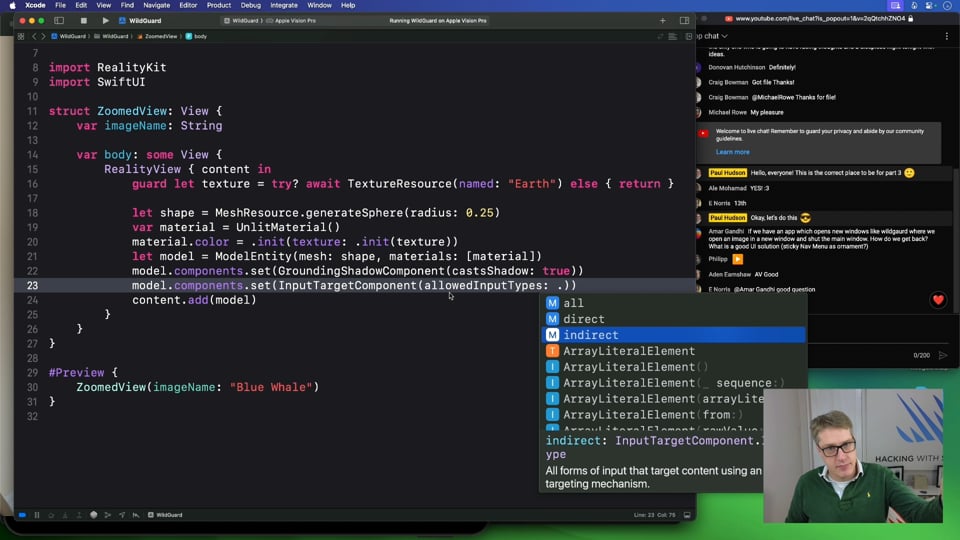
EVENTS
Interacting with 3D objects
Once you have 3D views being displayed, SwiftUI lets you interact with them in a similar way to how we interact with 2D content. Yes, there's an extra step around handling coordinate space because we're now working in 3D, but it's nothing too tricky.
27:45
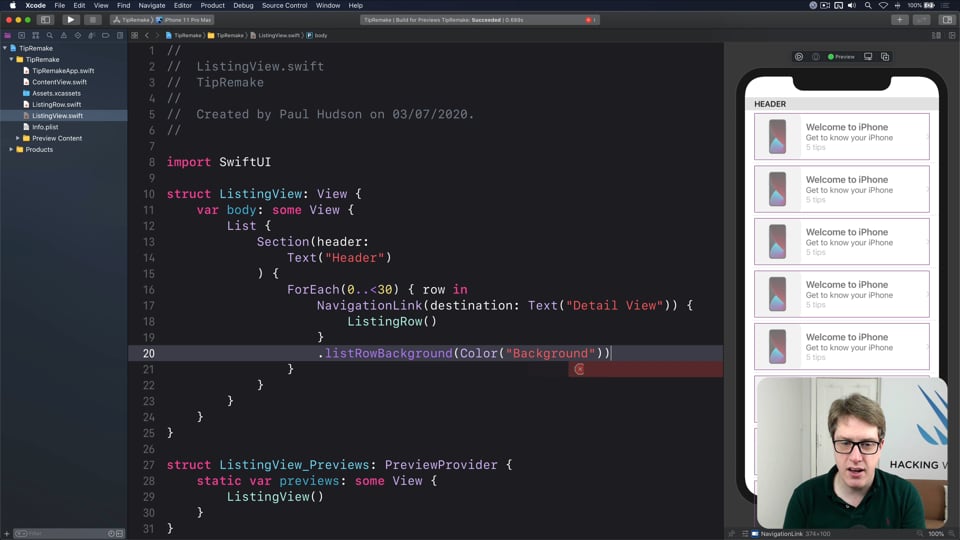
REMAKING APPS
Remaking the Tips app
In this article we’re going to look at how to rebuild the Tips app using SwiftUI, including how to make scrolling tabs of content, how to get a parallax scrolling effect, and more.
11:31
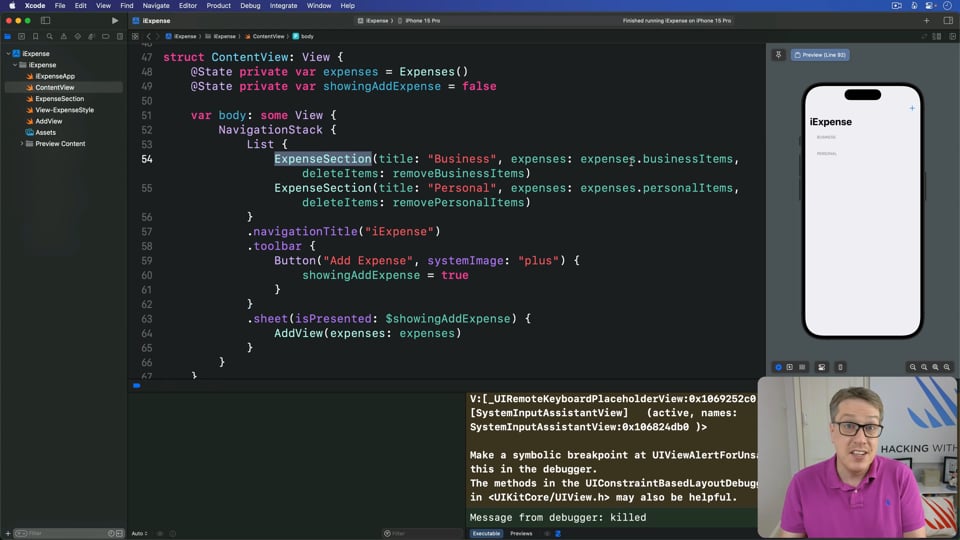
SOLUTIONS
Navigation
This challenge asks you to switch both iExpense and Moonshot over to using what you've learned about navigation. Let’s tackle it now…
16:43
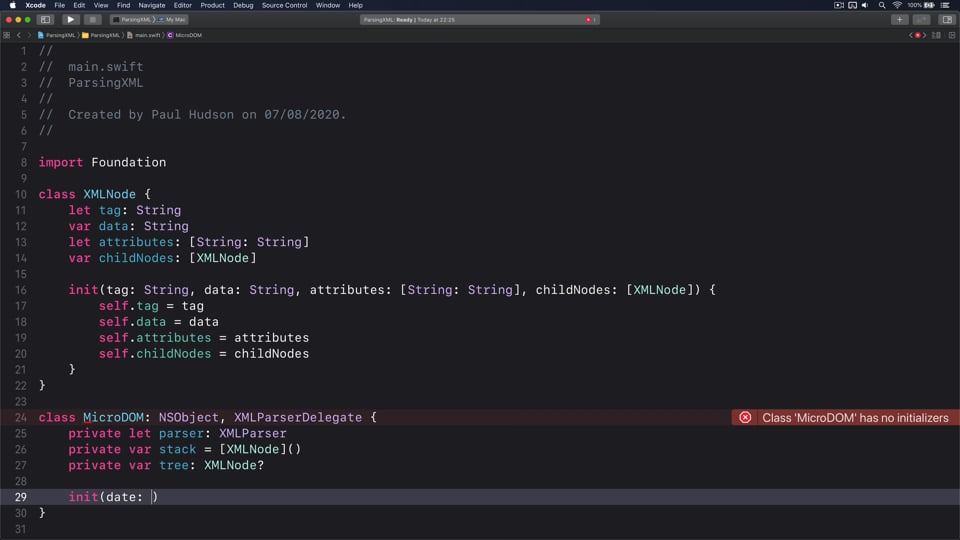
WORKING WITH DATA
Parsing XML the easy way
Although we mostly prefer JSON for data transfer, many major languages make it easy to parse and traverse XML documents. Swift does not, but that’s something we can fix in under a 100 lines of code by writing our own implementation of MiniDOM – Python’s lightweight implementation of the document object model.
2:01
INTERVIEW QUESTIONS
What problem does optional chaining solve?
Swift’s optionals are a real power feature of the language, but without direct compiler support they would be quite onerous. Optional chaining is one part of that support, so be prepared to answer exactly what part it plays.
1:32:18
LIVE STREAMS
Symbolicator
The SF Symbols app is a great resource for discovering icons, but at the time of writing it’s also only available on macOS. In this article we’ll build our own SF Symbols app for iOS, integrating customization features along the way.
1:24:11
EVENTS
What’s new in Swift 5.5?
In this introductory video we start by walking through all the main changes introduced with Swift 5.5, without touching on concurrency – that still leaves a heck of a lot!
1:21:24
LIVE STREAMS
Tap Sudoku
In final stream in this miniseries about making games with SwiftUI, we’re going to create a mini sudoku game from scratch. It’s pretty packed, but a fantastic starting point for your own projects!
