Books
Hacking with iOS: SwiftUI Edition is free to read online, but if you've subscribed to Hacking with Swift+ for at least 18 months you can read many more for free.
Find out more about Hacking with Swift+Hacking with iOS: SwiftUI Edition
Learn to build apps with Swift and SwiftUI, all while building real-world projects.
Level: Beginner - Intermediate
Read for freeAdvanced iOS: Volume 1
Build awesome, real-world projects using APIs for speech transcription, SiriKit, iMessage apps, rich media notifications, and more.
Level: Advanced
LockedAdvanced iOS: Volume 2
Build powerful real-world projects using powerful technologies like Core ML, ARKit, PDFKit, drag and drop, Core NFC, and more.
Level: Advanced
LockedAdvanced iOS: Volume 3
Build powerful real-world projects using Create ML, Siri shortcuts, sentiment analysis, and more.
Level: Advanced
LockedBeyond Code
Learn the meta skills you need to be a better coder: regular expressions, Unix command line tools, Git source control, Scrum project management, and more.
Level: Beginner
LockedHacking with macOS: AppKit Edition
Power up your desktop by learning to build macOS apps – I'll teach you everything you need to know, while helping you build real-world projects that take full advantage of macOS.
Level: Beginner - Intermediate
LockedHacking with macOS: SwiftUI Edition
Power up your desktop by learning to build macOS apps – I'll teach you everything you need to know, while helping you build real-world projects that take full advantage of macOS.
Level: Beginner - Intermediate
LockedHacking with tvOS
Build for the biggest screen of all – take full advantage of the Siri remote and build incredible apps and games using UIKit, SpriteKit, and more!
Level: Beginner - Intermediate
LockedHacking with watchOS: SwiftUI Edition
Build powerful, useful SwiftUI apps for Apple's tiniest devices – this book gives you everything you need to make great apps that quite literally never leave your user's side.
Level: Beginner - Intermediate
LockedHacking with watchOS: WatchKit Edition
Build powerful, useful WatchKit apps for Apple's tiniest devices – this book gives you everything you need to make great apps that quite literally never leave your user's side.
Level: Beginner - Intermediate
LockedObjective-C for Swift Developers
Round out your iOS coding knowledge with Apple's original language – this whole book has been designed to teach you Objective-C as quickly as possible by building on your Swift skills.
Level: Advanced
LockedPro Swift
Watch advanced videos that will level up your Swift knowledge: functional programming, protocol-oriented programming, value types, closures, operator overloading, and more.
Level: Intermediate – Advanced
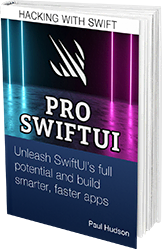
LockedPro SwiftUI
Delve into SwiftUI's internals to see how it works and why, then use that knowledge to build smarter, faster apps.
Level: Intermediate – Advanced
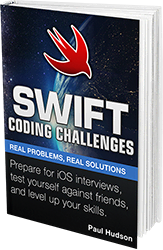
LockedSwift Coding Challenges
Work through real Swift coding problems that help strengthen your skills – perfect for finding and filling holes in your Swift knowledge, and preparing for iOS interviews.
Level: Intermediate – Advanced
LockedSwift Design Patterns
Learn smart, idiomatic techniques to design great Swift apps, from using MVC effectively through to MVVM, delegation, protocols, and more.
Level: Intermediate – Advanced
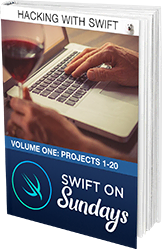
LockedSwift on Sundays: Volume 1
Practice building complete apps from scratch with 20 complete walkthrough projects for iOS, macOS, watchOS, and more.
Level: Intermediate
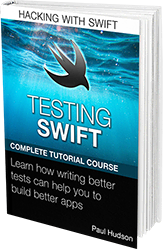
LockedTesting Swift
If you're serious about writing great code, you need to be serious about writing great tests. Testing Swift is designed to guide you through unit tests, UI tests, TDD, and much more!
Level: Intermediate
Locked