Enumerations
Enumerations – usually just called “enum” and pronounced “ee-num” - are a way for you to define your own kind of value in Swift. In some programming languages they are simple little things, but Swift adds a huge amount of power to them if you want to go beyond the basics.
Let's start with a simple example from earlier:
func getHaterStatus(weather: String) -> String? {
    if weather == "sunny" {
        return nil
    } else {
        return "Hate"
    }
}
That function accepts a string that defines the current weather. The problem is, a string is a poor choice for that kind of data – is it “rain”, “rainy” or “raining”? Or perhaps “showering”, “drizzly” or “stormy”? Worse, what if one person writes “Rain” with an uppercase R and someone else writes “Ran” because they weren't looking at what they typed?
Enums solve this problem by letting you define a new data type, then define the possible values it can hold. For example, we might say there are five kinds of weather: sun, cloud, rain, wind and snow. If we make this an enum, it means Swift will accept only those five values – anything else will trigger an error. And behind the scenes enums are usually just simple numbers, which are a lot faster than strings for computers to work with.
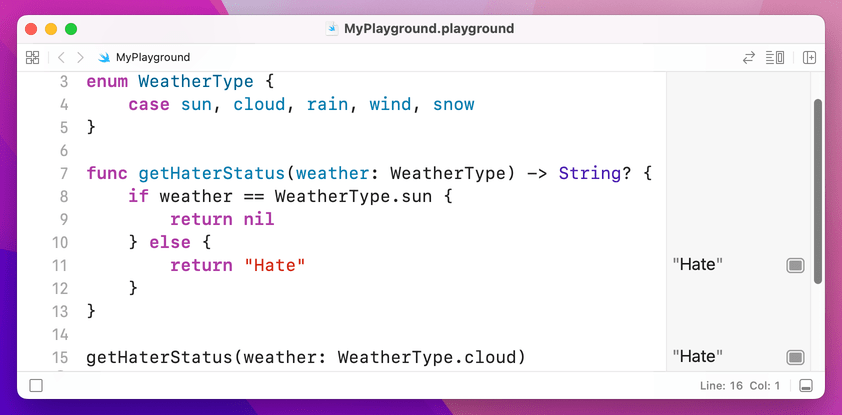
Let's put that into code:
enum WeatherType {
    case sun, cloud, rain, wind, snow
}

func getHaterStatus(weather: WeatherType) -> String? {
    if weather == WeatherType.sun {
        return nil
    } else {
        return "Hate"
    }
}

getHaterStatus(weather: WeatherType.cloud)
Take a look at the first three lines: line 1 gives our type a name, WeatherType. This is what you'll use in place of String or Int in your code. Line 2 defines the five possible cases our enum can be, as I already outlined. Convention has these start with a lowercase letter, so “sun”, “cloud”, etc. And line 3 is just a closing brace, ending the enum.
Now take a look at how it's used: I modified the getHaterStatus() so that it takes a WeatherType value. The conditional statement is also rewritten to compare against WeatherType.sun, which is our value. Remember, this check is just a number behind the scenes, which is lightning fast.
Now, go back and read that code again, because I'm about to rewrite it with two changes that are important. All set?
enum WeatherType {
    case sun
    case cloud
    case rain
    case wind
    case snow
}

func getHaterStatus(weather: WeatherType) -> String? {
    if weather == .sun {
        return nil
    } else {
        return "Hate"
    }
}

getHaterStatus(weather: .cloud)
I made two changes there. First, each of the weather types are now on their own line. This might seem like a small change, and indeed in this example it is, but it becomes important soon. The second change was that I wrote if weather == .sun – I didn't need to spell out that I meant WeatherType.sun because Swift knows I am comparing against a WeatherType variable, so it's using type inference.
Enums are particularly useful inside switch/case blocks, particularly because Swift knows all the values your enum can have so it can ensure you cover them all. For example, we might try to rewrite the getHaterStatus() method to this:
func getHaterStatus(weather: WeatherType) -> String? {
    switch weather {
    case .sun:
        return nil
    case .cloud, .wind:
        return "dislike"
    case .rain:
        return "hate"
    }
}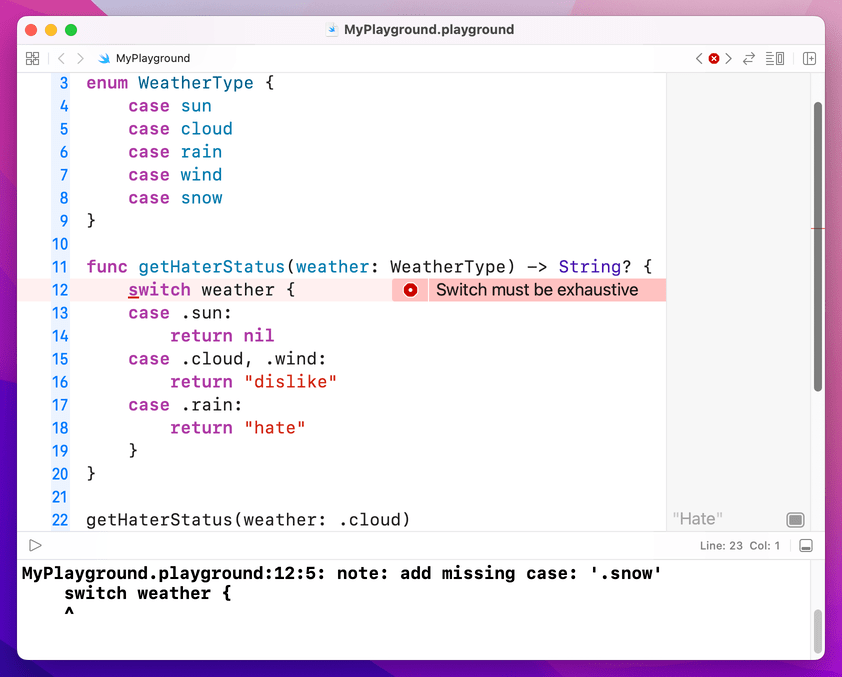
Yes, I realize "haters gonna dislike" is hardly a great lyric, but it's academic anyway because this code won't build: it doesn't handle the .snow case, and Swift wants all cases to be covered. You either have to add a case for it or add a default case.
Enums with additional values
One of the most powerful features of Swift is that enumerations can have values attached to them that you define. To extend our increasingly dubious example a bit further, I'm going to add a value to the .wind case so that we can say how fast the wind is. Modify your code to this:
enum WeatherType {
    case sun
    case cloud
    case rain
    case wind(speed: Int)
    case snow
}
As you can see, the other cases don't need a speed value – I put that just into wind. Now for the real magic: Swift lets us add extra conditions to the switch/case block so that a case will match only if those conditions are true. This uses the let keyword to access the value inside a case, then the where keyword for pattern matching.
Here's the new function:
func getHaterStatus(weather: WeatherType) -> String? {
    switch weather {
    case .sun:
        return nil
    case .wind(let speed) where speed < 10:
        return "meh"
    case .cloud, .wind:
        return "dislike"
    case .rain, .snow:
        return "hate"
    }
}

getHaterStatus(weather: WeatherType.wind(speed: 5))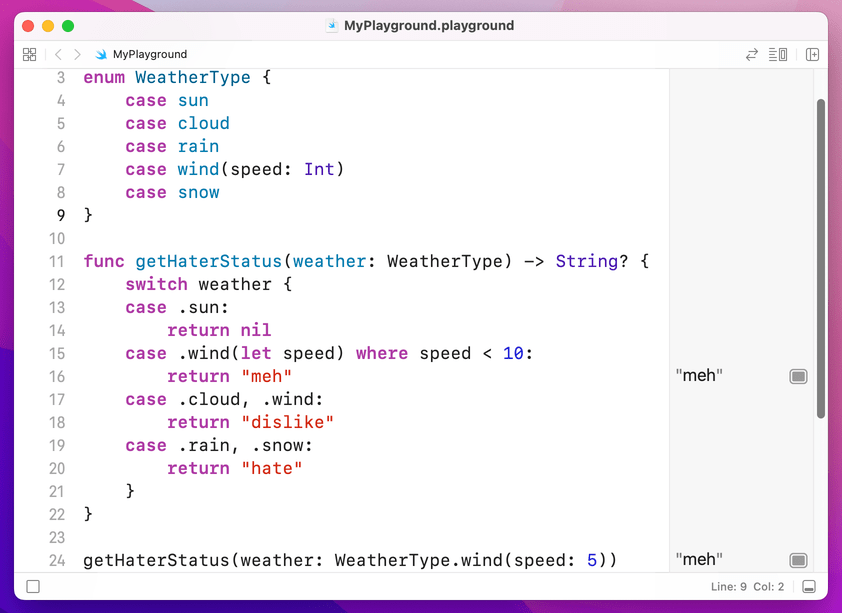
You can see .wind appears in there twice, but the first time is true only if the wind is slower than 10 kilometers per hour. If the wind is 10 or above, that won't match. The key is that you use let to get hold of the value inside the enum (i.e. to declare a constant name you can reference) then use a where condition to check.
Swift evaluates switch/case from top to bottom, and stops as soon as it finds a match. This means that if case .cloud, .wind: appears before case .wind(let speed) where speed < 10: then it will be executed instead – and the output changes.
So, think carefully about how you order cases!
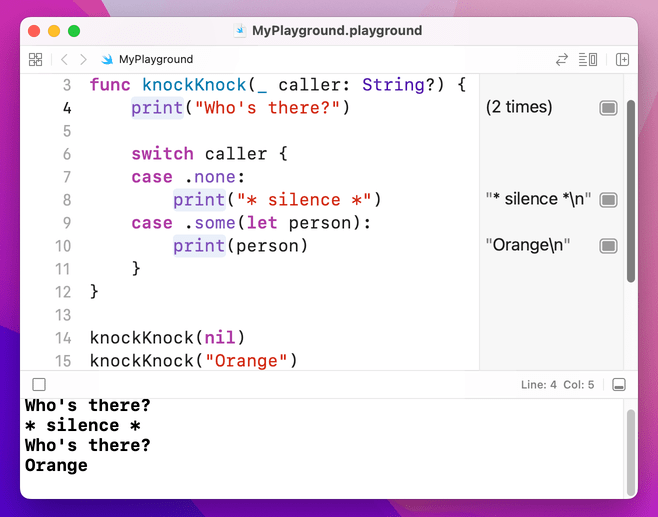
Tip: Swift’s optionals are actually implemented using enums with associated values. There are two cases: none, and some, with some having whatever value is inside the optional.
BUILD THE ULTIMATE PORTFOLIO APP Most Swift tutorials help you solve one specific problem, but in my Ultimate Portfolio App series I show you how to get all the best practices into a single app: architecture, testing, performance, accessibility, localization, project organization, and so much more, all while building a SwiftUI app that works on iOS, macOS and watchOS.
Sponsor Hacking with Swift and reach the world's largest Swift community!


